Introduction
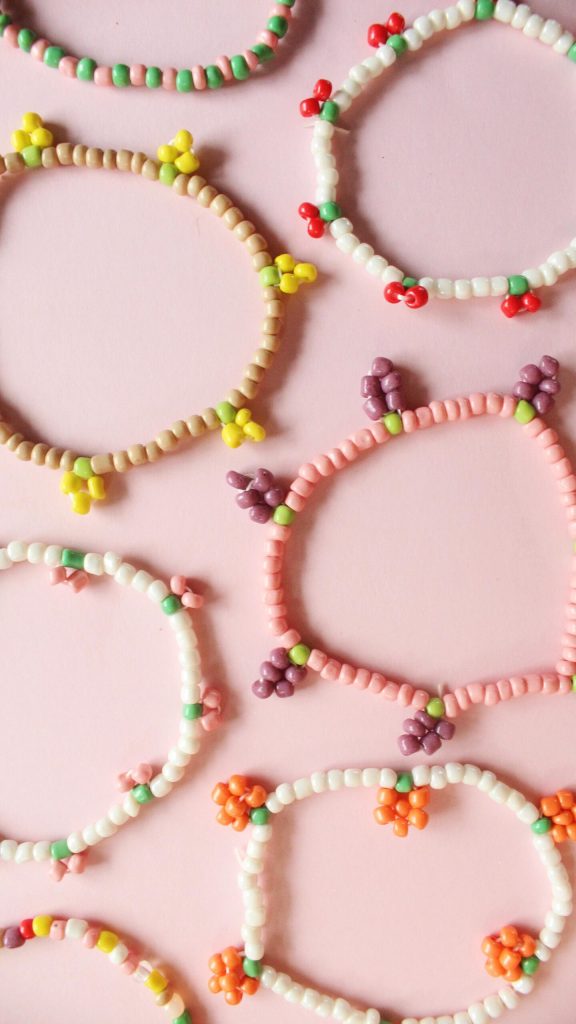
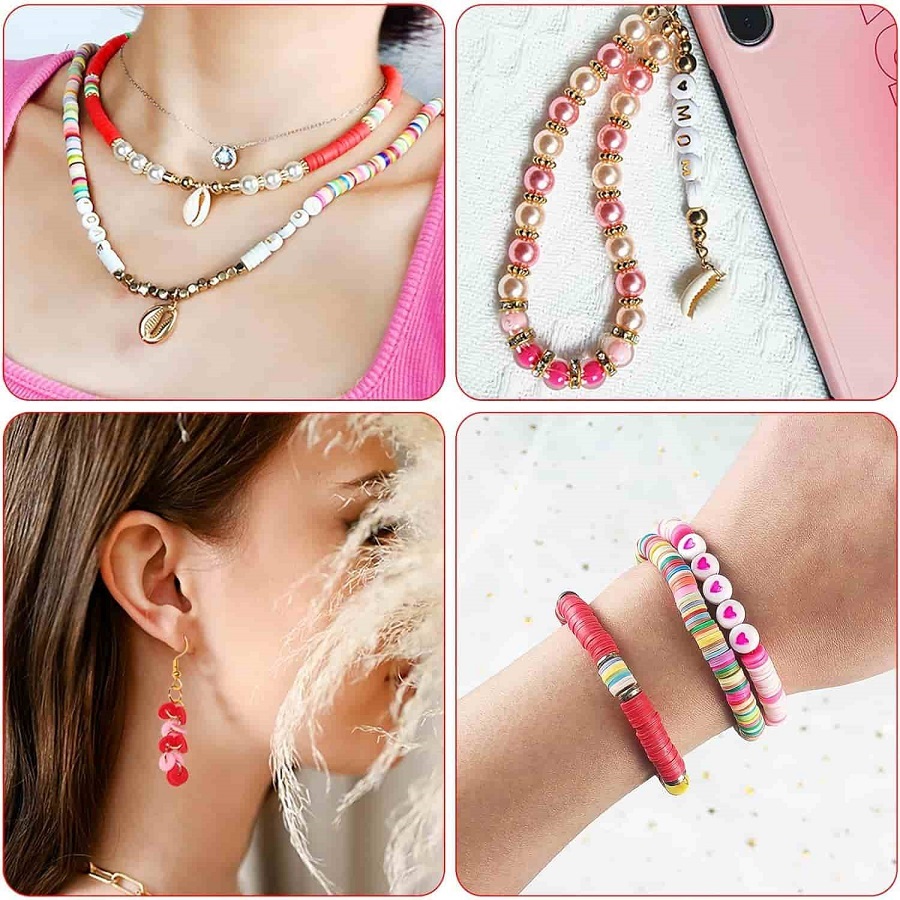
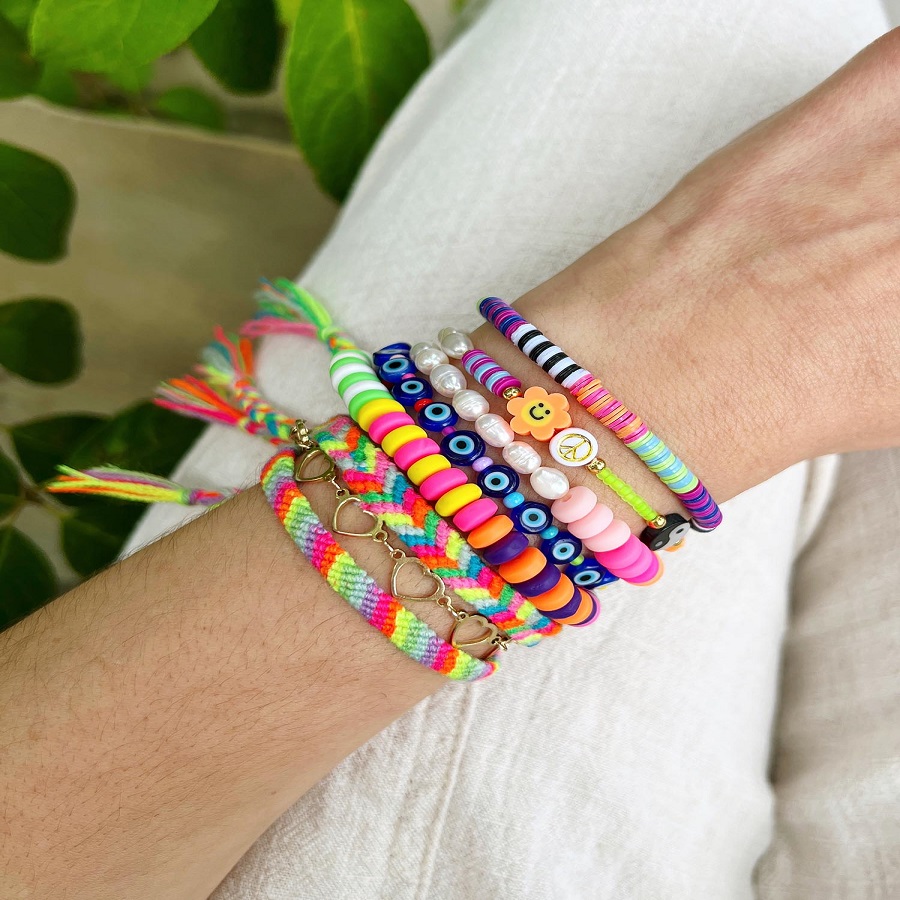
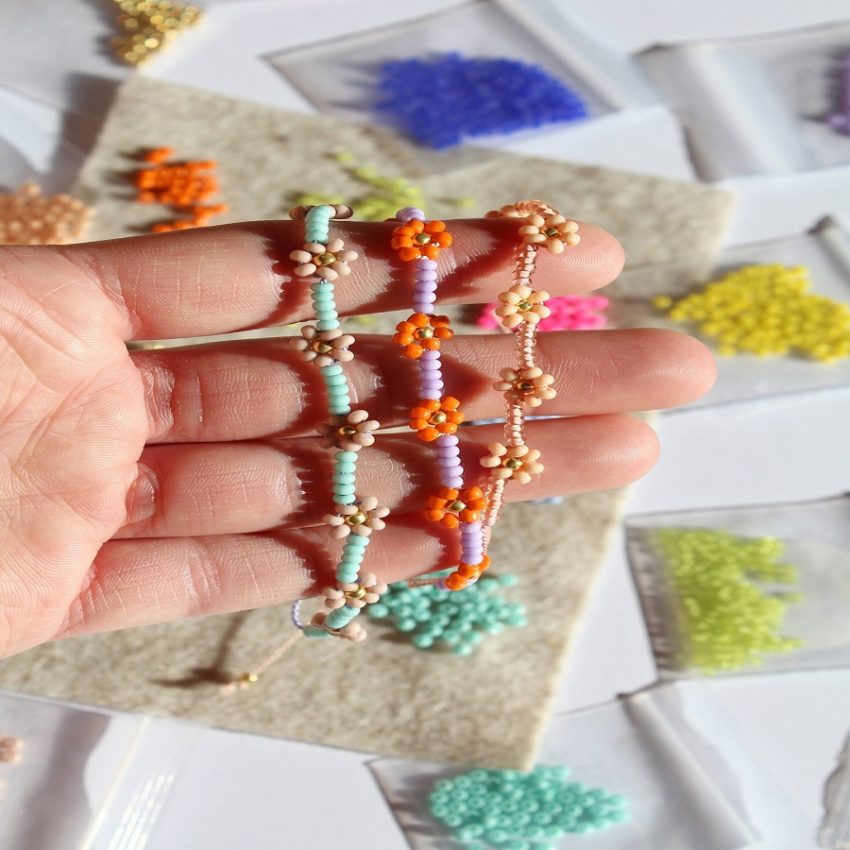
Creating your own beaded bracelet can be a rewarding and creative endeavor. Whether you’re a beginner or have some experience in jewelry making, this guide will walk you through the process of designing and crafting your own beautiful beaded bracelet. Let’s dive into the necessary materials, tools, and steps you’ll need to follow to make your very own bracelet!
Materials Needed
Before you get started, gather the following materials:
Beads
Choose beads according to your preference. You can select from various styles, shapes, materials, and colors:
- Glass Beads: Known for their vibrant colors and clarity.
- Wooden Beads: Provide an earthy aesthetic and natural feel.
- Acrylic Beads: Lightweight and available in multiple designs.
- Gemstone Beads: Add a touch of elegance and uniqueness.
Stringing Material
- Elastic Cord: Ideal for stretchy bracelets.
- Wire: For a more rigid structure (requires crimp beads).
Clasp (if using wire)
If you opt for using wire, select a clasp, such as:
- Lobster clasp
- Toggle clasp
- Magnetic clasp
Tools
- Scissors: For cutting the cord or wire.
- Crimping Tool: If using wire and crimp beads.
- Beading Mat: To keep your beads from rolling away and to keep everything organized.
Optional Extras
- Crimp Beads: Used to secure the ends of a wire bracelet.
- Beading Needle: Helpful for threading through small bead holes.
- Jump Rings: For additional secure connections.
Step-by-Step Instructions
Now that you have all your materials ready, follow these steps to create your beaded bracelet.
Plan Your Design
Before stringing your beads, take a moment to visualize your bracelet design. You can either sketch it out or lay the beads on the beading mat to experiment with different patterns. Consider the following:
- Color patterns (solid, rainbow, alternating)
- Shape combinations (round, square, faceted)
- Theme (bohemian, elegant, minimalist)
Measure Your Wrist
To ensure your bracelet fits comfortably, measure your wrist with a measuring tape or string. Most bracelets are typically between 6.5 to 8 inches in length, depending on individual wrist sizes.
Cut the Stringing Material
For elastic cord, cut a length that is about 2-3 inches longer than your desired bracelet length. If you plan to work with wire, cut it to a length that allows you to thread in the beads and attach your clasp comfortably, usually 3-4 inches longer than the finished size.
String Your Beads
- For Elastic Cord: Tie a knot at one end to hold the beads in place. Start stringing your beads onto the cord according to the design you created.
- For Wire: If using wire, slide a crimp bead followed by one end of your clasp onto the wire. String your beads, ensuring balance in your design.
Secure the Bracelet
For Elastic Cord:
- Once all beads are strung, tie a series of knots at the end to secure them. Make sure the bracelet fits snugly but comfortably on your wrist.
For Wire:
- After adding all the beads, thread the other end of your clasp and a crimp bead onto the wire. Loop the wire back through the crimp bead and tighten it around the clasp. Use the crimping tool to flatten the crimp bead, securing the clasp.
Trim Excess Material
Once secured, use scissors to trim any excess elastic or wire. Adjust the knots or crimping if necessary to ensure a smooth finish.
Finish and Inspect
Give your bracelet a gentle tug to ensure everything is secure. Check for any rough edges or loose beads.
Wear or Gift Your Bracelet
Stand back and admire your handiwork! Wear your new bracelet with pride or gift it to a friend. Handmade jewelry makes for a thoughtful and cherished gift.
Tips for Success
- Experiment with Colors: Don’t be afraid to mix and match colors, shapes, and sizes for a unique look.
- Be Patient: If you encounter any hiccups along the way, take your time and don’t rush through the crafting process.
- Use Quality Materials: Investing in quality beads and stringing material can enhance the durability and aesthetics of your bracelet.

Benefits of DIY Beaded Bracelets
Before diving into the process, let’s take a moment to discuss why DIY beaded bracelets are a great idea:
- Personalization: You can choose colors, patterns, and beads that resonate with your style or the personality of the person you’re gifting it to.
- Therapeutic Experience: Crafting is a fantastic stress-reliever. The focus required to create your bracelet can provide a sense of peace and fulfillment.
- Gifting: Handmade items carry a special sentiment. A beaded bracelet makes a thoughtful gift for birthdays, holidays, or just to show you care.
- Sustainable Fashion: By creating your own jewelry, you reduce waste and support a more sustainable approach to fashion.
- Skill Development: Crafting helps improve fine motor skills and creativity while allowing you to learn about color theory, design, and pattern making.
Materials Needed
Before starting, gather all the supplies you’ll need for your beaded bracelet. Here’s a comprehensive list:
- Beads: Choose a variety of beads—glass, wood, ceramic, or plastic. Consider different shapes and sizes for a dynamic look.
- Beading Wire or Thread: Opt for a strong, durable material. If you’re going for a stretchy bracelet, choose elastic thread.
- Clasp: If you’re using wire, you’ll need a clasp to finish your bracelet. Choices include lobster clasps, toggle clasps, or magnetic clasps.
- Scissors: To cut your wire or thread to the desired length.
- Crimp Beads: If using wire, these will help secure your bracelet.
- Bead Mat or Tray: This keeps your beads organized and prevents them from rolling away.
- Pliers: Helpful for crimping and attaching the clasp.
- Tape or Clip: To hold your wire/thread in place as you work.
- Ruler or Measuring Tape: To measure the length of your bracelet.
Step-by-Step Instructions
Design Your Bracelet
Start by sketching ideas, or lay out the beads on a bead mat in different arrangements. Consider color palettes that resonate with you or patterns that catch your eye. You can go for a symmetrical design, a random pattern, or even incorporate spacers and charms for added flair.
Measure Your Wrist
To ensure a proper fit, measure your wrist using a ruler or measuring tape. Add an extra inch to your measurement if you plan to use a clasp, as it will take up some space.
Cut Your Wire or Thread
Based on your wrist measurement, cut your beading wire or thread to size. Remember to leave a little extra length to work with, particularly if you’re planning to use a clasp.
Start Stringing the Beads
Carefully start threading the beads onto your chosen wire or thread. If you’re using a design, follow the layout you created earlier. Take your time; this is where you can truly personalize your bracelet by ensuring it reflects your unique taste.
Secure the Ends
If you’re using elastic thread, simply tie a secure knot at the end once all the beads are on, making sure it’s tight enough to hold everything in place. If you’re using wire, you’ll need to attach the crimp beads. Thread the wire through the crimp bead and back through the last bead on your bracelet. Use pliers to crimp the bead securely, then trim any excess wire.
Attach the Clasp
If you opted for a clasp, now’s the time to attach it. Thread the end of the wire through one side of your clasp. Secure it with a crimp bead, and make sure everything is tight and secure. Repeat on the other side of your bracelet.
Final Touches
After you’ve secured the clasp, give your bracelet a gentle tug to check that everything is secure. If it feels loose, you may need to adjust the knots or crimp beads to ensure it sits comfortably on your wrist.
Display and Enjoy
Once completed, your unique creation is ready to wear! Consider crafting a matching set, or experimenting with different styles and themes.

Conclusion
Crafting your own beaded bracelet is not only a fun and enjoyable project, but it also allows you to express your creativity and personal style. With just a few materials and some patience, you can create a stunning accessory that reflects your personality or serves as a delightful gift. So gather your supplies, follow the steps, and start designing your custom beaded bracelet today! Happy crafting!
