Introduction
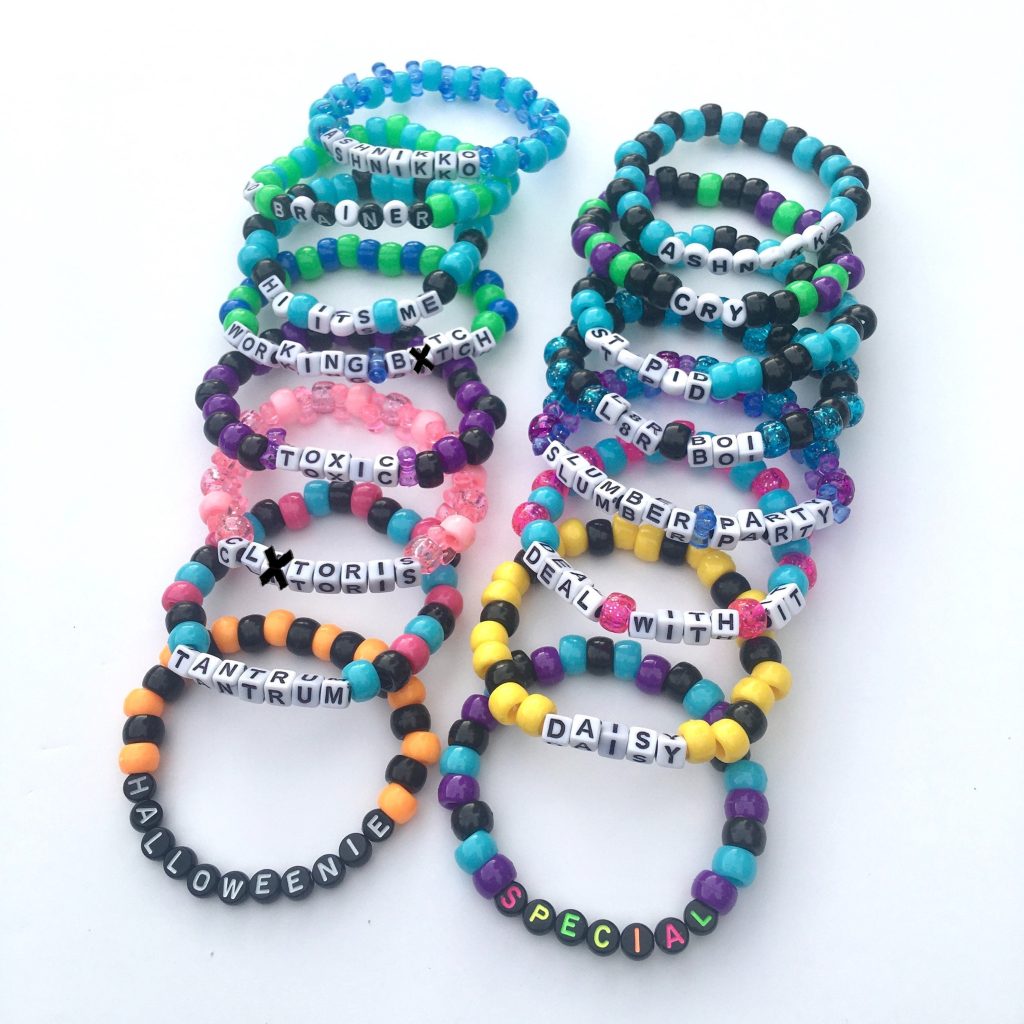
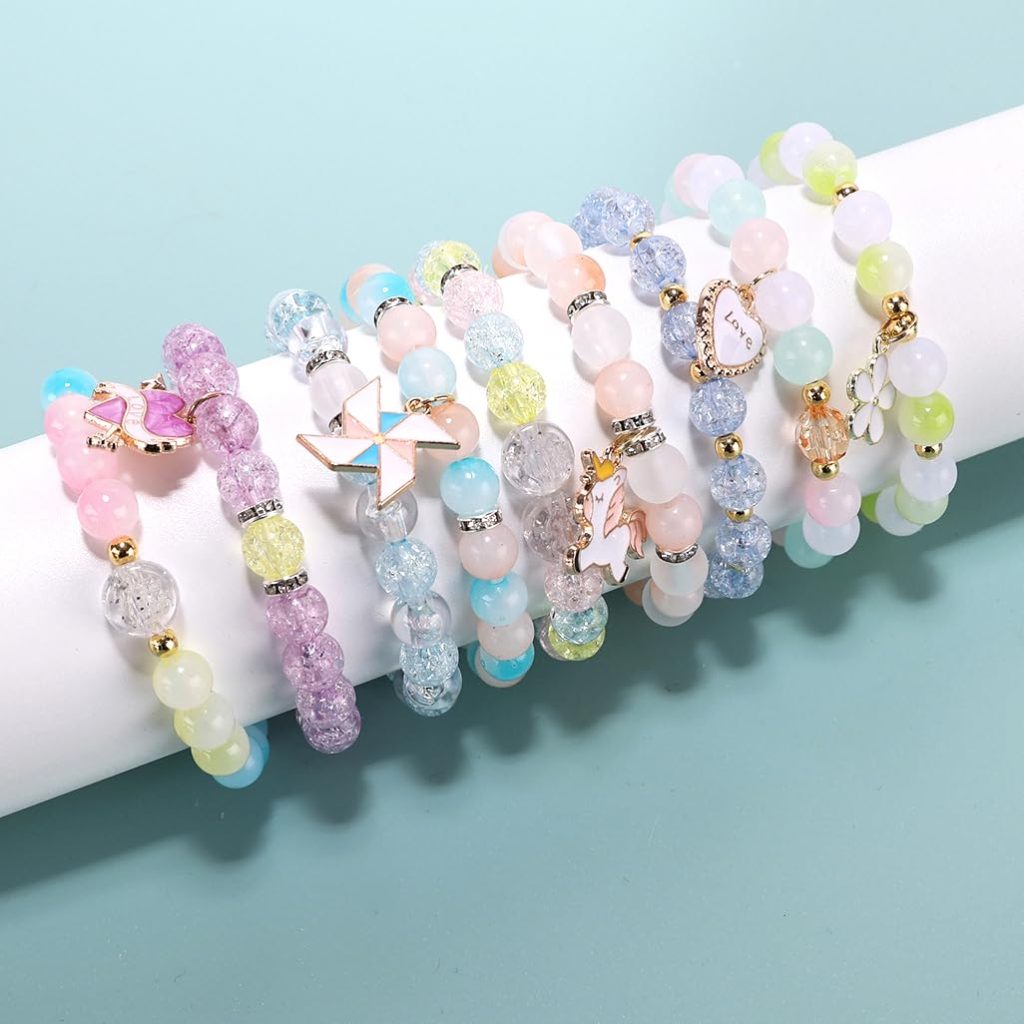
How to make a bead bracelet – Creating your own beaded bracelet can be a fun and rewarding experience! Not only do you get to express your creativity, but you also end up with a unique piece of jewelry that you can wear or gift to someone special. In this guide, we will take you through everything you need to know to create your very own bead bracelet, even if you’re a complete beginner.
Materials You Will Need
Before you get started, it’s important to gather all the materials you will need. Here’s a comprehensive list:
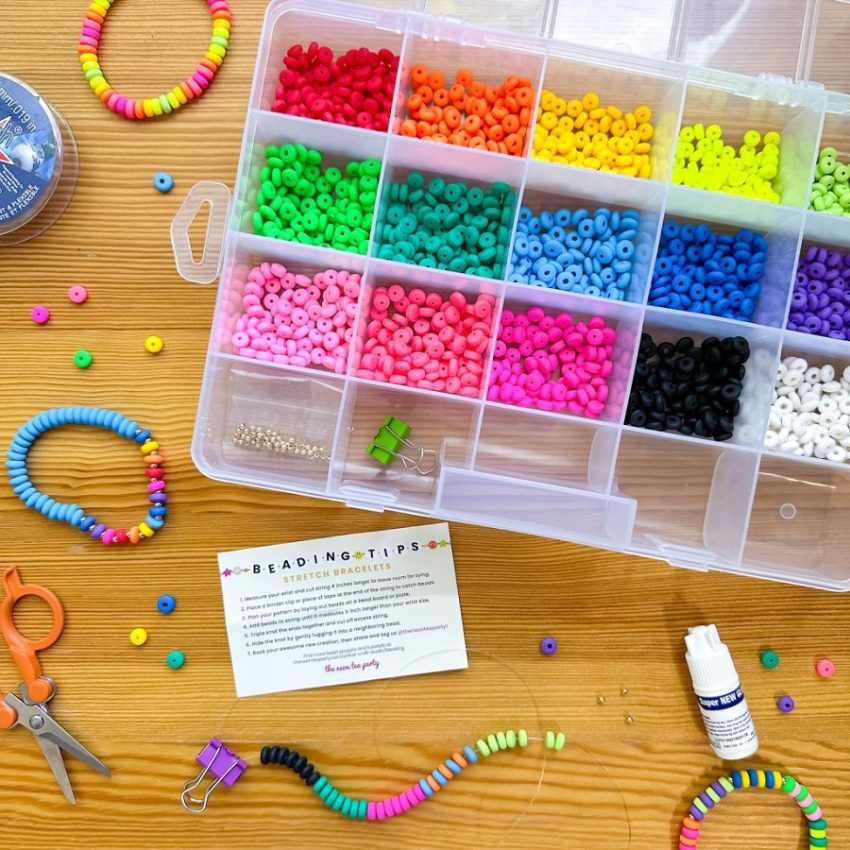
- Beads: Choose beads in your favorite colors, shapes, and sizes. You can opt for glass beads, wooden beads, plastic beads, or gemstone beads. Consider using a mix for a more intricate design.
- Stretch Cord or Beading Wire: Stretch cord is perfect for making bracelets since it allows them to easily slip on and off your wrist. Beading wire is more durable and can handle heavier beads but requires a clasp.
- Scissors: To cut your cord or wire.
- Bead Caps and Spacers (Optional): These are decorative elements that can add flair to your bracelet design.
- Clasps (if using wire): If you decide to use beading wire, you’ll need a clasp to secure your bracelet.
- Crimp Beads (if using wire): These are used to secure the ends of the wire if you’re using a clasp.
- Beading Needle (optional): If your beads have small holes, a beading needle can help you thread them onto the cord.
- Tape (optional): In case you want to secure the end of your cord to a flat surface while beading, tape can be very helpful.
Planning Your Design
Start by planning your design. Think about the colors and types of beads you want to use. You may want to sketch a rough design or simply lay out the beads on a flat surface to visualize the final product.
Tips:
- Choose a color scheme that resonates with you. Monochromatic looks can be elegant, while contrasting colors can make a bold statement.
- Consider the size and shape of the beads in relation to each other. Balance is key!
- If you’re unsure, look for inspiration online on platforms like Pinterest or Instagram.
Measuring Your Wrist
To ensure your bracelet fits well, you need to measure your wrist:
- Take a flexible measuring tape and wrap it around your wrist just above the wrist bone.
- Note your measurement in inches or centimeters.
- Add about half an inch (1.27 cm) to an inch (2.54 cm) for movement and comfort, particularly if you’re using stretch cord.
Cutting the Cord or Wire
Once you have your wrist size, it’s time to cut the cord or wire.
- Cut a length of stretch cord that is about 2–3 inches (5–7.5 cm) longer than your desired bracelet length. This extra length gives you room to tie knots later.
- If you are using beading wire, the same principle applies; make sure you have enough length for the clasps and crimp beads.
Stringing the Beads
Now for the fun part: stringing the beads!
- Prepare the Cord or Wire: If you’re using stretch cord, tie a knot at one end to prevent the beads from slipping off. If you’re using wire, secure one end with a crimp bead.
- Start Stringing: Begin adding your beads in the order you’ve planned. You might want to alternate colors or create patterns—whatever you prefer!
- Check the Length: Periodically check that the bracelet is reaching your desired length. You can always remove or add beads as necessary.
- Use Bead Caps/Spacers: If desired, insert bead caps and spacers among your beads for added decoration and texture.
Securing the Bracelet
Once you’ve threaded all your beads onto the cord or wire, it’s time to secure the ends.
For Stretch Cord:
- Double Knot: Pull the cord snugly and tie a double knot at the end to secure the beads. You can also add a drop of clear nail polish to hold the knot in place.
- Trim the Excess: Cut off any excess cord, being sure not to cut too close to the knot.
- Hide the Knot: Optionally, you can gently slide one of the beads over the knot to hide it.
For Beading Wire:
- Add a Crimp Bead: Slide a crimp bead onto the wire, followed by one end of the clasp.
- Loop Back: Thread the wire back through the crimp bead, creating a loop.
- Secure the Crimp Bead: Using flat-nose pliers, gently squeeze the crimp bead to secure it, making sure it’s tight enough to hold.
- Trim Excess Wire: Cut any excess wire, leaving just enough to keep the clasp secure.
Enjoy Your Creation!
Congratulations! You’ve just made your very own beaded bracelet. Take a moment to admire your handiwork. You can now wear it with pride or gift it to someone special.
Maintenance Tips:
- Store your beaded bracelet flat to avoid stretching or warping.
- Clean your beads gently with a soft cloth to maintain their luster.
Additional Ideas and Variations
Once you have mastered the basic beaded bracelet, consider experimenting with different techniques and styles:
- Charm Bracelets: Add charms among the beads for a personalized touch.
- Layered Bracelets: Create multiple bracelets in different styles to stack together.
- Themed Bracelets: Use beads that charge a particular theme (e.g., seashells and blues for a beach theme, or pastels for a springtime look).
Adjustable Bracelets: Learn to make macrame knots to create an adjustable style.
Understanding Bead Types and Materials
Before you start crafting, familiarize yourself with different types of beads and materials available. Understanding their characteristics will help you make informed decisions while designing your bracelet.
- Bead Types:
- Glass Beads: These come in various shapes, sizes, and colors and can be transparent, opaque, or iridescent. They tend to reflect light beautifully.
- Wooden Beads: Lightweight and eco-friendly, wooden beads often have a rustic appearance and can add warmth to your designs.
- Acrylic Beads: These beads are lightweight and available in nearly every color and shape. They are a cost-effective option for beginners.
- Gemstone Beads: Made from natural stones, these beads add a touch of elegance and uniqueness to your bracelet. Each type of gemstone carries its own meaning and energy.
- Metal Beads: Silver, gold, and other metal beads can add a classy touch to your bracelet. They can also act as spacers between larger beads.
- Thread and Wire:
- Beading Thread: Choose a strong, flexible thread specifically designed for beading. Common types include nylon, silk, and cotton.
- Jewelry Wire: This material is perfect for creating more structured bracelets. Stainless steel and silver-plated wire are popular choices.
- Focal Pieces and Findings:
- Focal Pieces: A larger, more decorative bead, charm, or pendant can serve as the focal point of your bracelet and add interest.
- Findings: These include clasps, jump rings, and spacers and are essential for completing your jewelry piece.
Planning Your Design
Before you start stringing beads, take some time to draft a design plan. This step will streamline your process and help you visualize the final product.
- Theme and Color Scheme:
- Choose a theme (boho, elegant, minimalistic) and select a color palette that resonates with your vision. You might use a color wheel to find complementary colors or choose a monochromatic scheme for a more cohesive look.
- Sketching:
- A simple sketch can help you create a visual reference as you craft. Note the arrangement of colors, sizes, and shapes and where you plan to place your focal pieces.
- Take Measurements:
- Measure your wrist using a flexible tape measure or a piece of string. Add an extra inch or two for comfort, and note down the length when you begin to cut thread or wire.
Techniques for Beading Bracelets
Once you’ve prepared your materials and crafted a design, it’s time to get crafting! Here are several techniques that will elevate your bead crafting skills:
- Basic Stringing:
- The most straightforward approach. Simply thread your beads onto a length of beading thread or wire, following your design plan. Make sure to secure the ends using knots, crimp beads, or clasps as necessary.
- Knotting:
- Adding knots between beads can create a classic look and prevent beads from moving around. Use a simple overhand knot or a more intricate technique such as the macrame knot if you want something more decorative.
- Weaving and Loom Techniques:
- Weaving is great for intricate designs and patterns. A beading loom allows you to create complex and colorful patterns with ease, opening up a wider range of design possibilities.
- Wire Wrapping:
- A technique often used with metal beads or stones. Create loops and wraps with wire to attach beads or add embellishments, giving your bracelet a polished look.
- Sewing Beads:
- For textile-based bracelets, you can sew beads directly onto fabric using a needle and thread. This technique allows for unique textures and starts from a different base.

- For textile-based bracelets, you can sew beads directly onto fabric using a needle and thread. This technique allows for unique textures and starts from a different base.
Conclusion
Making a DIY beaded bracelet is a simple yet satisfying project that anyone can enjoy. With some basic materials, a little time, and creativity, you can create beautiful jewelry that reflects your personal style. So gather your materials and start stringing those beads! Happy crafting!
