Introduction
How to bead a bracelet – Creating your own beaded bracelet can be a fun and rewarding activity. Not only do you get to express your creativity, but you also end up with a unique piece of jewelry that you can wear or gift to someone special. Here’s a comprehensive step-by-step guide to help you through the process of making your own beaded bracelet.
Gather Your Materials
Before you begin, you’ll need to gather the necessary materials. Here’s a list of items you’ll need:
- Beads: Choose various types, colors, and sizes that resonate with your personal style. You can opt for glass, wooden, ceramic, or even metal beads.
- Bead Stringing Material: Common options include elastic cord, beading wire, or thread. Elastic is great for stretch bracelets, while wire or thread adds durability to more intricate designs.
- Clasp: If you’re using wire or thread, you’ll need a clasp to secure your bracelet. Magnetic or lobster clasps are popular choices.
- Bead Stops or Crimp Beads (if using wire): These keep your beads in place and secure your bracelet properly.
- Scissors: For trimming the string or cord.
- Bead Mat: This helps to prevent your beads from rolling away while you work.
Design Your Bracelet
Before you start stringing beads, take some time to design your bracelet. Consider the following:
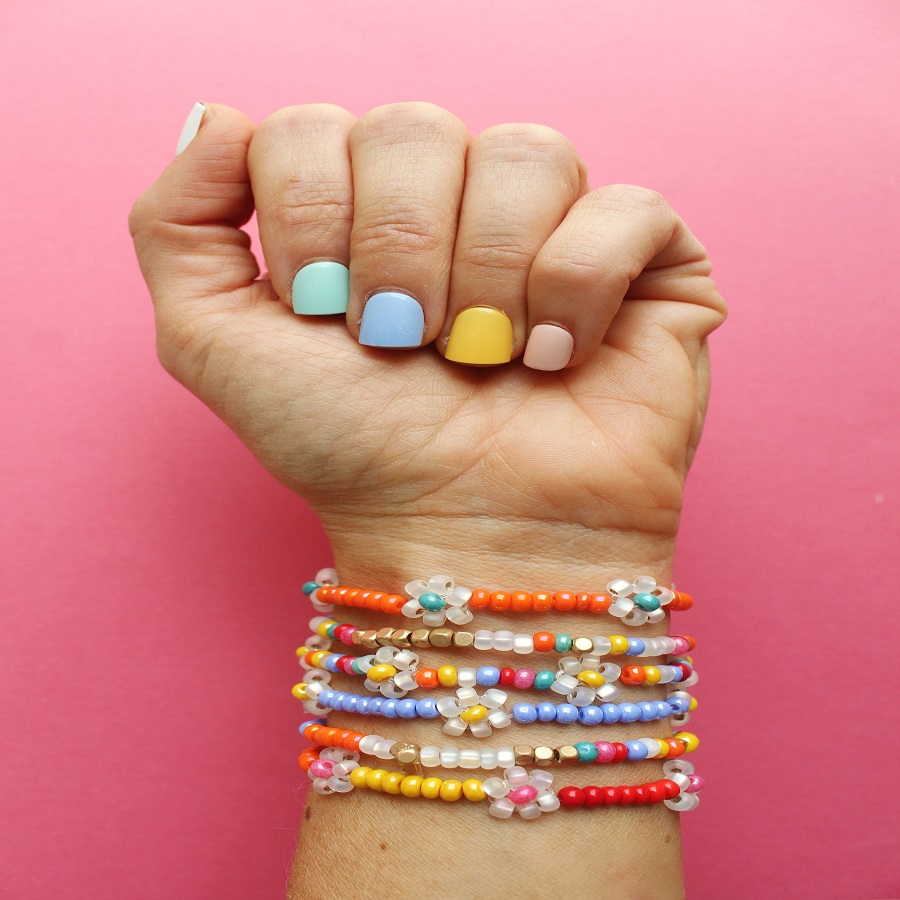
- Theme: What do you want the bracelet to convey? You could choose a specific color palette, or a theme like nature, boho, or elegance.
- Pattern: Decide whether you want a random assortment of beads, a specific pattern (like ABAB), or a gradient effect using different shades of the same color.
- Length: Measure your wrist to determine the desired length of your bracelet. A standard bracelet length for women is between 6.5 to 7.5 inches.
Prepare Your Bead Size and Arrangement
Use scrap string or a ruler to lay out your beads in the desired order. This will help you visualize the final product. Pay attention to spacing and how each bead looks next to the others.
Cut Your String or Cord
Once you are satisfied with your design, cut a length of cord or string that is about 2 inches longer than the desired length of your bracelet. This extra length will make it easier to tie knots or attach the clasp later.
String Your Beads
Begin stringing your beads onto the cord. If you’re using elastic, be cautious not to stretch it too much while you work. Here’s how you do it:
- If using crimp beads:
- String a crimp bead on one end of the wire, then follow with your first bead.
- This will hold the first bead in place. Repeat this process, adding beads according to your design.
- If using elastic cord:
- Simply thread your beads onto the cord in the order you laid them out.
Secure the Ends
After strung all your beads, you need to secure the ends.
- For Wire:
- Slide on a crimp bead close to the last bead, followed by the clasp.
- Loop the wire back through the crimp bead and pull to create some tension. Use pliers to crimp the bead securely.
- Trim the excess wire to about 1 inch.
- For Elastic:
- Tie a double knot to secure your beads, ensuring the knot is tight.
- If you want to make it extra secure, apply a small drop of jewelry glue to the knot.
- Trim the excess elastic.
Add the Clasp
If using a clasp, it typically goes onto the wire via a crimp bead as mentioned above. Make sure that the clasp is secure and functions properly.
Final Touches
Clean Up and Store
Before you wear your beaded bracelet, make sure to tidy up your workspace and store any leftover beads safely for your next project. Be careful of sharp tools like scissors and pliers.
Wear and Show Off Your Creation
Your beautiful beaded bracelet is now ready to wear! Flaunt it with pride or gift it to someone special. Share your new creation on social media, or keep it as a personal treasure.
Tips for Successful Bead Bracelet Making
- Experiment: Don’t be afraid to mix colors and materials; creativity knows no bounds.
- Practice: If you’re new to jewelry making, start with simple designs and gradually move on to more intricate patterns.
- Learn: Consider watching YouTube tutorials or joining a local workshop for hands-on experiences.
Materials You’ll Need
Before diving in, let’s gather all the necessary materials. Here’s a list of what you’ll need:
Basic Tools and Supplies:
- Beads: Choose a variety of materials—glass, wood, metal, acrylic, or natural stones. Select colors and shapes that resonate with your style.
- Elastic Cord or Beading Wire: Elastic cord is great for stretch bracelets, while beading wire is preferable for more structured designs.
- Scissors: For cutting your cord or wire.
- Crimp Beads: If using wire, these are essential for securing your bracelet ends.
- Wire Cutters: Necessary if you’re using beading wire.
- Beading Needle: Helpful, especially for small beads.
- Ruler or Measuring Tape: To measure your wrist for the right fit.
- Tray or Mat: A flat surface to organize and work with your beads.
Optional Supplies:
- Charm or Pendant: For added flair, consider integrating charms or pendants into your design.
- Toggle or Clasp: If you’re using beading wire, these will secure your bracelet.
- Design Software or Paper: Helpful for sketching out your designs.
Step-by-Step Guide
Measure Your Wrist
Before selecting beads, you’ll want to know how long to make your bracelet. Use a ruler or measuring tape to measure the circumference of your wrist. Typically, you want the bracelet to be about half an inch longer than your wrist measurement for a comfortable fit.
Plan Your Design
Now that you have your measurements, it’s time to decide on a design. Consider the following components:
- Color Scheme: Select a combination of colors that complement each other.
- Patterns: Think about how you want to arrange the beads—alternating colors, a gradient effect, or specific patterns.
- Symbolism: If you’re using natural stones, research their meanings to create a bracelet that carries personal significance.
Gather Your Beads
Based on your design, start gathering the beads you’ll use. It’s helpful to lay them out in a way that reflects your intended final design.
Stringing the Beads
If you’re using elastic cord:
- Cut Length: Cut a piece of elastic cord about 3-4 inches longer than your desired bracelet length.
- Tie a Knot: Tie a loose knot at one end to prevent beads from slipping off.
- String Beads: Begin adding your beads in the desired sequence. Push them all the way down to the knot.
- Check Fit: Occasionally check the fit by wrapping it around your wrist. Adjust accordingly.
If you’re using beading wire:
- Cut Length: Cut a piece of beading wire 10-12 inches longer than your desired bracelet length.
- Crimp Bead: Slide a crimp bead onto one end of the wire, followed by a clasp (if using), then crimp it closed using your pliers.
- String Beads: Add beads in your pre-planned order, leaving enough room at the end for a clasp.
- Finish: Once complete, add another crimp bead, pinch it closed, then trim excess wire.
Securing the Ends
For elastic, simply tie a secure knot. You can double knot it to ensure security. For wire, ensure your crimp beads are tight, then use wire cutters to remove any excess wire.
Inspect and Finalize
Carefully inspect your bracelet to ensure all beads are secured and no loose ends are showing. Make any necessary adjustments and see if it’s the right fit on your wrist.
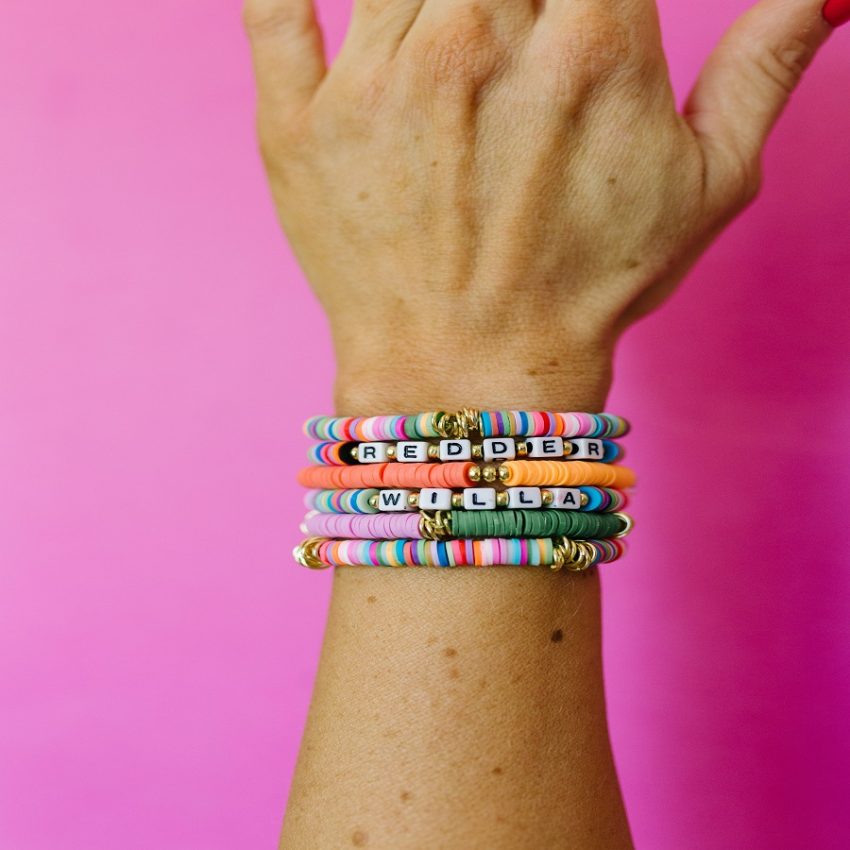
Add Personal Touches
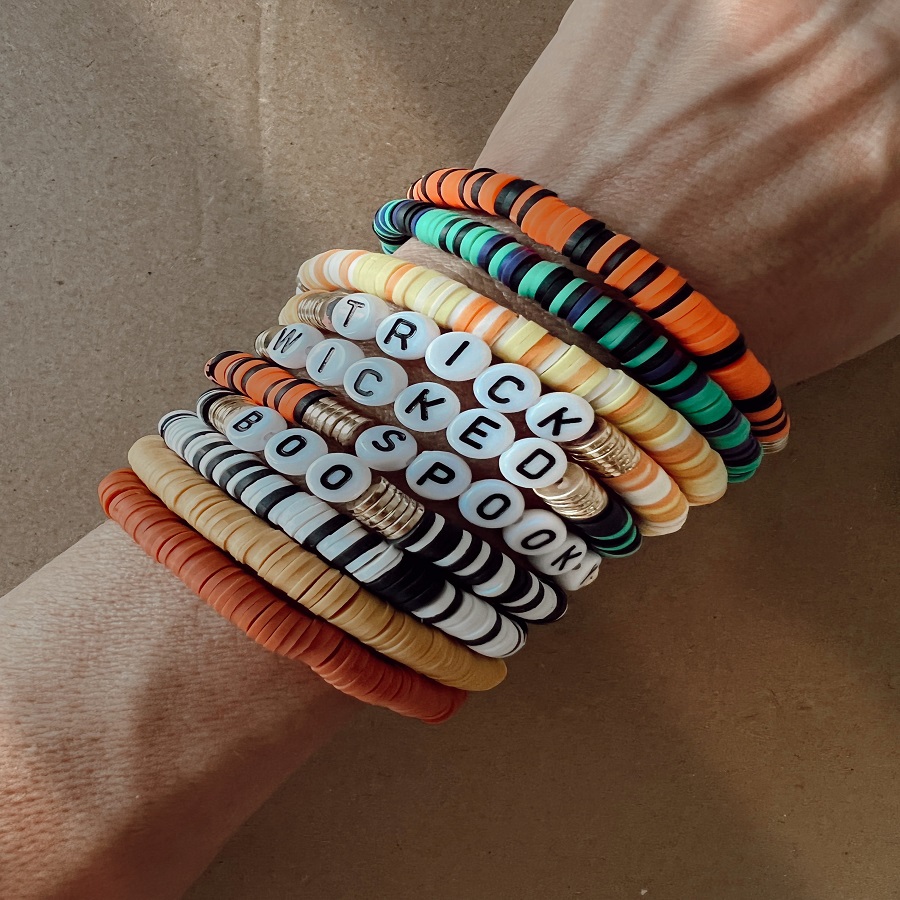
To make your bracelet truly unique, consider adding personalized touches:
- Incorporate a charm that holds significance to you.
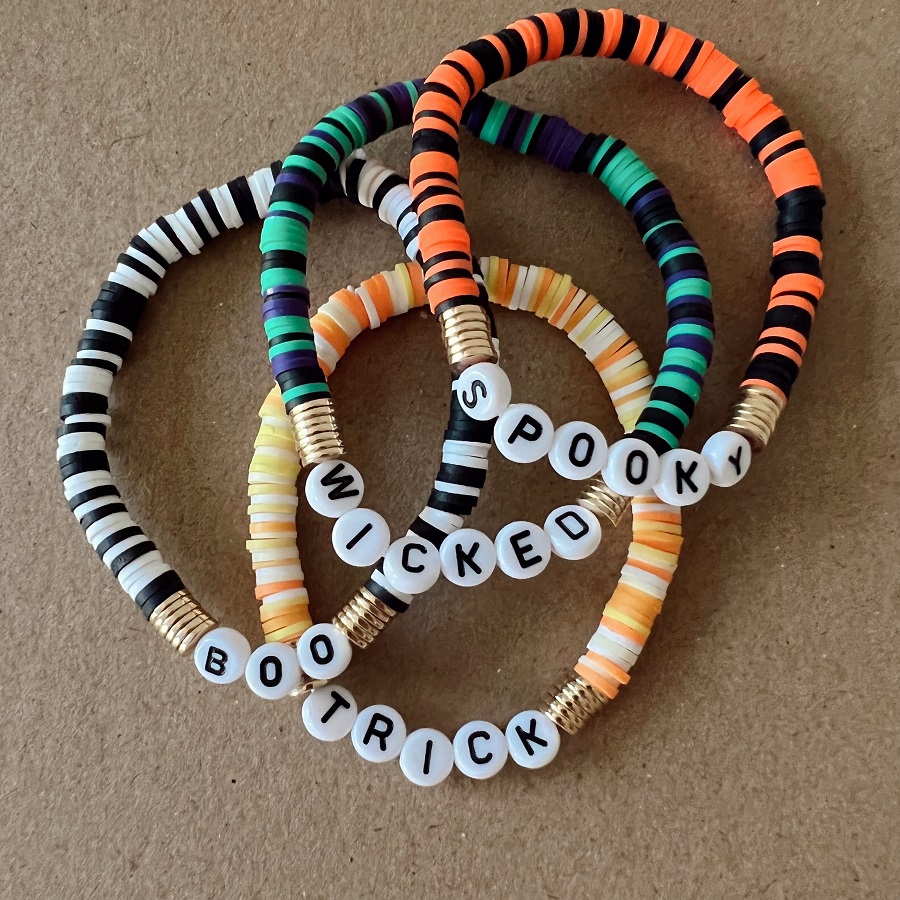
- Create sets by making additional bracelets with coordinating colors or designs.
- Add a tag or label with your name or a quote that resonates with you.
Tips for Success
- Experiment: Don’t hesitate to try different bead sizes, shapes, and materials to find what you like best.
- Practice Patience: If you make a mistake, it’s okay! Take your time and enjoy the process of creating.
- Store Beads Safely: Keep your beads organized in containers to avoid tangling or loss.
Conclusion
Creating your own beaded bracelet can be an enjoyable and therapeutic process. Whether for yourself or as a gift, the effort you put into making it will add sentimental value to the piece. Follow these steps, and you’ll have uniquely personal jewelry that reflects your individual style! Happy beading!