Introduction to Bead Bracelet Making
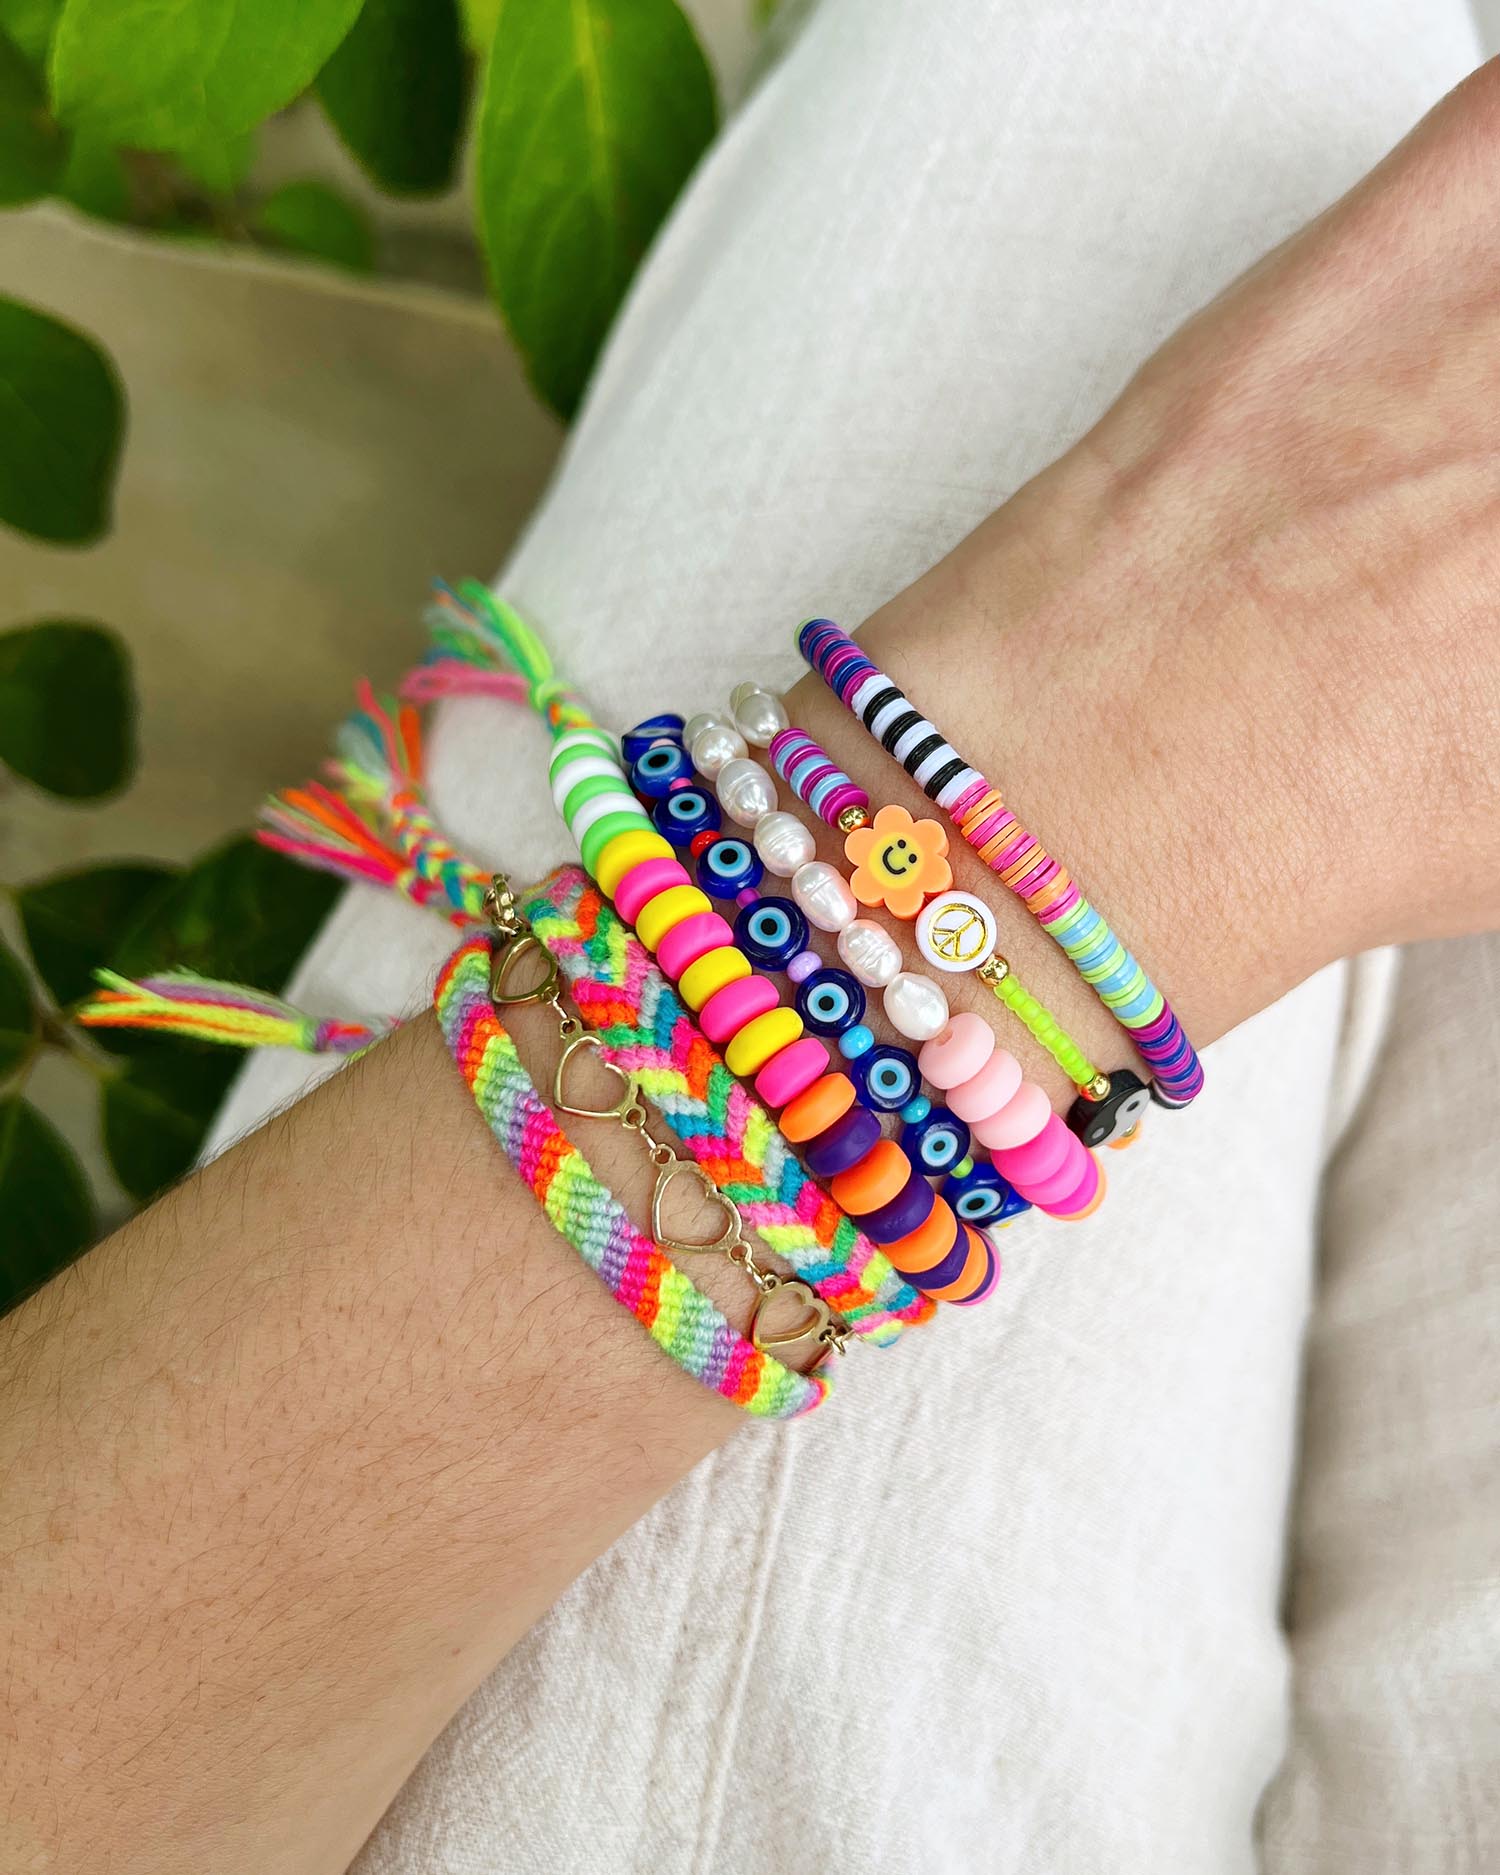
How to tie a bead bracelet – Making bead bracelets is a fun and rewarding hobby that allows for endless creativity and personalization. Whether you’re a beginner or an experienced jewelry maker, bead bracelets are a great place to start or continue your crafting journey.
In this guide, we will cover everything you need to know on how to tie a bead bracelet. We will talk about the materials you will need, including different beads and stretch cords. We’ll then move on to the actual process: measuring and cutting the cord, securing the ends, stringing the beads, tying a secure knot, and adding finishing touches. With these basics, you can create beautiful and durable bead bracelets for yourself or as special gifts.
Remember, the beauty of making your own bead bracelets lies in the customization. You choose your colors, patterns, and even the size to fit your wrist or that of a loved one perfectly. Furthermore, as you gain confidence, you can experiment with more complex designs and techniques.
As we step through this guide, you’ll find that with a bit of practice and patience, you’ll quickly master the art of bead bracelet making. Let’s get started on this exciting and creative endeavor!
Choosing Your Materials
Choosing the right materials is key to creating a stunning bead bracelet. The beads and stretch cord you select will determine not only the look but also the feel and durability of your finished piece. By thoughtfully selecting your materials, you put the foundation in place for a bracelet you’ll be proud to wear or give.
Selecting Beads for Your Bracelet
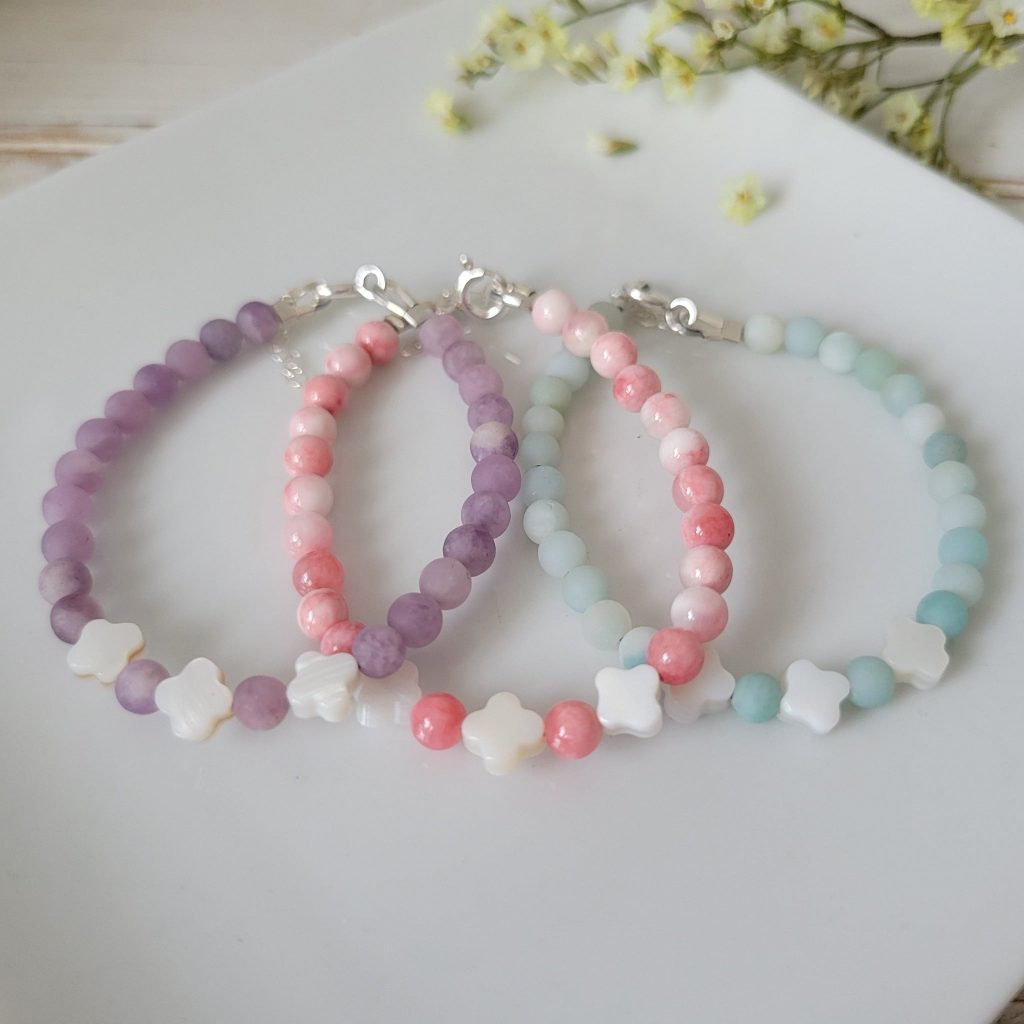
When selecting beads, consider their color, shape, and size. Your choice sets the style of your bracelet. Think about mixing different textures and sizes for a unique look. Glass, wood, or metal beads offer a variety of options for personal expression. Remember, the hole diameter is essential – it must be large enough to fit the stretch cord you’ll be using.
Understanding Stretch Cord Options
The stretch cord is what allows your bead bracelet to maintain its shape and stay secure on your wrist. There are several stretch cord types to choose from. They differ in thickness and elasticity. A popular choice is ‘Stretch Magic’, known for its strong and reliable quality. Pick a cord that can endure everyday wear and handle the weight of the beads. Always opt for a cord that rebounds well and is easy to knot.
Preparing the Stretch Cord
Before you dive into the creative process of bracelet making, it’s crucial to properly prepare your stretch cord. This ensures that your bracelet will be the right size and won’t fall apart.
Measuring and Cutting the Cord
To begin, measure the stretch cord. No need for exact measurements; wrap the cord around your wrist and add a few extra inches. This extra length is helpful for knotting later. Use scissors or cutters to cut the stretch cord. ‘Stretch Magic’ is a recommended brand for its strength and elasticity.
Securing the Cord Ends for Stringing
Once cut, secure one end of your stretch cord to prevent beads from slipping off. You can do this by taping the end to your work surface or using a bead stopper. This will keep your beads in place while you design your bracelet. Now, you’re ready to move on to stringing beads with confidence and creativity.
Stringing Beads on Your Bracelet
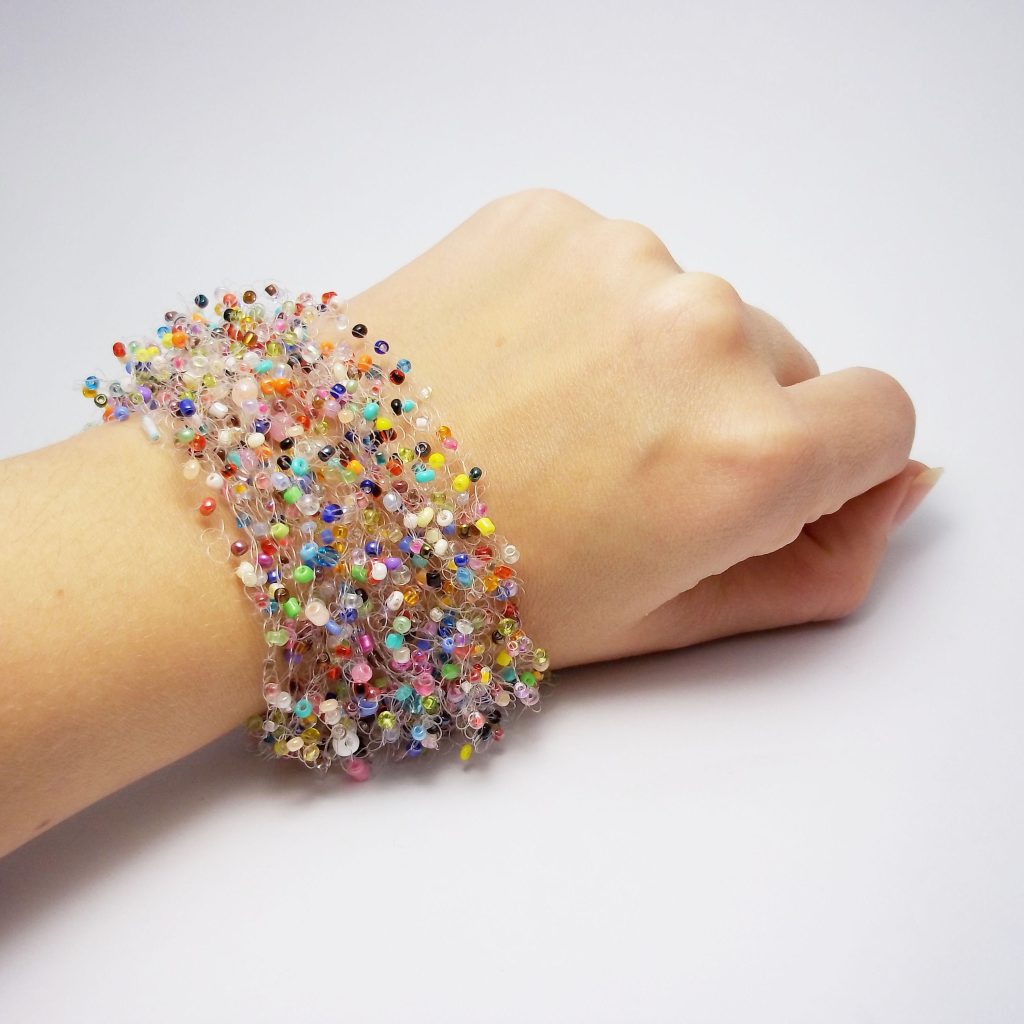
After preparing your stretch cord, it’s time to start stringing beads on your bracelet. This is where your creativity truly shines. The beads you’ve chosen will form the pattern of your bracelet, which is as unique as your personal style. You can follow a sequence or mix the beads randomly for an eclectic look. Remember to lay out your design beforehand. It helps you visualize the final product and makes stringing effortless.
Designing Your Bead Pattern
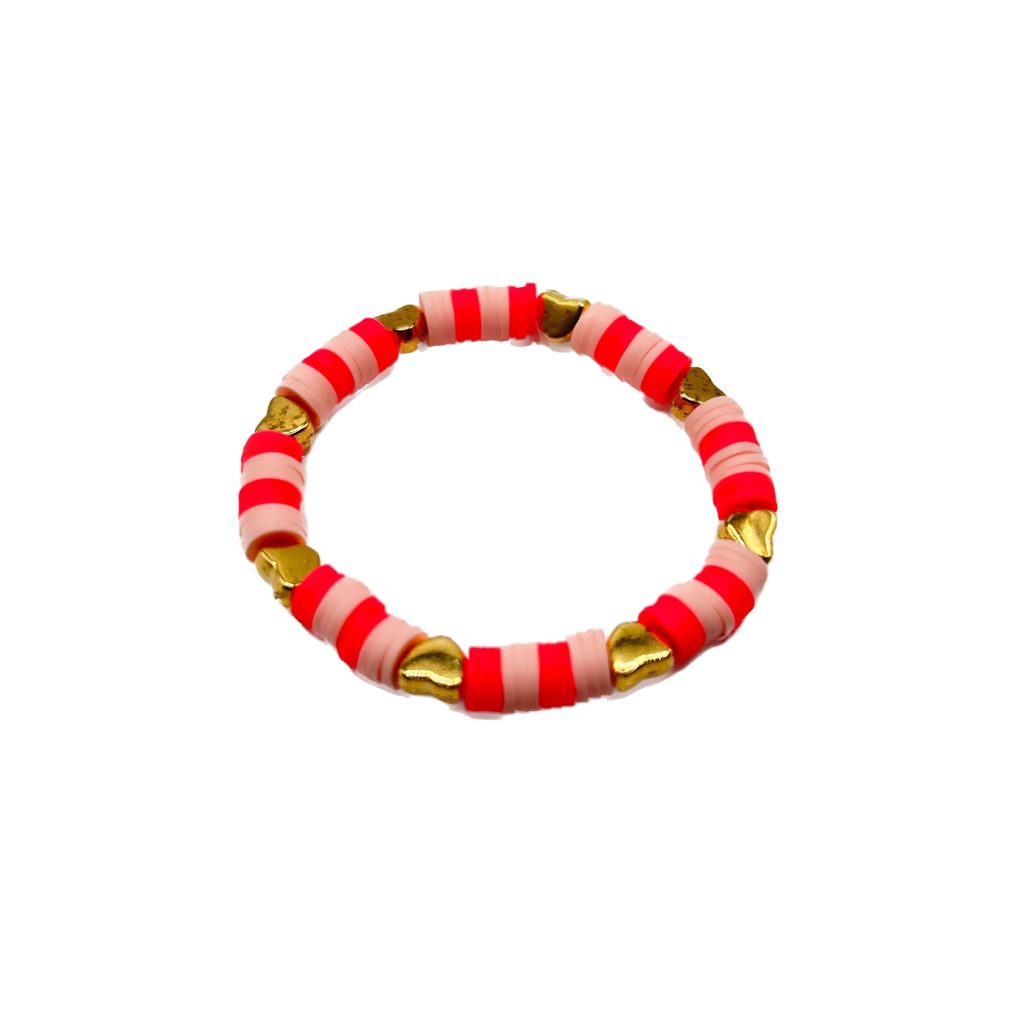
Designing the bead pattern is a creative and enjoyable process. Look at colors that go well together. Play with different bead sizes to create texture. Personalize your bracelet with beads that have meaning to you, like birthstones or favorite colors. You may want to repeat a certain pattern or go for a more random, organic look. Keep in mind the person who will wear the bracelet. Make it fit their taste and style.
Tips for Stringing with Ease
Stringing beads can be relaxing if you follow these simple tips. First, use a tray to prevent beads from rolling away. This will also keep your design in order. Use a bead stopper on one end, or tape, like we mentioned earlier. It holds the beads in place as you string them. If you drop a bead, don’t fret. Just pick it up and keep going. Keep the stretch cord taut but not too tight. It gives you a better idea of how the finished bracelet will fit. Lastly, enjoy the process. Take your time and appreciate the design coming together in your hands.
 Tying Off the Bracelet
Once you have all your beads in place, the next step is to secure your creation. Tying off your bracelet is crucial to ensure that it holds together well and feels comfortable to wear. Here’s how you ensure a strong hold.
The Technique for a Secure Knot
Begin with the ends of your stretch cord. Make sure you have enough cord to work with; a few extra inches can make this easier. Now, it’s time to tie your knot. Take both ends of the stretch cord and make a simple overhand knot. Pull it tight enough so there’s no gap between the beads and the knot. Then, make another overhand knot on top of the first one. This is called a double knot and it provides extra security. Finally, add a third overhand knot for the most strength.
Remember to pull each knot tightly. But be gentle enough not to break the cord. A good knot should touch the beads without any slack. It should also not be so tight that it starts to stretch out the cord in an unnatural way.
Strengthening the Knot with Glue
To enhance the durability of your knot, we add glue. This is a secret shared by many experienced jewelry makers. After tying your secure knots, squeeze a tiny dot of ‘Super New Glue’ onto the knot. Protect your hands with a cloth or gloves to avoid sticking your fingers together.
The glue will lock the knot in place once it dries. It takes only a few seconds for the glue to set. Allow the stretch cord to relax before proceeding to the next step. This added precaution can be the difference between a bracelet that lasts a few weeks and one that lasts for years.
By following these steps for tying off and securing your bead bracelet with glue, you’re almost at the end of the creation process. With a strong, durable knot, your bracelet is nearly ready to wear or gift.
Finishing Touches
Once you’ve tied your bead bracelet with the proper technique and secured the knot with glue, it’s time to apply the finishing touches. These final steps are essential to ensure your bracelet looks polished and professional.
Trimming Excess Cord
After the glue has set on your knot, the next step is to trim the excess stretch cord. Take sharp scissors or cutters and snip the ends as close to the knot as possible without cutting the knot itself. Be cautious not to leave too much cord as it could poke out and be uncomfortable against the skin.
Hiding the Knot Inside a Bead
For a flawless finish, tuck the remaining knot into a nearby bead. This is where beads with larger holes come in handy. Gently move the knot towards a bead, press it in, and release the beads around it to secure the knot out of sight. By hiding the knot, your bracelet maintains a seamless appearance, and the closure is practically invisible.
With these final steps, your bead bracelet is complete and ready to wear with pride or present as a thoughtful, hand-crafted gift. Remember, the key to a beautiful bead bracelet lies in the attention to detail, from selecting the right materials to applying those finishing touches.
Additional Resources
After mastering the fundamentals of how to tie a bead bracelet, you might be eager to expand your knowledge and skills. The following resources can help you take your bracelet making to the next level.
 Where to Find Tutorials – how to tie a bead bracelet
To help you refine your technique or learn new styles, tutorials are invaluable. Look for video tutorials online which break down the process visually. YouTube is a treasure trove of detailed tutorials for all skill levels. Whether you are looking to learn a new knot type or wish to dive into more complicated designs, there’s a video for you.
Craft blogs and jewelry-making forums are another good source for step-by-step guides and can offer personalized advice through their communities. Social media, particularly Instagram and Pinterest, can spark inspiration with their wealth of creative ideas and DIY trends. Remember that practice makes perfect and watching others can give you new insights and techniques.
Bracelet Making Kits for Starters – how to tie a bead bracelet
If you’re just starting out or prefer a more streamlined approach, a bracelet making kit can be a game-changer. These kits come bundled with everything you need: a variety of beads, stretch cords, and sometimes even the necessary tools like scissors and glue. Some kits also include a booklet with instructions and design ideas.
Purchasing a kit can also be cost-effective, as it often comes to less than buying supplies individually. It’s a perfect way to get your feet wet without the commitment of purchasing large quantities of materials. Plus, they make for great gifts for someone else interested in taking up bead bracelet making.
With these additional resources at your fingertips, you’re well-equipped to continue exploring the exciting world of jewelry making. Happy crafting!