Introduction
Making bead bracelets – Creating your own beaded bracelets is not only a fun and fulfilling hobby but also a fantastic way to express your personal style. Whether you’re crafting for yourself, as gifts for loved ones, or even to start your own small business, the process of designing and assembling beaded jewelry can be incredibly rewarding. In this step-by-step guide, we’ll walk you through making a beautiful beaded bracelet from scratch, covering everything from materials selection to finishing touches.

Materials You Will Need
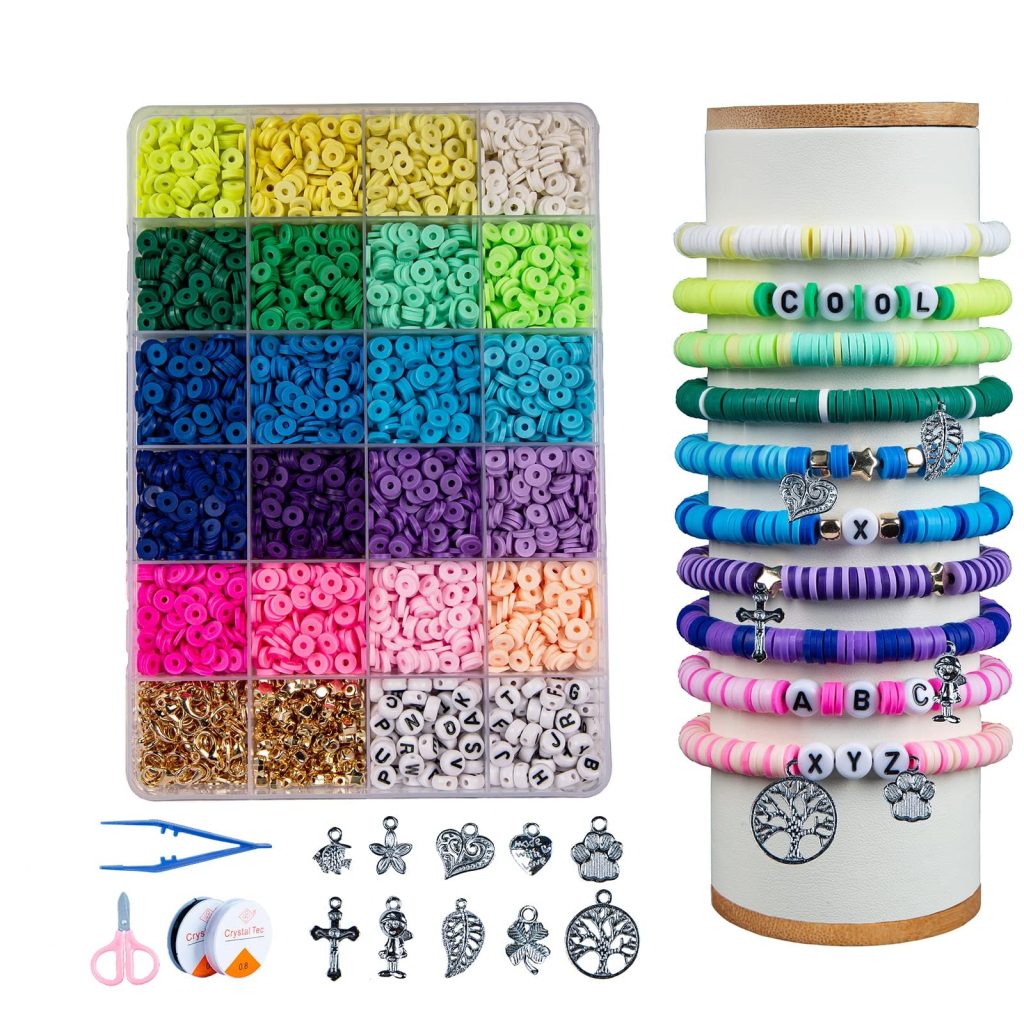
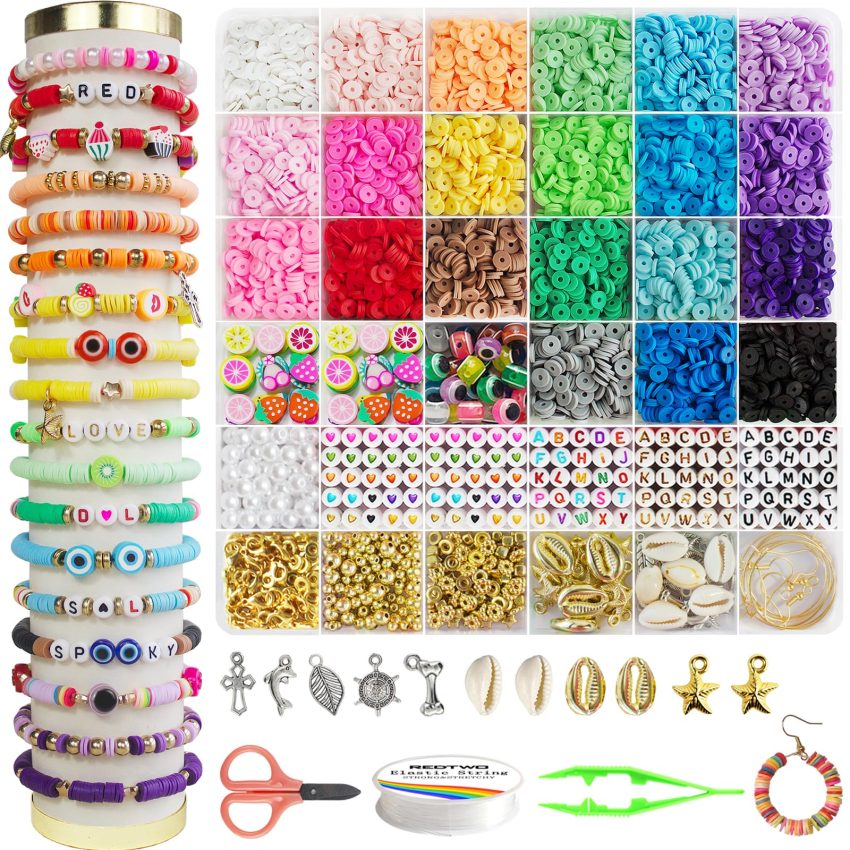
- Beads: Choose beads in various sizes, shapes, and colors according to your design preference. Glass, crystal, gemstone, or plastic beads work well.
- Elastic Cord: Stretchy cord like clear elastic or nylon thread is perfect for beginner projects.
- Scissors: Sharp scissors to cut the cord.
- Bead Stopper or Tape: To prevent beads from sliding off the cord while working.
- Clasp (optional): If you prefer not to use elastic, you will need a clasp and jump rings.
- Pliers (optional): Needed for attaching clasps if not using elastic cord.
Plan Your Design
Before starting, decide on the pattern and color scheme for your bracelet. Sketch it out or lay out your beads to visualize the final look. This helps ensure you have enough beads and gives you an idea of how the bracelet will come together.
Measure & Cut the Cord
- For an elastic bracelet, measure your wrist and add about 1.5 inches (4 cm) for a comfortable fit. Cut the elastic cord accordingly.
- If using a clasp, measure your wrist, double the length, and add an extra 2 inches (5 cm) for attaching the clasp.
Secure the Beads
- If using elastic cord, tie a simple knot at one end and slide on a bead stopper or wrap tape around the end to keep beads from falling off.
- For non-elastic bracelets, you can start stringing beads directly after cutting the cord to the required length.
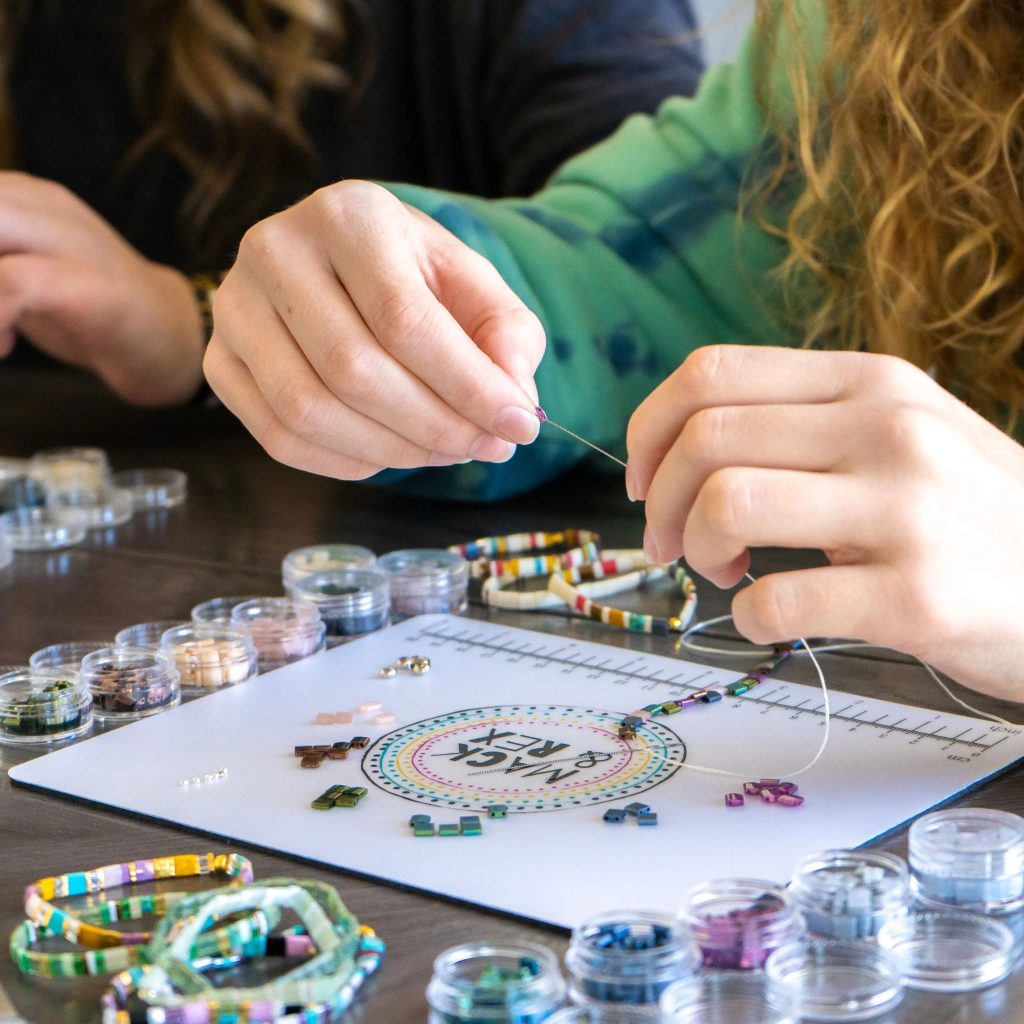
Start Stringing
Begin adding your beads following your planned design. Ensure each bead is pushed close to the previous one to avoid gaps. For patterns, pay close attention to the sequence to maintain consistency.
Check the Fit
Once you’ve added enough beads to cover your wrist with some slack, try the bracelet on to check the fit. It should be comfortable without being too tight. Adjust the number of beads if necessary.
Finishing Touches
Elastic Bracelets:
- Joining Ends: After confirming the fit, remove the bead stopper or tape and tie the two ends of the cord together in a secure knot. Make sure it’s tight but not so tight that it kinks the elastic.
- Knotting Technique: Tie multiple knots (usually 3-4) for added security. Apply a drop of clear nail polish or glue on the knots and let it dry completely for added strength.
- Trimming Excess: Once the glue or nail polish dries, carefully trim the excess cord close to the knot.
Non-Elastic Bracelets with Clasp:
- Attach Jump Rings: Using pliers, attach a jump ring to one end of the bracelet.
- Add Clasp: Attach one part of the clasp (e.g., lobster claw) to the jump ring and close securely.
- Repeat for the Other End: Attach another jump ring to the opposite end and connect the remaining part of the clasp.

Materials Needed:
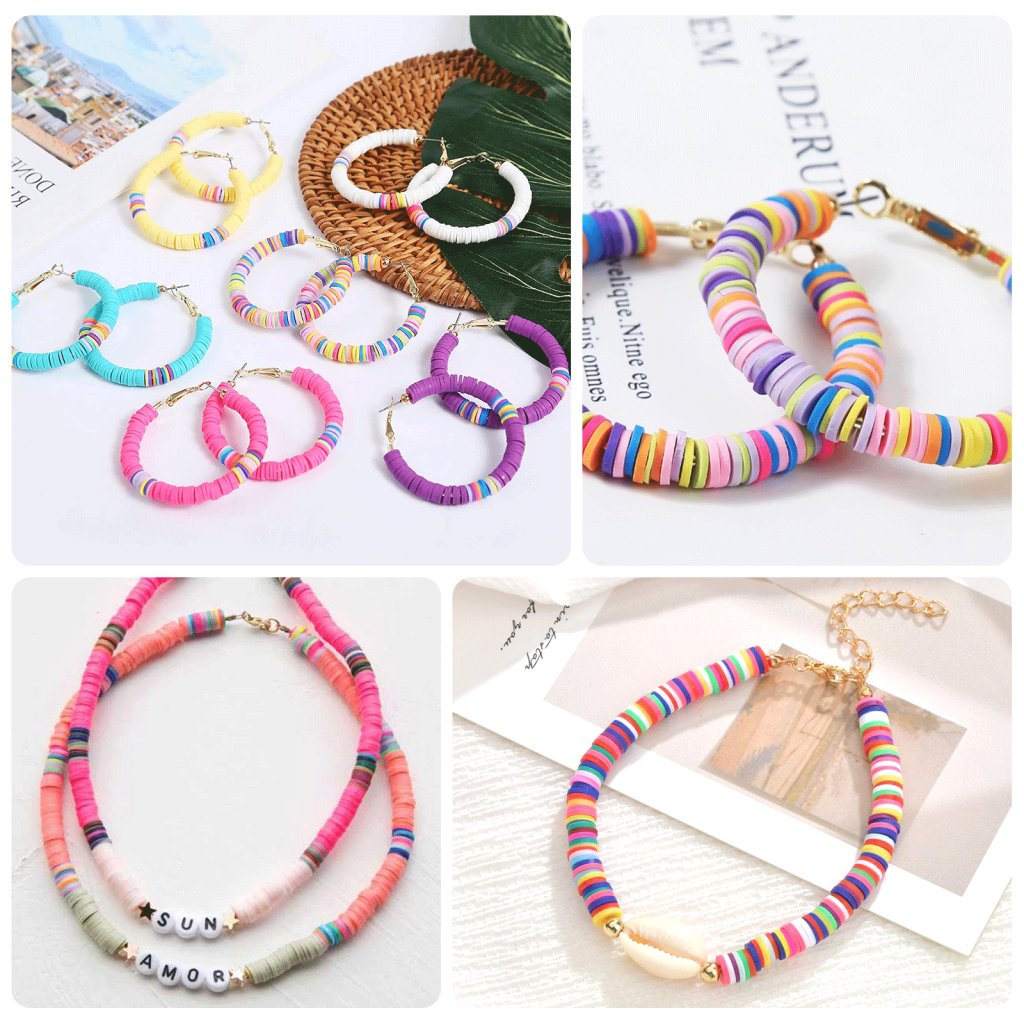
- Beads: Choose beads that reflect your taste—whether they’re colorful glass beads, natural gemstones, or metallic charms. Mix and match different sizes and shapes for added visual interest.
- Stringing Material: Options include elastic cord (great for stretch bracelets), nylon thread, waxed cotton cord, or jewelry wire depending on your preferred style and bead size.
- Scissors: Essential for cutting your stringing material to the desired length.
- Clasps and Fasteners: If you’re making a bracelet with a clasp, you’ll need a closure that matches your chosen stringing material.
- Bead Stopper or Tape: Helps keep beads from sliding off the stringing material while you work.
- Ruler or Measuring Tape: Ensures your bracelet fits comfortably around your wrist.
- Optional: Pliers (for attaching clasps), bead organizer trays (to keep beads sorted), and charms or spacers for additional embellishments.
Step-by-Step Guide:
1. Planning Your Design
- Measure Your Wrist: Use a flexible tape measure or a piece of string to determine your wrist size. Add extra length if you prefer a looser fit.
- Choose Beads: Select beads in colors and styles that complement each other. Lay them out in the desired pattern to visualize your design before stringing.
2. Preparing Your Workspace
- Clear Area: Ensure you have enough space to work comfortably without the risk of beads rolling away.
- Organize Beads: Arrange your beads in order of use to streamline the crafting process.
3. Stringing the Beads
- Cutting String: Measure and cut your stringing material based on your wrist size plus additional length for tying knots or attaching a clasp.
- Securing Ends: Use a bead stopper, tape, or a simple knot to secure one end of the string.
4. Adding Beads
- Stringing Sequence: Thread your beads onto the string in the desired order and pattern. Experiment with spacing between beads to achieve your desired look.
- Checking Fit: Periodically wrap the bracelet around your wrist to check the length and adjust bead placement as needed.
5. Finishing Touches
- Tying Knots: Once all beads are strung, tie a secure knot to close the bracelet. For elastic cord, double knot and add a drop of jewelry glue for extra security.
- Adding Clasp (if applicable): If using a clasp, attach it securely using pliers. Ensure the closure is tight to prevent the bracelet from falling off.
6. Final Adjustments
- Trimming Excess: Carefully trim any excess string close to the knot. For elastic bracelets, ensure the knot is hidden within a bead for a neat finish.
7. Personalizing (Optional)
- Adding Charms or Spacers: Enhance your bracelet with additional charms or spacer beads between larger beads for a more intricate design.
- Customizing: Consider adding initials, birthstones, or other personalized elements to make the bracelet uniquely yours or a meaningful gift.
8. Care and Maintenance
- Storage: Store your bracelet in a jewelry box or pouch to prevent tangling and protect it from dust and humidity.
- Cleaning: Use a soft cloth to gently wipe beads and metal components to maintain their shine and luster.
Tips for Success:
- Start Simple: Begin with basic designs and gradually experiment with more complex patterns as you gain confidence.
- Mix Materials: Combine different types of beads and textures to create bracelets that stand out.
- Have Fun: Enjoy the creative process and don’t be afraid to let your imagination guide you.
By following this step-by-step guide, you’ll create beautiful bead bracelets that reflect your unique style and creativity. Whether you make them for yourself or as thoughtful gifts for loved ones, handmade bracelets crafted with care are sure to be cherished and admired. Embrace the art of jewelry-making and unleash your creativity with DIY bead bracelets today!

Final Touches & Presentation
Inspect your bracelet for any loose beads or unevenness. Give it a gentle tug to ensure it’s secure. You can also add a drop of essential oil to the finished bracelet for a subtle scent.
Lastly, consider packaging your bracelet beautifully if it’s a gift. Simple organza bags or custom jewelry boxes can elevate the presentation.
Creating DIY bead bracelets allows for endless creativity and personalization. As you gain more experience, experiment with different techniques, materials, and complex patterns to enhance your skills and create unique pieces that reflect your personality. Happy crafting!
