Introduction
Diy bead earrings – Creating your own beaded earrings is a delightful and rewarding DIY project that combines creativity, personal style, and a touch of glamour. Whether you’re a seasoned crafter or a beginner looking to explore your artistic side, beaded earrings offer endless possibilities for customization and self-expression. With a few simple tools, a selection of beads, and some basic techniques, you can craft unique accessories that perfectly complement your outfits or make thoughtful, handmade gifts for loved ones. Let’s dive into the world of DIY beaded earrings and discover how to create your own sparkling masterpieces.

Gathering Materials and Tools
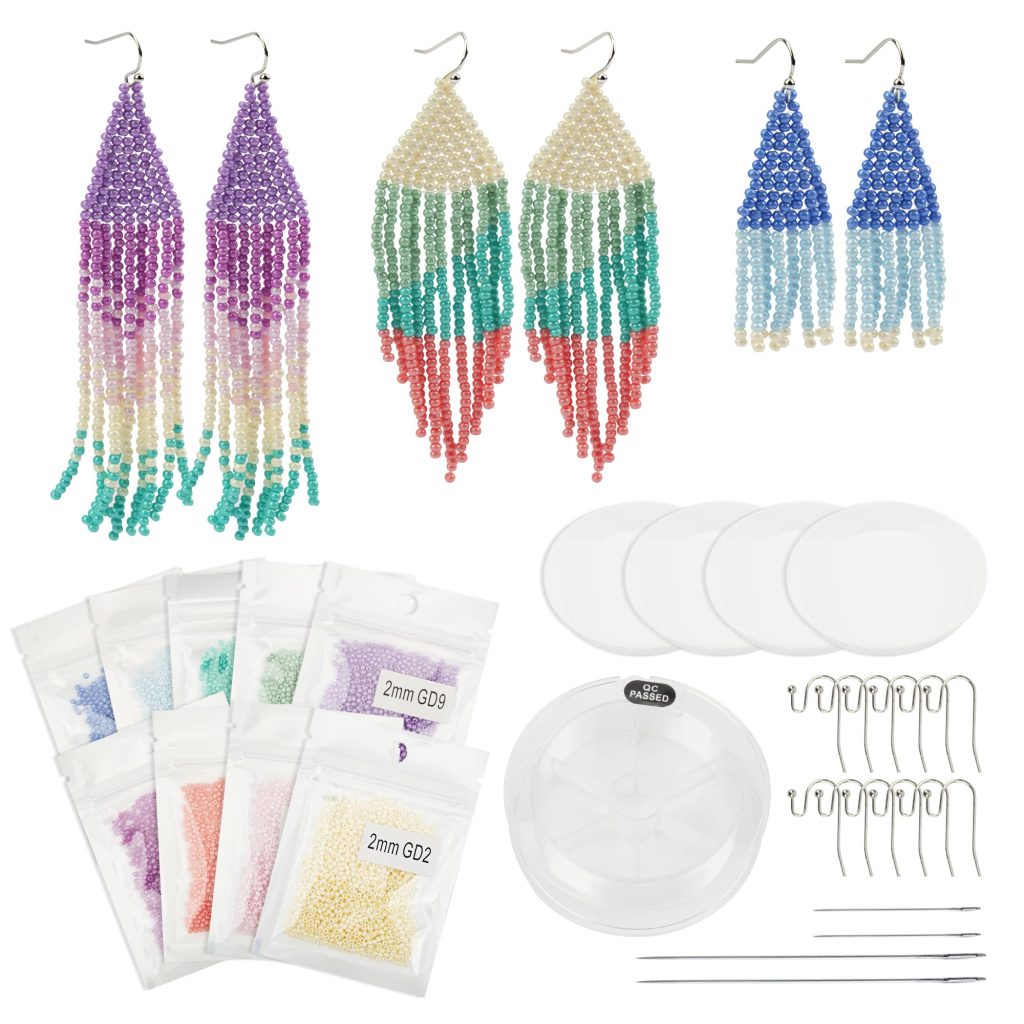
Before you begin, gather all the necessary materials and tools. Here’s what you’ll typically need:
- Beads: Choose a variety of beads in different shapes, sizes, and colors. Glass, crystal, metal, or natural stone beads all work well and can be found at craft stores or online.
- Earring Hooks: These come in various metals like gold-filled, silver-plated, or stainless steel. Ensure they are hypoallergenic for sensitive ears.
- Jumprings: Small metal rings used to attach the beads to the earring hooks.
- Wire: Flexible beading wire or headpins for stringing beads.
- Pliers: Round-nose pliers, chain-nose pliers, and wire cutters are essential for handling wire and opening/closing jumprings.
- Clasps or Earring Backs (optional): For added security, especially for heavier earrings.
Basic Techniques for Beaded Earrings
Simple Dangle Earrings
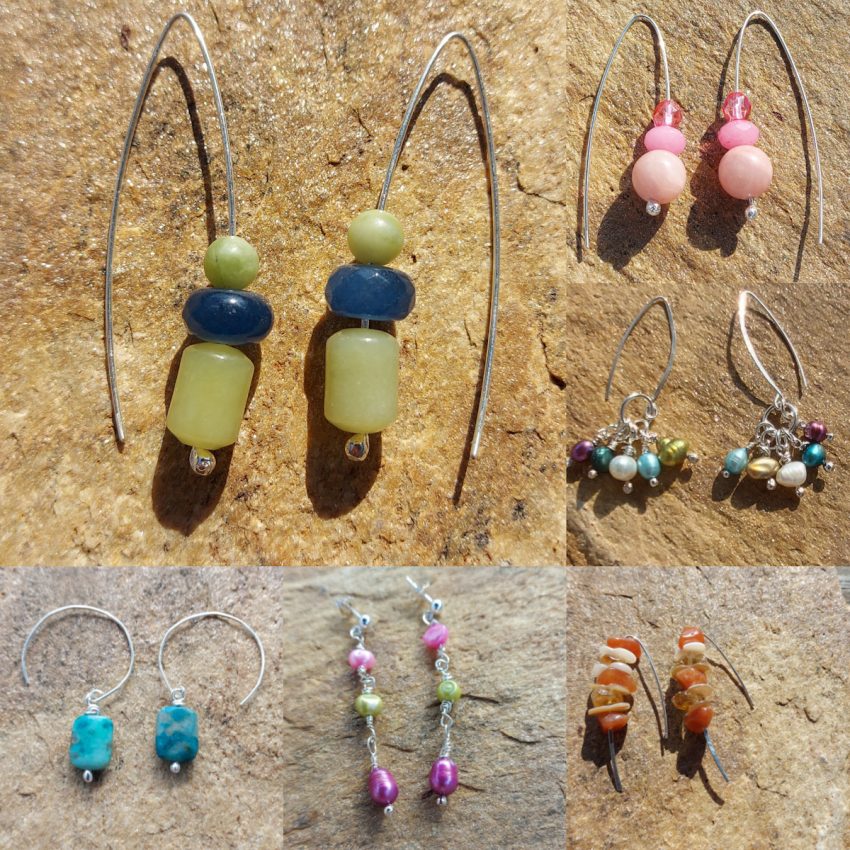
- String Beads: Slide your chosen beads onto a headpin. Start with the bead you want at the bottom and work your way up.
- Create a Loop: Using round-nose pliers, grasp the headpin just above the top bead and bend it at a 90-degree angle. Then, wrap the wire around the tip of the pliers to form a loop.
- Trim and Secure: Use wire cutters to trim the excess wire, leaving a small tail. Use the pliers to tuck this tail into the loop for a neat finish.
- Attach to Earring Hook: Open a jumpring using chain-nose pliers, thread it through the loop on the beaded component, and then attach it to the earring hook. Close the jumpring securely.
Beaded Hoop Earrings
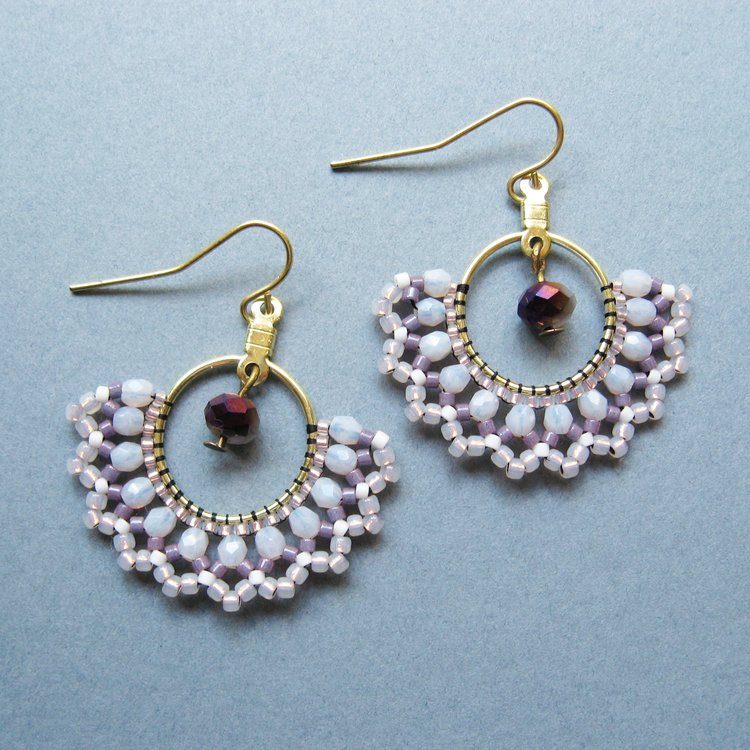
- Prepare the Hoop: Start with a pre-made hoop earring or create one using wire. If creating your own, form a circular shape with the wire and connect the ends using a jumpring.
- Add Beads: Slide beads directly onto the hoop, spacing them evenly or clustering them as desired.
- Secure Beads: Once all beads are in place, close the hoop securely, making sure the beads won’t slide off.
Cluster or Charm Earrings
- Create Bead Charms: Make multiple beaded components following Technique 1, varying bead combinations and lengths.
- Arrange and Attach: Decide on your earring design, arranging the bead charms in a visually pleasing manner. Attach each charm to a single large jumpring or directly onto the earring hook using individual jumprings.
Personalizing Your Designs
- Mix and Match: Combine different types of beads for texture and depth.
- Color Coordination: Choose beads that match your favorite outfits or the season’s trends.
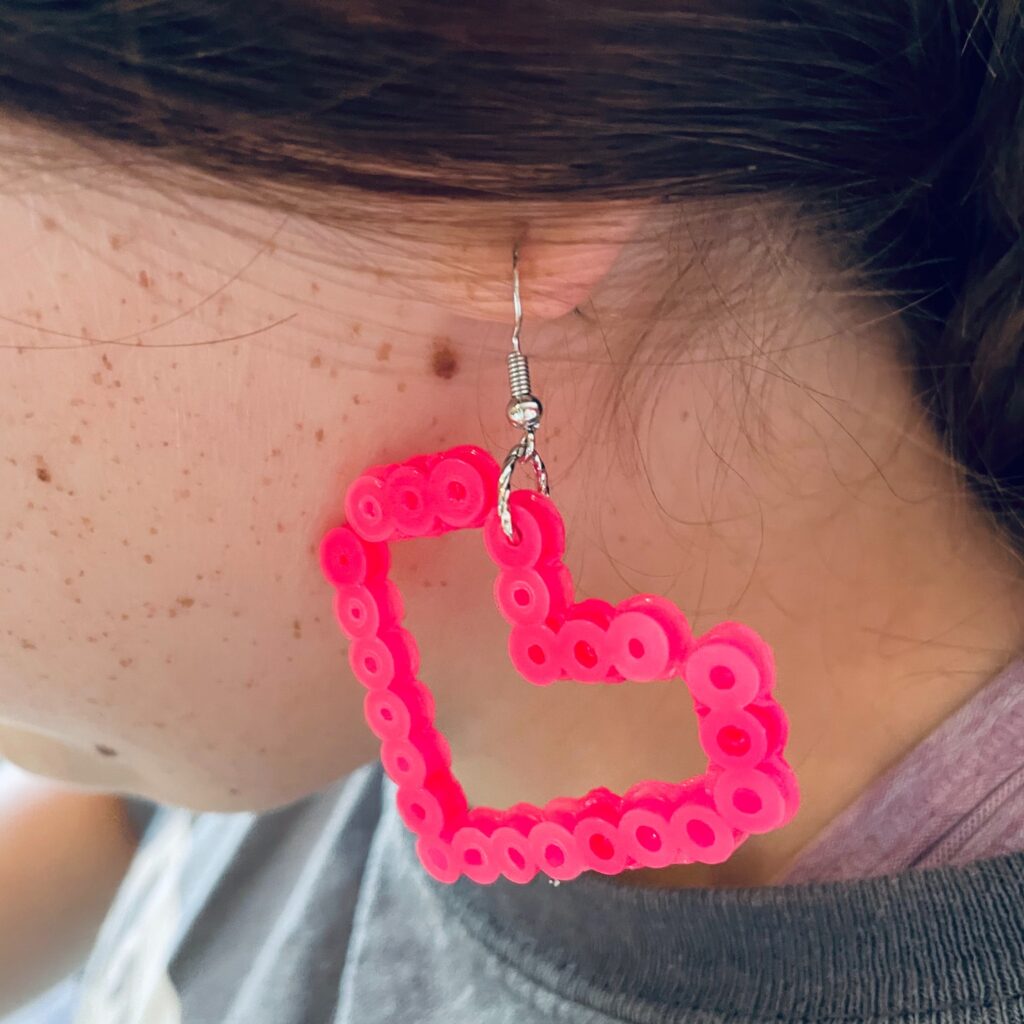
- Theme It: Create themed earrings for special occasions or holidays (e.g., hearts for Valentine’s Day).
- Size Matters: Varying bead sizes can completely change the look of your earrings, from delicate and subtle to bold and statement-making.
Finishing Touches and Care
Once your earrings are complete, give them a gentle once-over to ensure all connections are secure. Store your handmade earrings in a soft pouch or container to prevent scratches and tangling. Regular cleaning with a soft cloth can keep them looking new.
Creating DIY beaded earrings is not only a cost-effective way to expand your accessory collection but also a deeply satisfying creative endeavor. With each pair, you infuse a bit of your personality and creativity, resulting in unique pieces that add a personalized touch of glamour to any outfit. So, roll up your sleeves, gather your supplies, and let your imagination take flight as you craft your very own beaded earrings.

Advanced Techniques for Beaded Earring Creations
As you gain confidence in basic beading techniques, you might want to explore more advanced methods to elevate your designs and push your creativity further. Here are a few techniques to consider:
Wire Wrapping
Wire wrapping involves using wire to create intricate and decorative frames around beads, adding a touch of artisanal elegance to your earrings.
- Select a Base Bead: Choose a focal bead that you want to highlight with wire.
- Measure and Cut: Measure out a piece of wire (around 18-20 gauge works well) that is about three times the length of your bead plus extra for wrapping.
- Start Wrapping: Hold the wire against the bead with your fingers or pliers. Begin wrapping the wire tightly around the bead, creating spirals or weaving patterns as desired.
- Secure Ends: Once you’ve covered the bead to your liking, tuck the wire ends securely under wraps or create loops for attaching to the earring hooks.
Bead Weaving
Bead weaving uses seed beads and specialized techniques to create intricate, woven patterns. This method offers endless possibilities for detailed and unique earring designs.
- Choose a Pattern: There are numerous bead weaving patterns available online, from simple brick stitch to complex peyote stitch. Select one that matches your skill level and design preference.
- Set Up: Thread your beading needle with beading thread and tie a knot at the end. String on the required number of beads according to your pattern.
- Follow the Pattern: Work systematically, weaving in and out of the beads according to the pattern instructions. This technique requires patience and precision but yields stunning results.
- Finish and Attach: Once your woven piece is complete, attach it to earring hooks or posts using jump rings or wire.
Embellishments and Charms
Adding small charms, pendants, or other embellishments can take your earrings to the next level.
- Select Embellishments: Look for charms that complement your bead choices or add a touch of whimsy.
- Integration: Incorporate these elements into your design by attaching them directly to the beaded structure or using them as central pieces surrounded by beads.
- Balance: Ensure that your earrings are balanced in terms of weight and visual appeal. Too many heavy embellishments on one side could cause discomfort.
Marketing and Selling Your Handmade Earrings
If you find yourself with a growing collection of beaded earrings or receive positive feedback from friends and family, you might consider turning your hobby into a small business.
- Brand Identity: Develop a brand name and aesthetic that reflects your unique style and values.
- Quality Photography: Showcase your creations with clear, well-lit photographs that highlight the details and beauty of your earrings.
- Online Presence: Utilize platforms like Etsy, Instagram, or your own website to sell your earrings. Share your process, inspirations, and behind-the-scenes moments to engage with potential customers.
- Networking: Attend craft fairs, participate in online forums, and collaborate with other artisans to expand your reach and learn from others in the community.
- Customer Service: Provide excellent customer service by responding promptly to inquiries, offering customization options, and ensuring prompt shipping with careful packaging.
Remember, the beauty of DIY beaded earrings lies not only in the finished product but also in the creative journey. Embrace each challenge as an opportunity to learn and grow, and soon you’ll be crafting earrings that are not just accessories but wearable works of art.

Getting Started: Essential Materials and Tools
Before diving into your beaded earring project, it’s essential to gather the necessary materials and tools. Here’s what you’ll need:
- Beads: Choose beads that match your desired style—whether it’s sparkling crystals for an evening look, natural stones for a bohemian vibe, or colorful glass beads for a playful twist.
- Earring Findings: These include ear wires, headpins or eyepins, and jump rings. Opt for hypoallergenic materials like sterling silver or surgical steel for sensitive ears.
- Wire or Thread: Depending on your design, you may use jewelry wire (like copper or sterling silver) or nylon thread (such as Nymo) for stringing beads.
- Tools: Essential tools include round-nose pliers, flat-nose pliers, wire cutters, and a ruler or measuring tape for precise cuts.
- Additional Embellishments: Optional additions like charms, seed beads, or tassels can enhance the uniqueness of your earrings.
Choosing Your Design
The beauty of DIY beaded earrings lies in the endless design possibilities. Consider the following styles to inspire your creation:
- Dangling Earrings: Create elegant drops by stringing beads on headpins and attaching them to ear wires. Vary bead sizes and colors for a dynamic look.
- Hoops and Loops: Form hoops with wire and thread beads around them for a chic hoop earring. Add charms or dangles for extra flair.
- Chandelier Earrings: Construct intricate designs by layering beads and components to resemble chandeliers. These statement pieces are perfect for special occasions.
- Stud Earrings: For a minimalist approach, make stud earrings with single beads or clusters. Use epoxy glue to secure beads onto flat earring posts.
Step-by-Step Crafting Process
Once you’ve chosen your design, follow these general steps to create your personalized beaded earrings:
- Design Planning: Sketch or visualize your design. Consider bead placement, color combinations, and overall earring size.
- Prepare Your Workspace: Lay out your materials and tools on a clean, flat surface. Ensure good lighting for accurate bead placement.
- Stringing Beads: Thread beads onto wire or thread according to your design. Use pliers to form loops at the ends of headpins or eyepins.
- Assembly: Attach components together using jump rings or directly onto ear wires. Ensure all connections are secure and symmetrical.
- Finishing Touches: Trim excess wire or thread carefully with wire cutters. Use pliers to tuck in any sharp edges for a polished finish.
- Quality Check: Inspect your earrings for durability and aesthetic appeal. Make any necessary adjustments before wearing or gifting.
Customization and Personalization
What sets DIY beaded earrings apart is the ability to customize them to suit your preferences:
- Color Palette: Choose beads that complement your wardrobe or reflect your favorite hues.
- Length and Size: Adjust earring length and size to match your style—from statement pieces to subtle accents.
- Theme and Occasion: Create earrings tailored to specific themes or occasions, such as weddings, holidays, or everyday wear.
Benefits Beyond Style
Beyond adding glamour to your ensemble, crafting your own beaded earrings offers additional benefits:
- Therapeutic: Crafting can be a relaxing and therapeutic activity, reducing stress and enhancing mindfulness.
- Cost-Effective: DIY earrings often cost less than store-bought equivalents, especially when using materials from existing supplies.
- Gift-Worthy: Handmade earrings make thoughtful gifts for friends and loved ones, showcasing your creativity and thoughtfulness.
Embrace Your Creativity
Embarking on a DIY beaded earring project is not just about creating jewelry—it’s about embracing your creativity and expressing your unique style. Whether you’re crafting for yourself or others, each pair of earrings becomes a wearable piece of art that reflects your craftsmanship and individuality. So gather your materials, unleash your imagination, and discover the joy of crafting personalized beaded earrings that sparkle with your personal touch of glamour. Happy crafting!
