Introduction
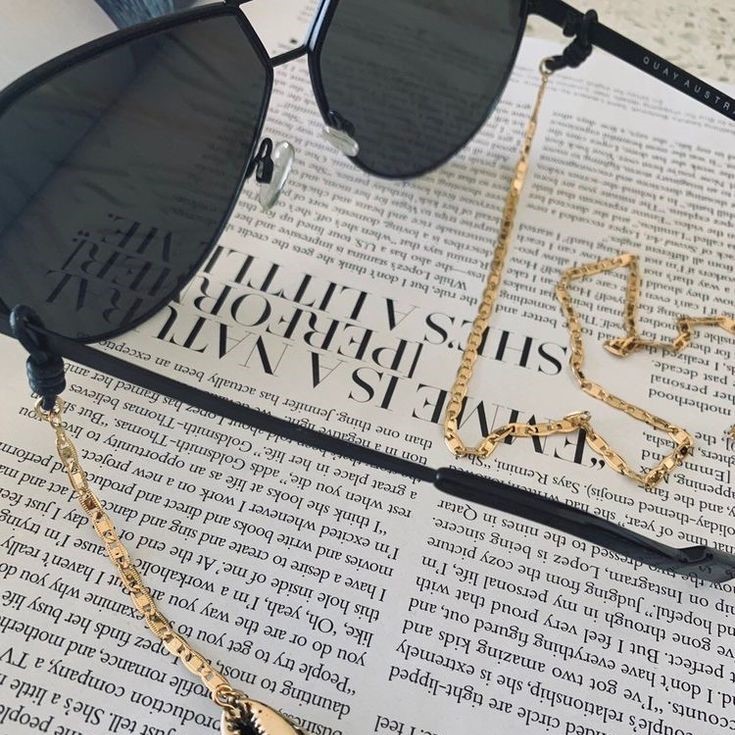
Creating your own DIY eyeglass chain has become a popular fashion trend that adds individuality to your eyewear. This guide will introduce you to the craft of making personalized eyeglass chains, which combine style and practicality. Not only do these chains help keep your eyeglasses secure, but they also allow you to express your creativity and uniqueness. In this article, we will walk you through the entire process— from gathering materials to crafting a stunning eyeglass chain that reflects your personal style.
The Benefits
Before diving into the crafting process, it’s essential to understand the many benefits of making your own eyeglass chain. Here are some key advantages:
Personalization:
Unique Design: Crafting your own eyeglass chain allows for a level of personalization that retail options simply cannot match. You have the freedom to design a chain that is unique and tailored specifically to your preferences.
Choice of Materials: You can select colors, materials, and embellishments that truly reflect your taste and style. This means the final product will be a perfect representation of your personality.
Customization: The ability to add personal touches, such as charms or initials, means you can create an accessory that is one-of-a-kind and meaningful to you.
Cost-Effectiveness:
Saving Money: DIY projects can be highly cost-effective. Store-bought eyeglass chains, especially those made from high-quality materials, can be expensive. By making your own, you can significantly reduce the cost.
Budget Control: You have complete control over the budgeting of your project. This allows you to select materials that fit within your budget without compromising on quality or style.
Resourcefulness: Utilizing materials you already have at home can further reduce expenses and make the project even more economical.
Creative Satisfaction:
Sense of Achievement: The satisfaction of wearing something you created is unmatched. Completing a DIY eyeglass chain project gives you a sense of accomplishment and pride in your work.
Showcasing Skills: A DIY eyeglass chain not only enhances your style but also serves as a conversation starter. It showcases your creativity, artistic skills, and attention to detail.
Enjoyment: The crafting process itself can be enjoyable and therapeutic. Engaging in such a hands-on activity can be a rewarding and fun experience.
By making your own eyeglass chain, you not only gain a personalized and cost-effective accessory but also experience the joy and satisfaction of creating something unique. This project enables you to express your creativity and enjoy the benefits of a custom-made fashion item.
Gathering Your Materials
To begin your DIY eyeglass chain project, gather all necessary materials. Here’s a list of items you’ll need:
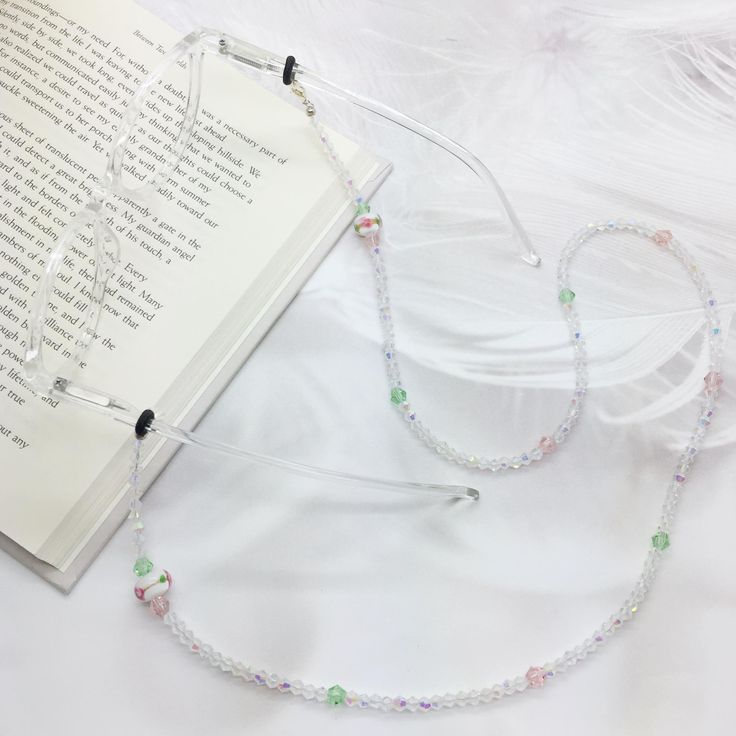
- Beads: Choose various types such as glass, wood, plastic, or even gemstones. The materials you select will impact the final look of your chain.
- Chain or Cord: Decide whether you want a metal chain for a sleek look or a cord for a more casual appearance. If using cord, ensure it’s strong enough to hold your glasses.
- Jump Rings: These small metal rings will be essential for connecting your beads to the chain or cord.
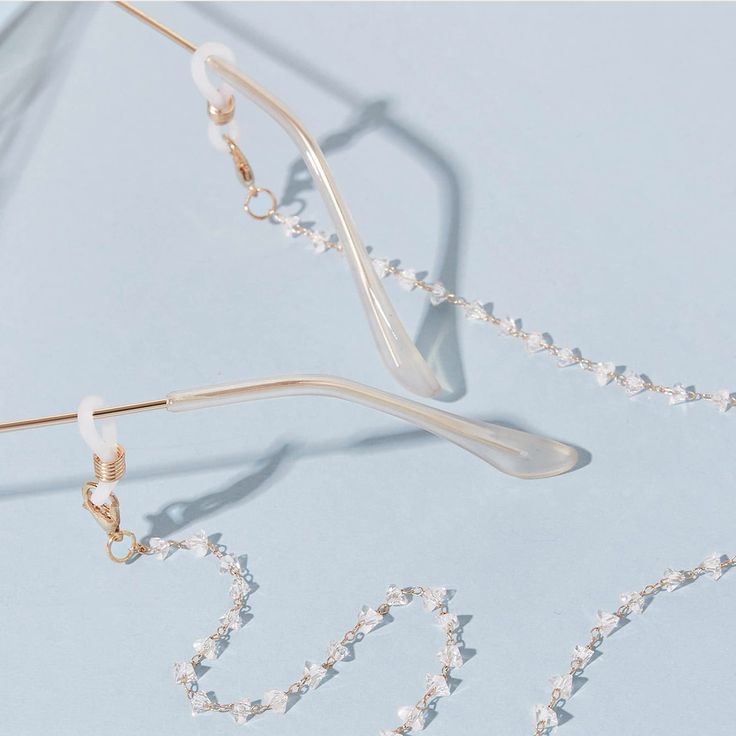
- Clasps: Then, depending on your design, you might need clasps to attach the ends of your chain to your glasses.
- Pliers: Use pliers for opening and closing jump rings, as well as securing any clasps.
- Scissors: If using cord, scissors will be needed to cut it to the desired length.
- Measuring Tool: A ruler or measuring tape will help you determine the length of your chain.
With all the materials at your fingertips, you’ll be ready to start crafting your eyeglass chain.
Step-by-Step Guide
Now that you have your materials, these are the step-by-step instructions to guide you through creating your own DIY eyeglass chain:
Measure and Cut Your Cord or Chain
- Determine Length: Firstly, decide how long you want your eyeglass chain to be. A typical length ranges from 25 to 30 inches, allowing enough room for it to hang comfortably around your neck.
- Cut the Cord or Chain: If you’re using cord, measure and cut it to your desired length. For metal chains, you may need to select a pre-measured length if crafting from separate pieces.
Plan Your Design and String Your Beads
- Plan Your Arrangement: Before you start stringing, lay out your beads in the desired order to visualize the finished product. This can help you make decisions on colors and patterns.
- String the Beads: Carefully thread your beads onto the cord or chain. Ensure they are positioned in the correct order, and keep in mind that the weight of the beads can affect how the chain hangs.
Secure the Ends
- Prevent Bead Movement: Then, once all the beads are in place, tie a knot at the end of the cord or use a crimp bead for a chain. This step prevents the beads from sliding off.
- Attach Clasps: If you’re using cord, you can attach a clasp to either end for easy closure. If you are using a chain, use jump rings and pliers to secure your design and attach the clasps accordingly.
Final Adjustments
- Inspect Your Work: Check the length and security of your eyeglass chain. Make any adjustments as necessary, ensuring that there aren’t any loose beads or fittings.
- Try it Out: Slip the completed chain around your neck and try attaching your eyeglasses to see how it feels and looks.
Customization Ideas for Your Eyeglass Chain
Once you have successfully crafted your DIY eyeglass chain, you can personalize it further with a few thoughtful customizations. Here are some ideas to help you add a unique touch to your accessory:
Color Coordination:
Matching Outfits: Choose bead colors that complement or match your wardrobe. A well-coordinated chain can enhance your overall look, making your accessory a cohesive part of your outfit.
Seasonal Colors: Select colors that reflect different seasons. For example, pastel colors can represent spring, vibrant hues for summer, earthy tones for autumn, and cool shades for winter. This way, your eyeglass chain can stay relevant and stylish all year round.
Charm Additions:
Personal Memories: Add charms or trinkets that signify important memories, such as a small shell from a favorite beach or a locket containing a photo. These small additions can make your chain deeply personal and meaningful.
Hobbies and Interests: Incorporate elements that represent your hobbies or interests, like a small book charm for avid readers or a miniature camera for photography enthusiasts. This customization shows off your personality and passions.
Mixed Materials:
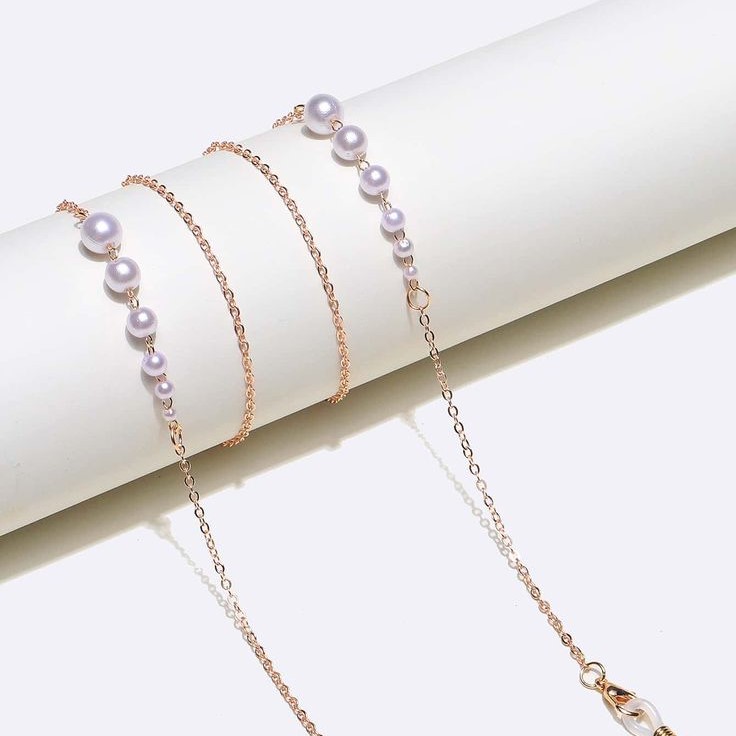
Creating Contrasts: Combine different materials in your design to achieve unique visual contrasts. For example, you can mix metal elements such as gold or silver chains with colorful beads to create a rich, textured look.
Incorporating Unique Elements: Then, use unconventional materials like leather, fabric, or wood beads to add variety and interest to your design. Mixing materials can result in a one-of-a-kind accessory that stands out.
By implementing these customization ideas, you can transform your DIY eyeglass chain into a truly unique accessory that not only serves a practical purpose but also tells your personal story.
Caring for Your DIY Eyeglass Chain
Proper care is essential to maintaining the beauty and functionality of your DIY eyeglass chain, ensuring it remains a cherished accessory over time. Here are some tips to keep your chain in optimal condition:
Cleaning:
Regular Wiping: Frequently clean your eyeglass chain by gently wiping it with a soft cloth. This helps to remove dirt, oils, and residues that can accumulate and affect its appearance.
Avoid Harsh Chemicals: Then, refrain from using strong chemicals or cleaning solutions, as they could damage the beads, cord, or any other decorative elements. Stick to gentle methods to preserve the materials.
Storage:
Padded Storage Solutions: When not in use, store your eyeglass chain in a padded jewelry box or a soft pouch. This protects the chain from scratches and damage while preventing it from tangling with other items.
Designated Storage Space: Keep the chain in a specific area to avoid misplacing it and ensure it is always stored under optimal conditions.
Routine Checks:
Periodic Inspections: Regularly inspect your eyeglass chain for any signs of wear and tear. This includes checking for loose beads, frayed cords, or weakened areas that could compromise its integrity.
Immediate Repairs: If you notice any issues like loose components or structural weakness, promptly address them through necessary repairs. Timely maintenance helps extend the lifespan of your accessory and ensures continued safe use.
By following these care guidelines, your DIY eyeglass chain will remain a durable and stylish accessory, showcasing your creativity and personal flair over time.
Conclusion
Crafting your own DIY eyeglass chain opens doors to endless possibilities in personal style. By following this step-by-step guide, you not only gain a functional accessory but also create a unique piece that reflects your individuality.
The rise of personalized accessories signifies a growing trend toward self-expression through fashion. Investing your time and creativity into making a DIY eyeglass chain is worthwhile, providing both fulfillment and style.
So, gather your materials, unleash your creativity, and embrace the trend of DIY eyeglass chains today. You’ll enjoy enhancing your eyewear while showcasing your artistic flair!