Introduction
Breast milk jewelry is a unique and meaningful way to preserve the memories of your breastfeeding journey. Whether you are looking for a personal keepsake or a heartfelt gift, learning how to make breast milk jewelry can be a rewarding experience. In this guide, we will explore the steps involved in creating these beautiful designs, ensuring that you have all the information you need to get started. The process of making breast milk jewelry involves several key steps, from preparing the milk to setting it in resin, and we will cover each one in detail.
Understanding Breast Milk Jewelry
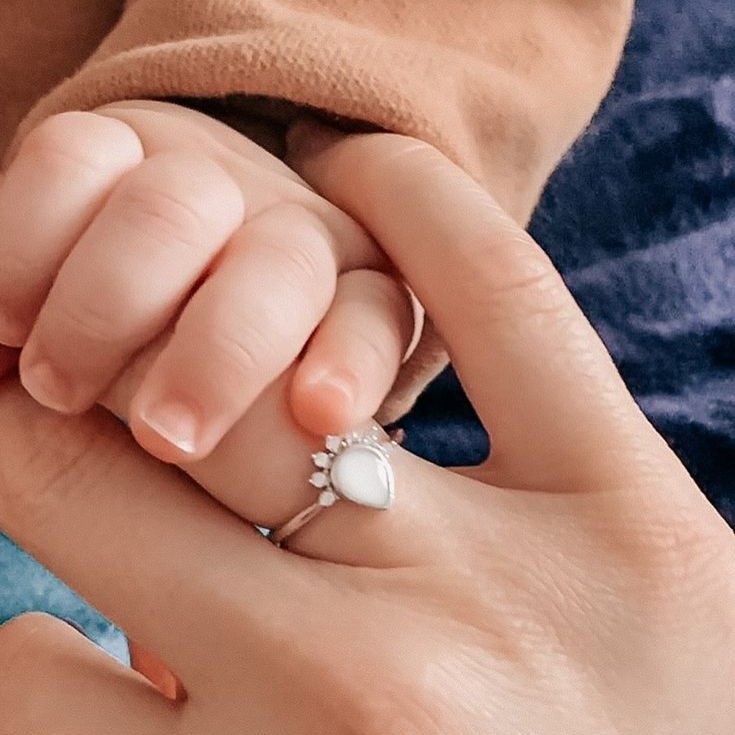
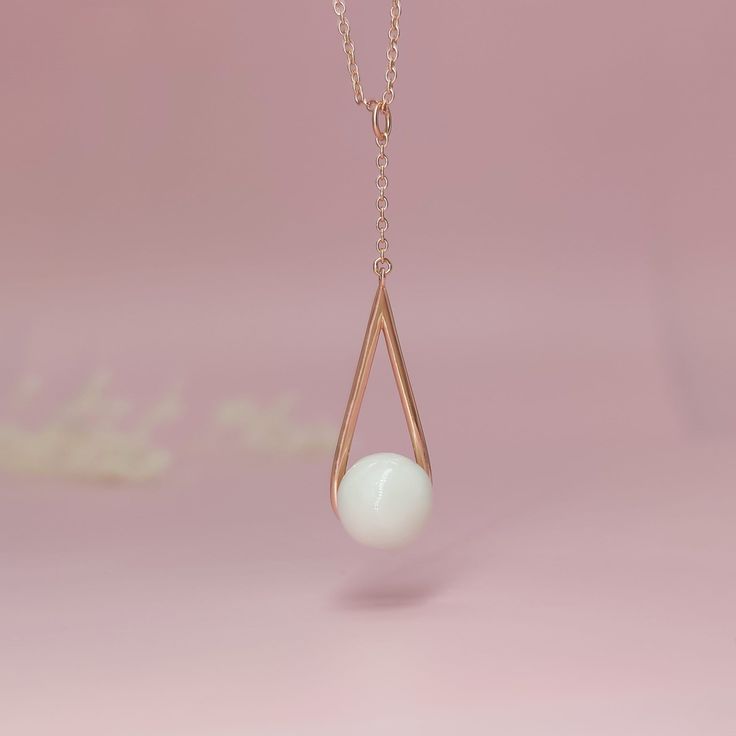
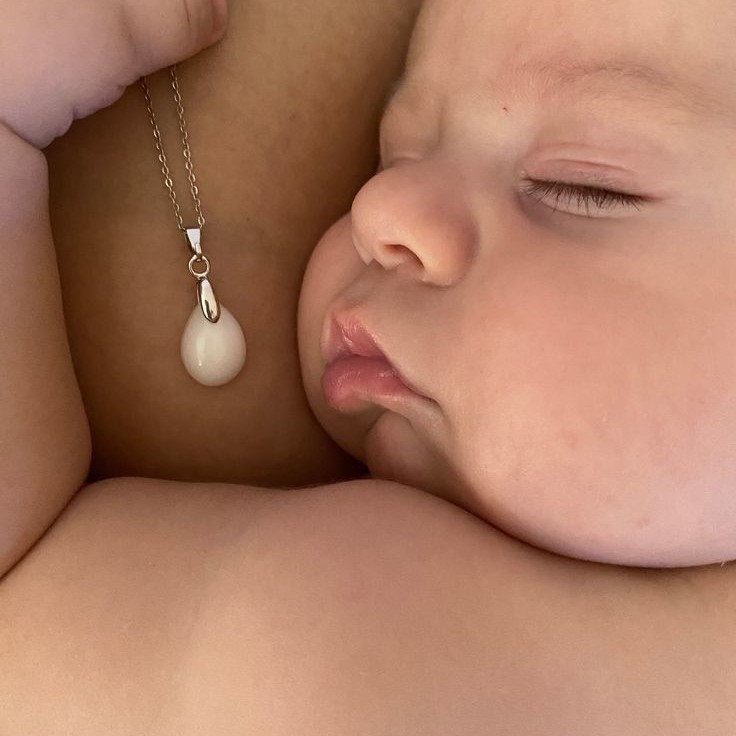
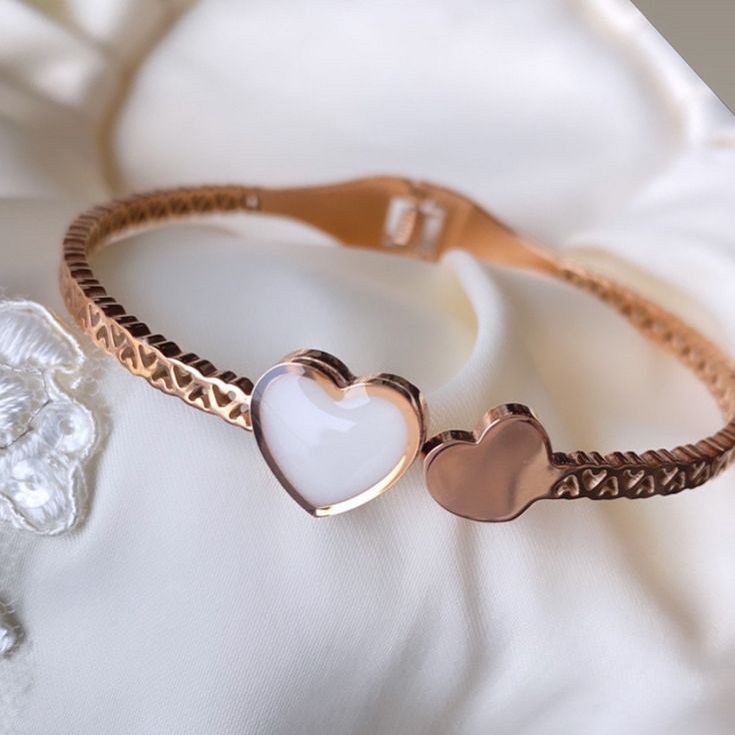
Before diving into the process, it’s important to understand what breast milk jewelry is and why it has become so popular. Breast milk jewelry involves preserving breast milk in a resin or other material, which is then set into a piece of jewelry such as a pendant, ring, or bracelet. Then, this type of jewelry serves as a lasting reminder of the special bond between a mother and her child, making it a cherished keepsake for many families. The emotional significance of breast milk jewelry lies in its ability to capture a fleeting moment in time and turn it into a tangible, beautiful piece of art.
Materials Needed
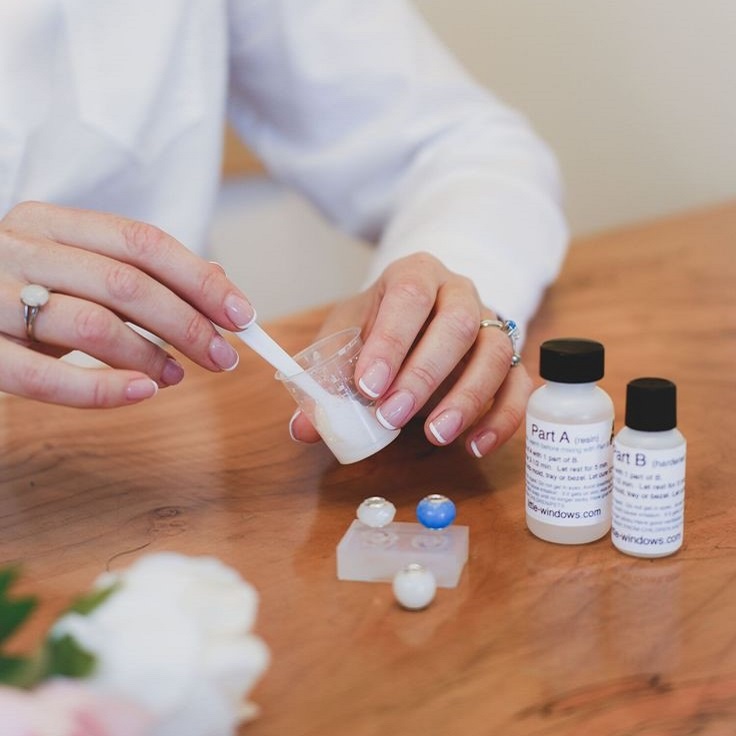
To make breast milk jewelry, you will need several materials. These include:
- Breast milk: Fresh or frozen, but fresh is preferable.
- Resin: A high-quality, clear resin specifically designed for jewelry making.
- Molds: Silicone molds in the shape of your desired design.
- Colorants (optional): If you want to add a touch of color to your jewelry.
- Jewelry findings: Such as pendants, rings, or bracelets.
- Tools: Mixing cups, stir sticks, and a heat source like a torch or a UV lamp if using UV resin.
It’s essential to use high-quality materials to ensure the best results. For example, a good resin will provide a clear and durable finish, while well-made molds will produce clean and precise shapes. Additionally, having the right tools, such as mixing cups and stir sticks, will help you achieve a smooth and bubble-free mixture.
Step-by-Step Guide
Creating breast milk jewelry involves several steps, each of which is crucial to the final result. Here’s a step-by-step guide to help you through the process:
- Prepare the Breast Milk:
- Thaw the breast milk if it was frozen.
- Let it sit at room temperature for a while to ensure it is well-mixed.
- Strain the milk to remove any impurities. This step is crucial to avoid any lumps or particles in your final piece.
- Mix the Resin:
- Follow the instructions on the resin package to mix the two parts.
- Stir the mixture thoroughly to avoid any air bubbles. Use a slow and steady motion to minimize the formation of bubbles.
- Add the Breast Milk:
- Slowly pour the prepared breast milk into the resin mixture.
- Stir gently to incorporate the milk without creating too many bubbles. Be careful not to over-stir, as this can introduce more air into the mixture.
- Pour into Molds:
- Carefully pour the mixture into the silicone molds.
- Tap the molds lightly to release any air bubbles. This will help ensure a smooth and even surface.
- Allow the resin to cure according to the manufacturer’s instructions. Curing times can vary, so it’s important to follow the specific guidelines provided.
- Demold and Finish:
- Once the resin is fully cured, carefully remove the pieces from the molds.
- Sand any rough edges and polish the pieces for a smooth finish. This step will give your jewelry a professional look.
- Attach the jewelry findings to complete your piece. You can choose from a variety of options, such as pendants, rings, or bracelets.
Tips for Success
How to make breast milk jewelry? Creating high-quality breast milk jewelry requires attention to detail and some practice. Here are some tips to help you achieve the best results:
- Use High-Quality Materials: Firstly, invest in good-quality resin and molds to ensure a professional-looking finish. Cheaper materials may lead to imperfections and a less durable final product.
- Follow Instructions Carefully: Each type of resin has specific mixing and curing requirements. Follow the instructions precisely to avoid issues. Pay close attention to the recommended ratios and curing times.
- Work in a Clean Environment: Dust and debris can affect the clarity of the resin. Work in a clean, dust-free area to prevent any unwanted particles from settling in your mixture.
- Practice Patience: Curing times can vary, and rushing the process can lead to imperfections. Be patient and allow the resin to cure fully. This will ensure a strong and clear final product.
Customization Options
One of the great things about breast milk jewelry is the ability to customize it. You can add various elements to make your piece even more special. Here are some detailed ways to personalize your breast milk jewelry, each adding a unique touch to your keepsake:
Incorporate Other Keepsakes:
Not only can you use breast milk, but you can also integrate other meaningful items into your jewelry. For instance, you might consider adding a lock of hair, a fingerprint, or even ashes. By combining these elements, you create a multi-faceted keepsake that holds deep emotional value and personal significance. This approach not only enhances the sentimental value of the piece but also makes it a more comprehensive representation of cherished memories.
Choose Different Colors:
Another way to add a personal touch is by using colorants. You have the option to choose colors that hold special meaning to you, such as the birthstone color of your child, or simply select hues that match your personal style. This customization allows you to create a piece that is not only beautiful but also deeply personal. The addition of color can transform a simple design into something that truly stands out and resonates with your individuality.
Select Unique Shapes:
Experimenting with different mold shapes is yet another way to make your breast milk jewelry one-of-a-kind. There are numerous creative options available, ranging from simple and elegant circles to intricate and detailed designs. By choosing a shape that speaks to you, you can ensure that your piece is both visually striking and uniquely yours. Whether you prefer a classic, timeless look or a more modern and artistic design, there is a mold shape that will perfectly capture your vision.
By leveraging these customization options, you can create a piece of breast milk jewelry that is not just a beautiful accessory but also a deeply meaningful and personalized keepsake. Each element you add—whether it’s a keepsake, a specific color, or a unique shape—contributes to a piece that tells your story and holds a special place in your heart.
Common Challenges and Solutions
While making breast milk jewelry can be a rewarding experience, it does come with its challenges. Here are some common issues and their solutions:
- Bubbles in the Resin:
- Solution: Mix the resin slowly and tap the molds to release air bubbles. Using a vacuum chamber can also help. If you don’t have a vacuum chamber, you can try blowing gently on the surface of the resin to pop any visible bubbles.
- Uneven Curing:
- Solution: Ensure the resin is mixed thoroughly and follow the curing instructions closely. Avoid exposing the resin to extreme temperatures, as this can affect the curing process.
- Cloudy Appearance:
- Solution: Use fresh breast milk and ensure it is well-strained. Also, make sure the resin is mixed properly and not over-stirred. Over-stirring can introduce air into the mixture, leading to a cloudy appearance.
Additional Design Ideas
For those looking to take their breast milk jewelry to the next level, there are many additional design ideas to consider:
- Combining Materials: Incorporate other materials such as gold, silver, or gemstones to create a more luxurious piece. This can add a touch of elegance and sophistication to your jewelry.
- Engraving: Then, add a personal message or name to the back of the pendant or inside the ring. This can make the piece even more meaningful and unique.
- Layering: Create layered designs by using multiple layers of resin and adding different elements in each layer. This can create a visually stunning and complex piece.
Conclusion
Learning how to make breast milk jewelry is a wonderful way to create a lasting keepsake from your breastfeeding journey. With the right materials and a bit of patience, you can produce beautiful and meaningful pieces. Whether you are making it for yourself or as a gift, breast milk jewelry is a unique and heartfelt way to cherish those precious moments. Start your project today and enjoy the process of creating something truly special. By following the steps and tips outlined in this guide, you can create a piece of breast milk jewelry that you will treasure for years to come.