Gather Your Beading Materials
How to make bead bracelets – Starting a new bead bracelet project is exciting. First, ensure you have all necessary materials on hand.
Essential Supplies for Bead Bracelets
For bead bracelets, you need a few key supplies:
- Elastic cord: Choose a suitable thickness based on bead weight.
- Beads: Pick your favorite styles, colors, and sizes.
- Scissors: For cutting the cord cleanly.
- Ruler: To measure cord length accurately.
- Stopper: A clip or tape to prevent beads from slipping off.
- Glue: For securing the bracelet knot. GS Hypo Cement or a similar type works well.
- Bead board (optional): Helps in laying out your design.
- Beading needle (optional): Useful for small or seed beads.
Selecting the Right Elastic Cord
Choosing the right elastic cord is critical:
- Use .5mm elastic for lightweight beads like paper beads.
- Thicker cords suit heavier beads like glass or stone.
- Always go for the thickest cord that fits inside your beads.
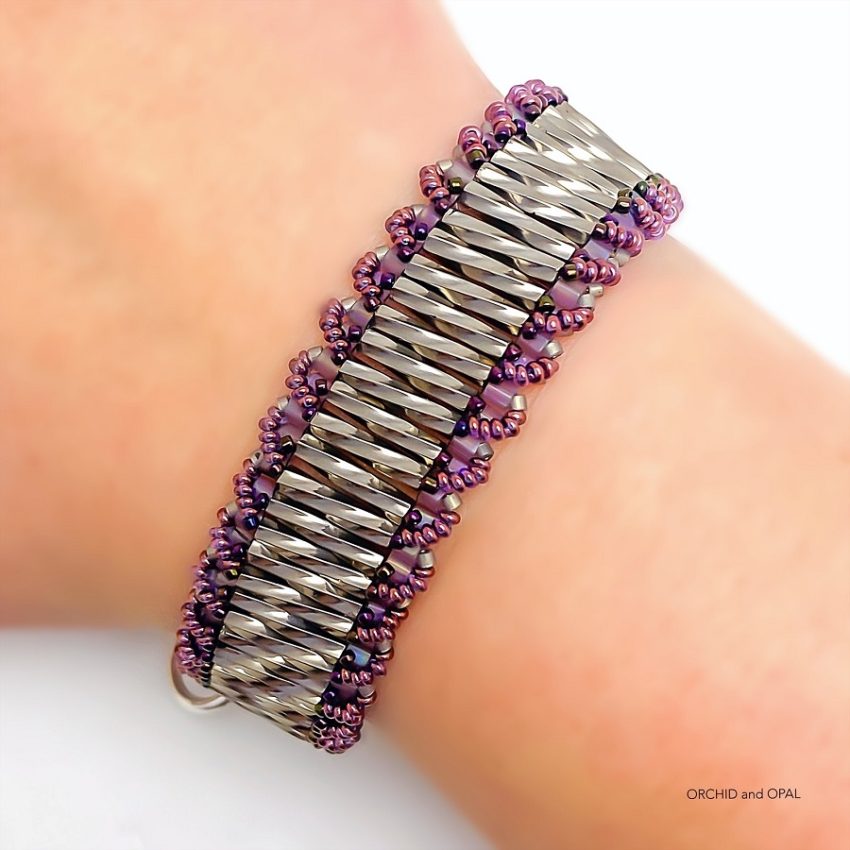
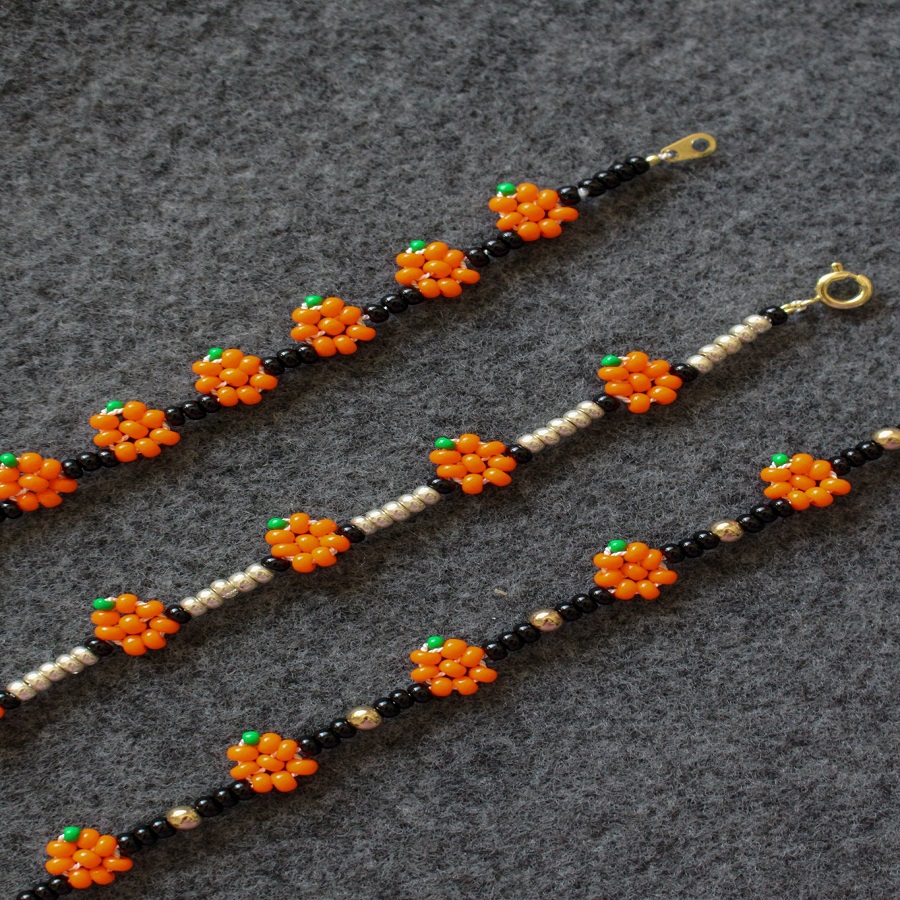
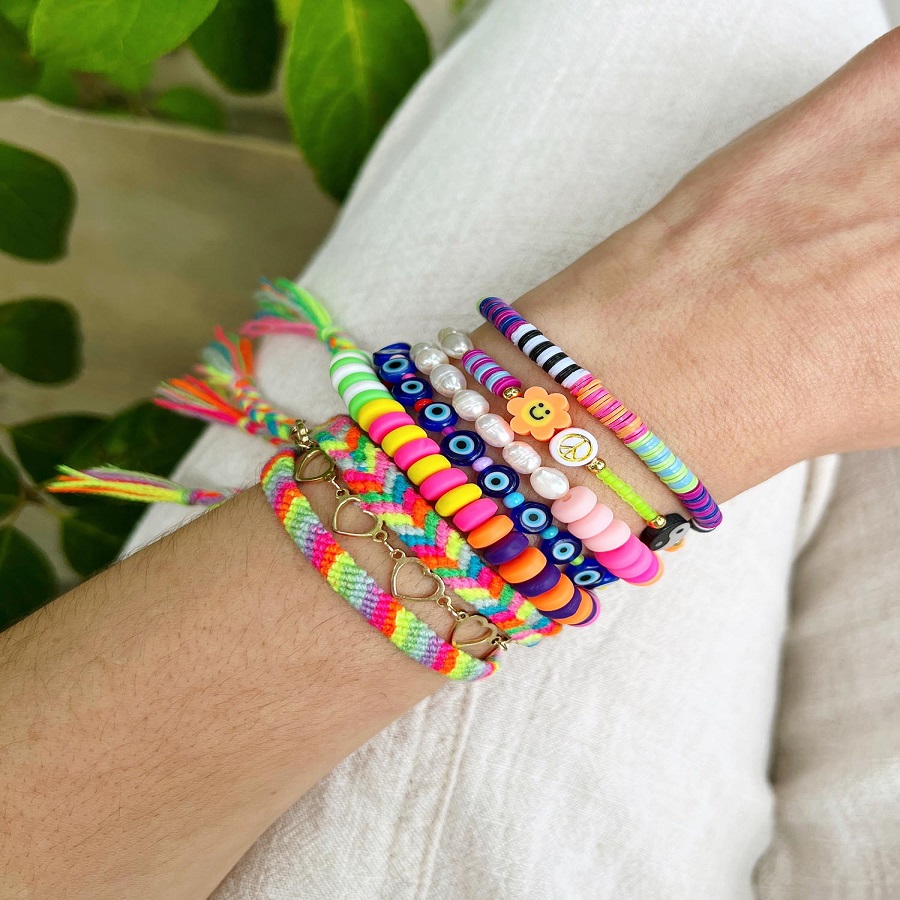
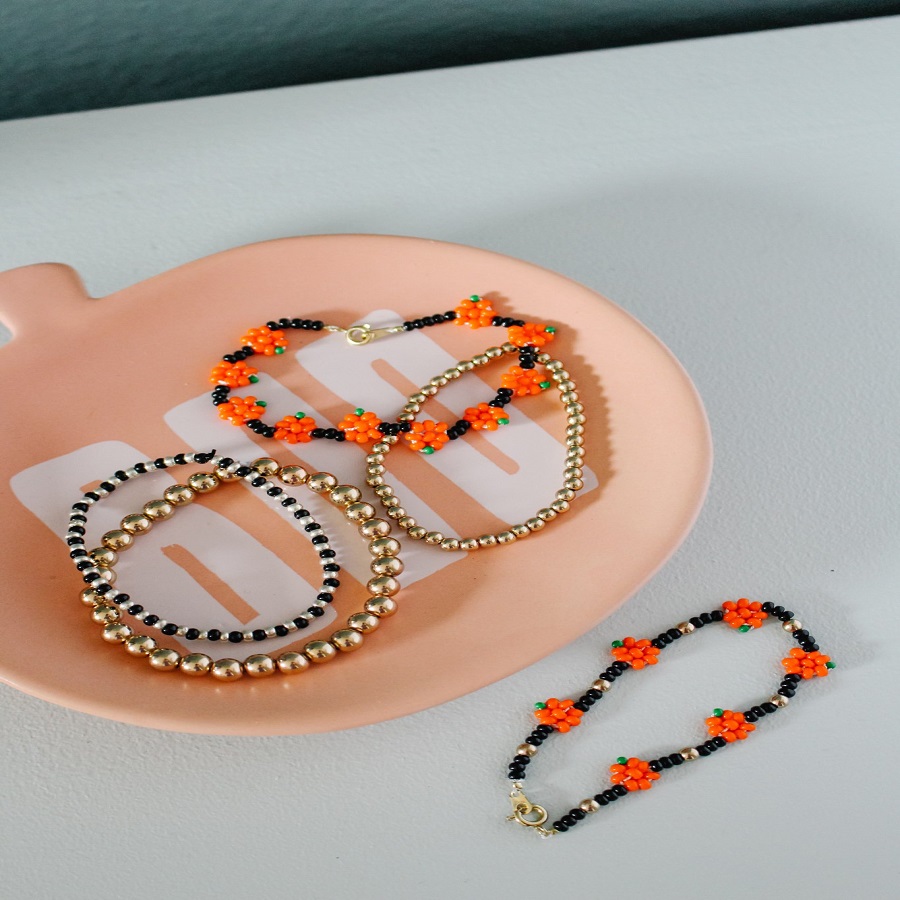
Choosing Beads and Embellishments
Selecting beads and embellishments is the fun part:
- Mix colors and shapes for a unique look.
- Consider the weight: Heavier beads require a thicker cord.
- Add charms or spacers to personalize your bracelet.
With these items, you’re ready to start creating your personalized bead bracelet.
Measuring and Cutting Elastic
Before you start beading, getting the right elastic length is crucial. Here’s how to do it.
Determining Comfortable Bracelet Length
Wrap the elastic around your wrist loosely. It should not dig in or dangle too much. Mark the spot on the elastic where it meets the start. This is your basic bracelet length. For a snug fit, ensure the elastic is just comfortable. Add about 2 inches to this length to account for spacing and knotting.
Adding Extra Length for Knotting
Always cut more elastic than your wrist measurement. This extra length is needed for the final knot. Be generous; you can always trim excess later. A common practice is adding 2 to 3 inches. This allows room for tying knots without stress. Just remember, it’s better to have a bit too much elastic than not enough.
 Preparing Elastic Cord Before Use
Before stringing beads, it’s important to prep your elastic cord.
Stretching the Elastic
First, stretch your elastic cord firmly about ten times. This helps prevent over-stretching later, when you wear your bracelet.
Attaching a Stopper
After stretching, attach a stopper to one end. You can use a clip or tape. This keeps beads in place as you work.
Laying Out Your Bead Design
When creating bead bracelets, the layout of your design is key. It impacts both the bracelet’s look and wearability.
Creating a Balanced Design
Start with spreading your beads out. This helps visualize the pattern. Keep the weight of beads even; it stops the bracelet from spinning on your wrist. Use various bead sizes to make a balanced design. Consider symmetry in color and shape for harmony. Mix heavier beads with lighter ones evenly. Spacer beads can help in balancing weight. They also add a nice touch to the overall design.
Incorporating Special Beads and Charms
Add a personal touch with special beads or charms. These can be focal points. Think about the placement; usually the center works well. If using charms, attach them with jump rings. This ensures they hang correctly. Remember to keep these special pieces balanced within the design too. They shouldn’t affect the bracelet’s comfort or fit.
Stringing Beads onto Elastic
After preparing your materials and laying out your bead design, it’s time to string your beads. Here’s what to keep in mind:
Using Beading Needles
Using a beading needle can simplify the stringing process, especially with small or seed beads. The needle helps you pick up beads quickly and slide them onto the elastic. Here’s a simple way to use a beading needle:
- Thread the needle with the elastic cord.
- Pick up beads with the needle and push them onto the elastic.
- Continue until you reach the desired length of the bracelet.
For beads with larger holes, you might not need a needle. Instead, you can thread beads directly onto the elastic.
Ensuring Consistent Bead Distance
Consistency is key to a professional-looking bead bracelet. Beads should be evenly spaced. This makes the bracelet look neat and evenly balanced. Here’s how to maintain consistent spacing:
- Gently slide each bead against the previous one.
- Use your fingers or a spacer tool to keep gaps uniform.
- Check the bracelet’s length periodically to avoid overcrowding.
Remember, patience is vital. Take your time to ensure that each bead is placed correctly. By following these steps, you’re on your way to creating a beautiful bead bracelet that you’ll be proud to wear or give as a gift.
Tying the Bracelet Knot
A secure knot is vital to ensure your bead bracelet lasts.
Securing with Surgeon’s Knot
For a strong knot, use the surgeon’s knot method. Here’s how:
- Cross the ends of your elastic.
- Wrap one end around the other twice.
- Tuck it back under and pull tight.
This method creates a secure knot that’s less likely to unravel.
Adding Glue for Knot Durability
To make the knot even stronger, add glue:
- Apply a small amount of GS Hypo Cement on the knot.
- Wait for it to dry completely before wearing the bracelet.
This step ensures your knot withstands wear and tear over time.
 Adding Finishing Touches
Once you have your bead bracelet strung and knotted, it’s time to add the final touches. These steps will ensure your bracelet looks professional and lasts.
Using Crimp Covers
Crimp covers are small findings that conceal your knot. This makes your bracelet look neat. Here’s how to apply them:
- Slide a crimp cover over the knot.
- Use crimping pliers to close the cover around the knot.
- Press firmly to ensure the cover is secure.
Crimp covers also prevent the knot from rubbing against your skin. This can make wearing the bracelet more comfortable.
Trimming Excess Elastic
Excess elastic can be unsightly and snag on things. Here’s what to do:
- After the glue is dry, take sharp scissors.
- Snip the extra elastic close to the crimp cover.
- Be cautious not to cut the knot or the bracelet itself.
A clean cut will keep your bracelet looking tidy and prevent fraying.
By following these steps, your self-crafted bead bracelet will be ready to wear. It will have a professional finish that enhances its appearance and longevity. Now, you can enjoy your handmade accessory with pride!
Properly Wearing and Caring for Your Bracelet
Ensuring your bead bracelet remains in excellent condition involves proper wear and care. Below are simple yet crucial steps to follow.
How to Safely Put On and Remove Bead Bracelets
When you’re putting on or taking off your bracelet, gentle handling is key. Do these steps:
- Bring your fingers together, shrinking your hand size.
- Slide the bracelet over your fingers without stretching it.
- Gently roll the bracelet over your knuckles and onto your wrist.
- Reverse the steps to take off the bracelet.
This rolling method prevents the elastic from becoming loose or snapping.
Maintenance Tips to Extend Bracelet Life
Keep your bracelets looking great with these tips:
- Store carefully: Lay your bracelets flat in a box or hung up, so they don’t get tangled or stretched.
- Keep them dry: Water can weaken the elastic and ruin certain beads. Always remove your bracelet before swimming or showering.
- Clean gently: Wipe your bracelet with a soft cloth after wearing to remove oils from your skin and keep it shining.
- Regular checks: Inspect the elastic and beads for signs of wear. Fix small issues before they become big problems.
By following these basic care guidelines, you’ll help ensure a longer life for your handcrafted bead
.