Introduction
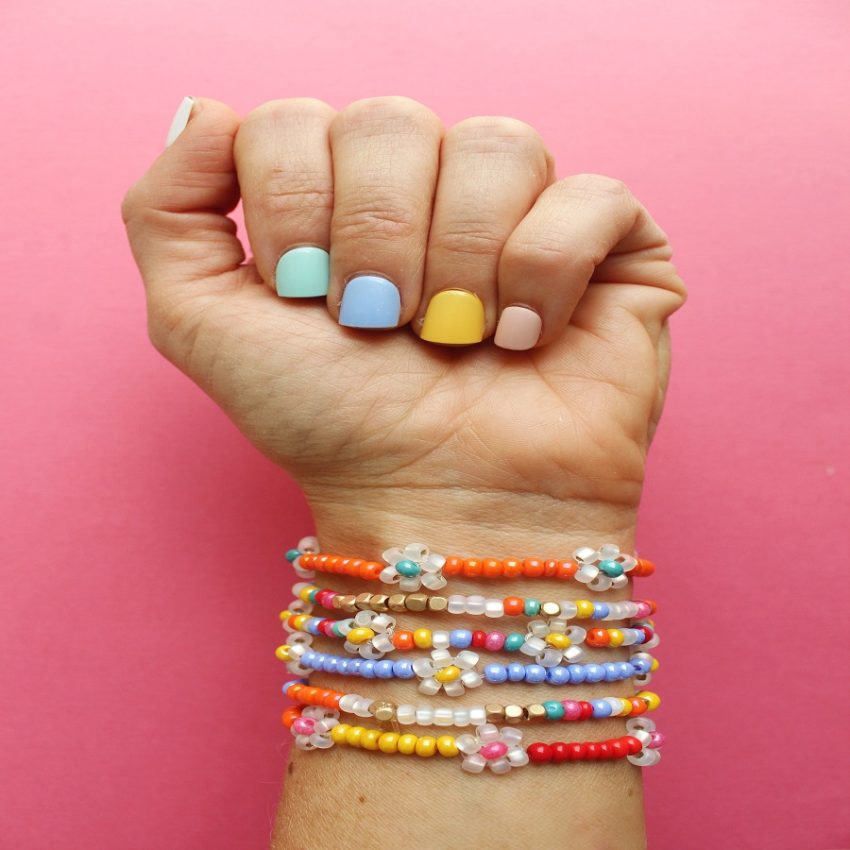
Cute pony bead bracelet ideas – Pony beads are a vibrant and colorful crafting medium that has stood the test of time. They’re not just for kids; people of all ages can enjoy making stunning bracelet designs that are perfect for any occasion. Whether you want to create something special for a birthday, an anniversary, or just to wear casually, the possibilities are virtually endless. Let’s dive into some charming pony bead bracelet designs that you can easily make at home.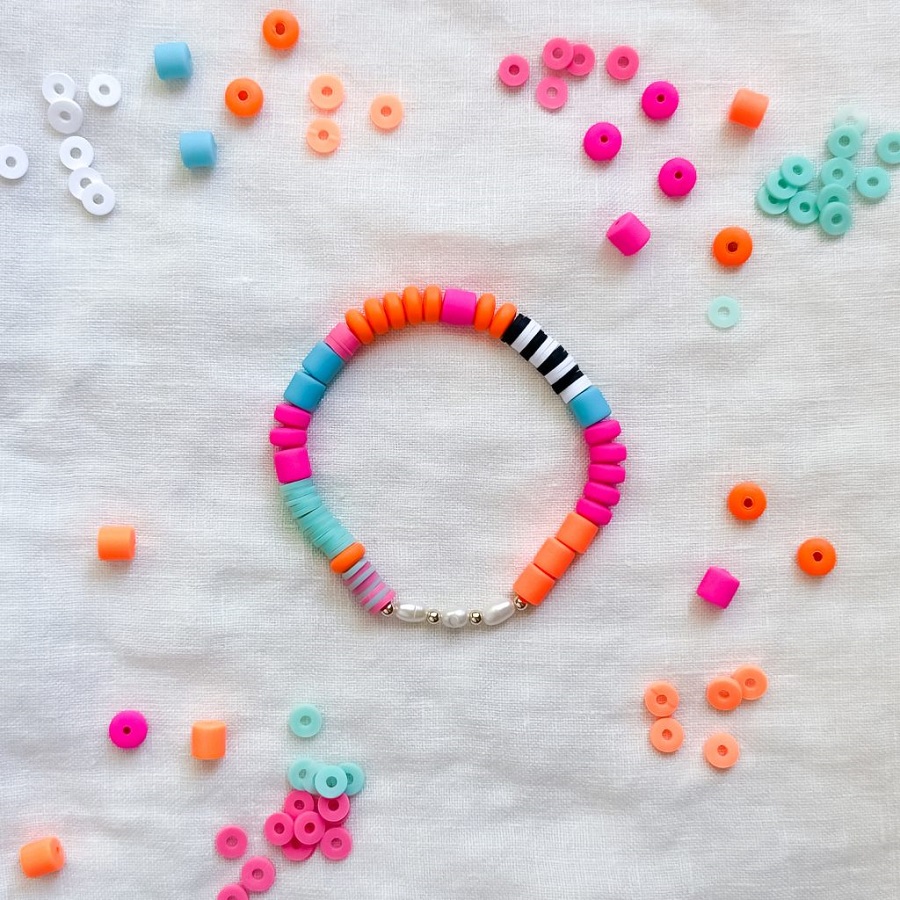
Why Choose Pony Beads?
Pony beads are lightweight, come in an array of colors, sizes, and shapes, and are affordable and easy to work with. This makes them an excellent choice for both novices and seasoned crafters. The versatility of these beads allows for a range of styles, from simple and understated to extravagant and colorful.
Casual Everyday Bracelets
Materials Needed:
- Pony beads in assorted colors
- Stretchable elastic cord
- Scissors
- Optional: charm or focal bead
Design Ideas:
For a casual look, choose a color palette that resonates with your style. You might opt for earthy tones or bright, summery colors.
Step-by-Step Instructions:
- Measure Your Wrist: Cut a piece of elastic cord about 1.5 times the length of your wrist circumference.
- Choose Your Beads: Select a pattern you love, such as alternating colors or a gradient effect.
- String the Beads: Thread the beads onto the elastic cord, ensuring you leave a little space to tie off the ends.
- Add a Charm (Optional): If you want to add a focal point, string a charm bead in the center.
- Tie it Off: When you’re happy with the length, tie a secure knot with the two ends of the cord, and trim any excess.
Bohemian Chic Bracelets
Materials Needed:
- Pony beads (mix of colors and shapes)
- Natural twine or leather cord
- Scissors
- Decorative elements (feathers, tassels, etc.)
Design Ideas:
For a boho look, think of earthy tones mixed with pops of color. Layering multiple bracelets can also enhance this style.
Step-by-Step Instructions:
- Cut Cord: Cut a length of twine or leather cord that fits comfortably around your wrist, plus a few extra inches for tying.
- Choose Beads: Combine natural colors with brighter hues. Consider shapes like flowers or stars to accentuate the bohemian vibe.
- String the Beads: Alternate between pony beads and decorative elements like feathers or tassels to create a layered effect.
- Cut and Tie: Secure the ends with a knot, making sure the bracelet is snug but comfortable.
Elegant Evening Bracelets
Materials Needed:
- Metallic or pearlized pony beads
- Thin elastic cord
- Scissors
- Optional: small rhinestones or crystal beads
Design Ideas:
For an elegant evening bracelet, opt for metallic shades like gold and silver, or soft pearlized colors that catch the light beautifully.
Step-by-Step Instructions:
- Measure and Cut Elastic: Measure your wrist and double that length for the elastic cord.
- Select Beads: Choose beads that have a shimmering effect. Optional rhinestones can be incorporated for added glamour.
- String Beads: Follow a simple pattern, such as alternating metallic beads with a few sparkly ones.
- Finish it Off: Tie a double knot, ensuring it’s secure but not too tight, to maintain comfort.
Seasonal Celebration Bracelets
Materials Needed:
- Seasonal pony beads (e.g., red and green for Christmas, pastels for Easter)
- Stretchable cord
- Scissors
Design Ideas:
Create seasonal bracelets that you can wear or gift during holidays. Personalizing the bracelet with beads that represent the season can make it truly special.
Step-by-Step Instructions:
- Plan Your Design: Choose your seasonal color scheme and beads.
- Cut Cord to Size: Measure and cut the elastic cord to fit your wrist.
- String the Beads: Create a simple pattern that fits the festivities. For Christmas, red and green beads are perfect, while pastel colors work well for spring.
- Tie and Wear: Once you’re satisfied with your design, tie off the bracelet and wear it proudly.
Kids’ Friendship Bracelets
Materials Needed:
- Brightly colored pony beads
- Fun shaped beads (hearts, stars, etc.)
- Elastic thread
- Scissors
Design Ideas:
Kids love making and sharing friendship bracelets. Choose vibrant colors that match with each other for a cute set.
Step-by-Step Instructions:
- Measure the Length: Kids’ wrists are smaller, so make sure to measure accordingly when cutting the elastic.
- Pick Out Fun Shapes: Let children pick out their favorite colors and shapes to foster creativity.
- String Together: String the beads onto the elastic, encouraging kids to come up with their unique patterns.
Secure the Bracelet: Finish off with a neat knot when they’re done, and voilà—friendship bracelets are ready to exchange!
What You’ll Need
Materials:
- Pony Beads: Choose an array of colors and shapes. Traditional pony beads are round and approximately 6mm in diameter, but you can also experiment with star-shaped, flower-shaped, or other novelty beads.
- Elastic Cord or String: This is the backbone of your bracelet. Elastic cord is commonly used for its stretchiness, making it easy to wear.
- Scissors: For cutting the string to your desired length.
- Tape or Bead Stoppers: These can help hold your beads in place while you work, preventing them from slipping off.
- Beading Needles (optional): If you’re using thinner string, a beading needle can help thread the beads more easily.
- Charm or Pendant: Optional additions that can personalize your bracelet further. Think about charms that reflect your hobbies or interests.
- Organizing Tray or Container: Helps in sorting out your beads by color or size for easier access.
Optional Accessories:
- Bead Board: If you want to layout your bracelet design before committing.
- Tweezers: For adjusting beads while threading.
 Designing Your Bracelet – Cute pony bead bracelet ideas
Before you start stringing beads, take some time to plan out your design. Here are a few approaches:
Theme-Based Designs:
- Color Themes: Choose colors that complement each other. Popular combinations include pastels, neons, or a monochromatic scheme.
- Seasonal Themes: Create bracelets that represent seasons, such as earth tones for autumn or bright shades for summer.
Patterns:
- Repeating Patterns: Choose two or three colors that you repeat throughout. For instance, using a pattern like red, blue, green, red, blue, green.
- Random Patterns: For a casual look, randomly select beads without a strict scheme.
Symbolism:
- Use different colored beads to represent meaningful aspects of your life, like birthdays, favorite colors, or special memories.
Step-by-Step Guide to Create Your Bracelet – Cute pony bead bracelet ideas
Measure Your Wrist
Use a measuring tape or a piece of string to measure your wrist circumference. Add an extra inch to accommodate the stretch of the elastic cord. Most adults have a wrist size between 6 to 8 inches; adjust accordingly for children.
Cut Your String
Cut a piece of elastic cord about 2-3 inches longer than the measurement you’ve taken. This extra length will give you ease while tying the knots later.
Prepare Your Beads
Lay out your chosen beads in a pattern or color scheme as planned. This step will prevent confusion as you begin stringing.
Stringing the Beads
- Secure One End: Tape one end of the cord to your work surface or use a bead stopper to keep your beads from slipping off.
- Start Stringing: Thread the beads onto the cord one at a time. You can follow your design or mix and match as you go along. Keep the beads from bunching up as you work.
- Adjust as Necessary: Occasionally pause to ensure your design is coming together the way you want. Don’t hesitate to switch a bead out if something doesn’t look right!
Check the Length
Once you think you’ve added enough beads, check the length against your wrist. Make sure it can comfortably slip over your hand while still providing a snug fit.
Tie the Knot
- Finish Stringing: Once you’re satisfied, remove any tape or bead stoppers.
- Tie a Knot: Bring both ends of the cord together to create a loop, and tie several knots (like a square knot) to secure your beads in place. You may want to add a drop of clear-drying glue to the knot for extra security.
- Trim the Excess: Cut any excess cord, but leave a small tail to avoid the knot slipping.
Add Charms
If you’re using charms or pendants, thread them onto the elastic before tying your knot. Adjust their position as desired.
Final Touches and Variations – Cute pony bead bracelet ideas
Once your bracelet is complete, admire your handiwork! Here are some ideas to enhance your pony bead bracelet making experience:
- Matching Sets: Create matching bracelets for friends or family members.
- Layered Look: Make several bracelets to stack for a trendy layered style.
- Holiday Themes: Craft bracelets during special occasions using themed beads representing that holiday.
Care and Maintenance
To ensure the longevity of your bracelets, avoid exposing them to water or harsh chemicals. Store them flat to prevent kinked elastic and to maintain their shape.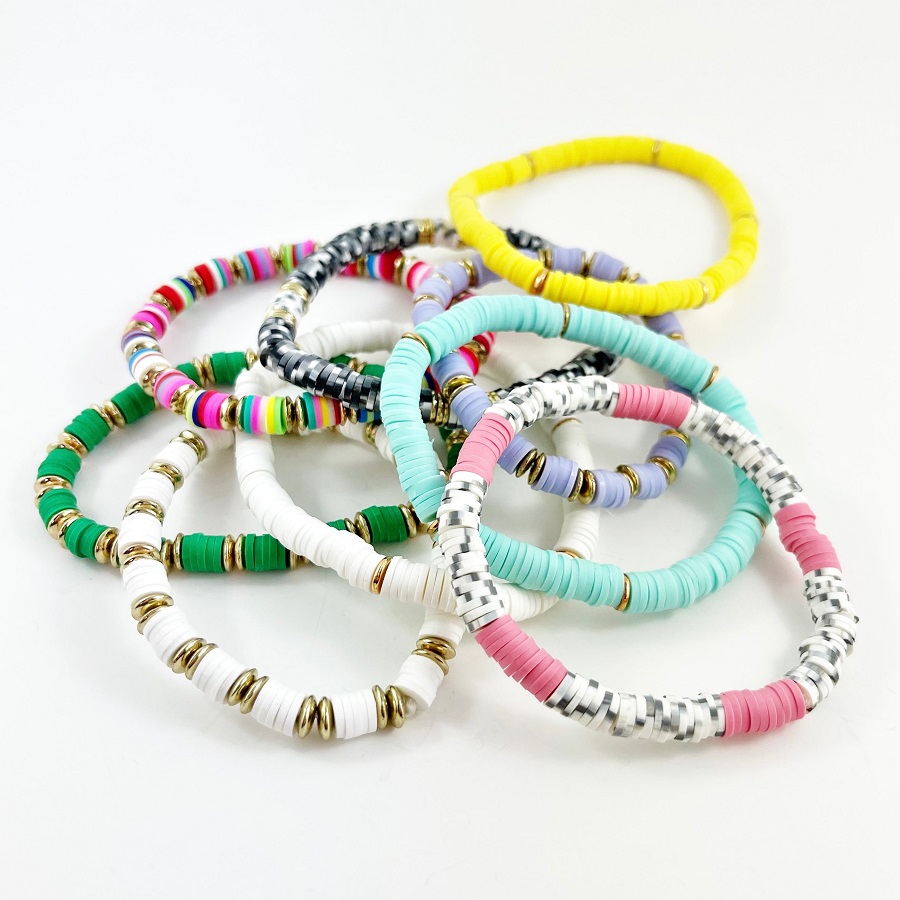
Conclusion – Cute pony bead bracelet ideas
Pony bead bracelets offer a fun and invigorating crafting experience suitable for all occasions. From casual daily wear to elegant evening accessories, the charm of DIY jewelry shines through with creativity and personal expression. With a bit of imagination and a few materials, you can create beautiful bracelets that not only reflect your personal style but also make meaningful gifts for friends and loved ones. So gather your supplies, unleash your inner artist, and let the crafting begin!