Introduction
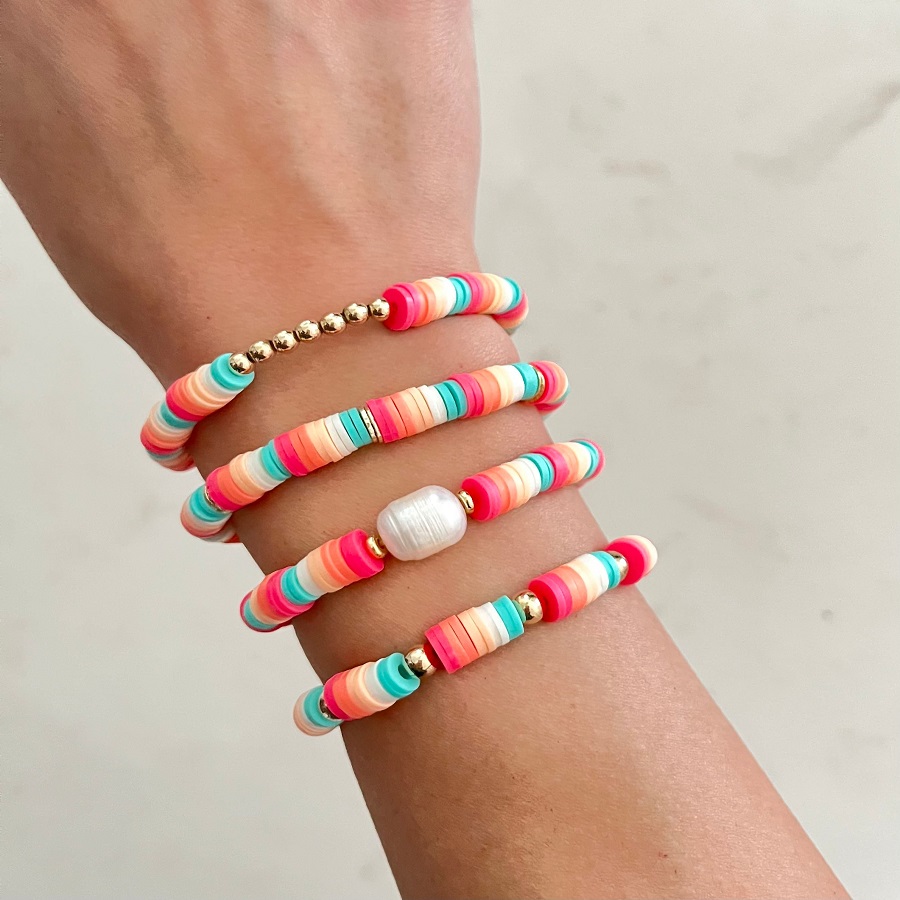
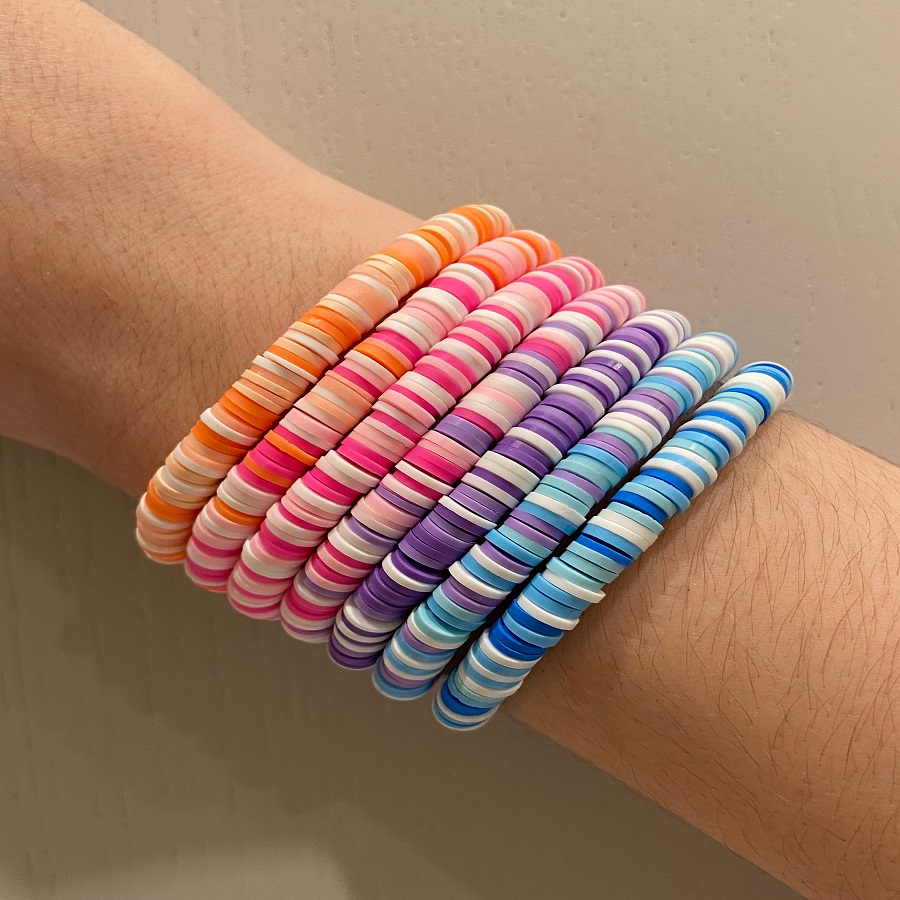
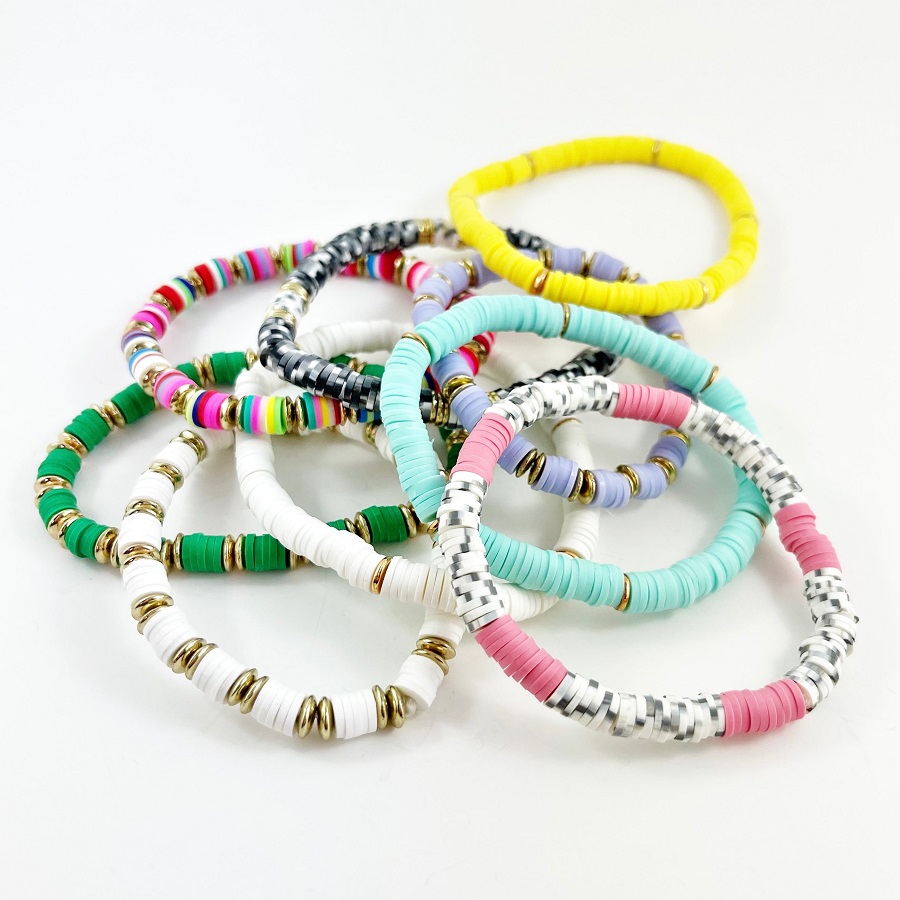
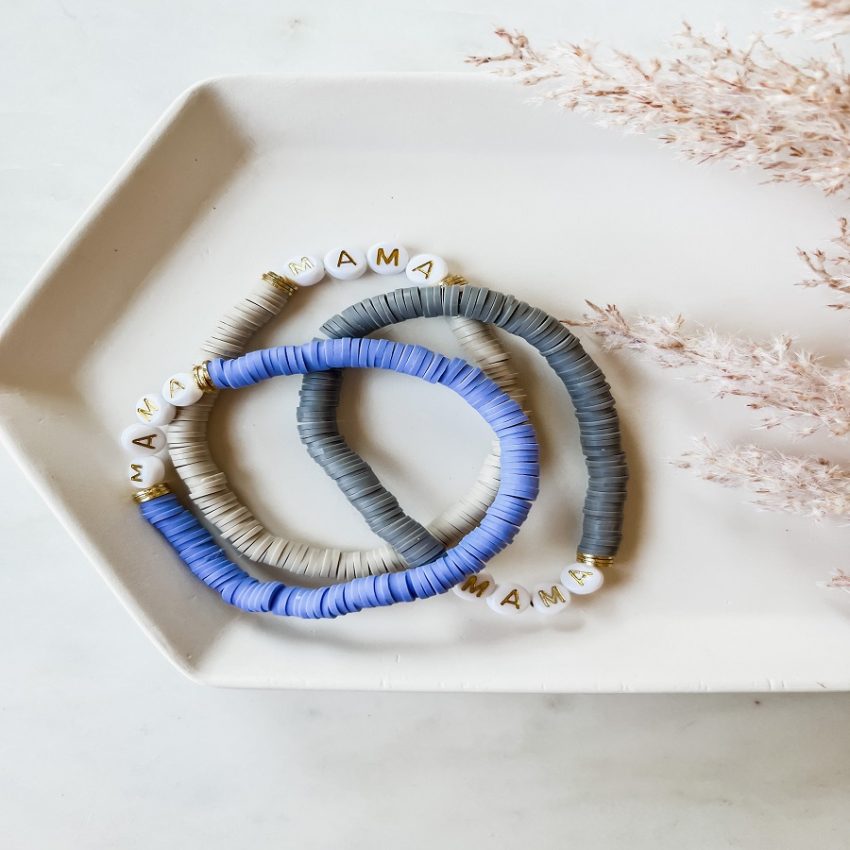
How to tie a clay bead bracelet – Creating a clay bead bracelet is a wonderful way to express your creativity and add a personal touch to your jewelry collection. With just a few materials and some patience, you can craft a unique and beautiful accessory that reflects your style. This step-by-step guide will walk you through the process of making a clay bead bracelet from scratch.

Materials You’ll Need
- Polymer Clay: Choose your favorite colors. Popular brands include Sculpey III, Fimo Soft, or Premo.
- Clay Conditioning Machine (optional but highly recommended): This helps to soften and evenly texture the clay.
- Rolling Pin or Clay Roller
- Clay Cutting Tools: Such as a knife, cookie cutters, or clay cutting blades for shaping beads.
- Bamboo Skewer or Toothpicks: For creating holes in the beads.
- Oven or Toaster Oven: For baking the clay according to the manufacturer’s instructions.
- Sandpaper or Nail File: To smooth edges after baking.
- Beading Elastic or Jewelry Wire
- Jewelry Clasp and Jump Rings (if not using elastic)
- Beads or Charms (optional): To add variety or accents.
- Parchment Paper or Silicone Mat: For baking the clay beads.
- Measuring Tape or Ruler
Condition Your Clay
Start by conditioning your polymer clay. Break off a piece of clay and knead it with your hands to warm it up. If you have a clay conditioning machine, pass the clay through it several times on the widest setting, gradually decreasing the thickness until the clay is soft and pliable. This ensures an even texture and reduces the risk of cracking during baking.
Shape Your Beads
Roll the conditioned clay into a snake or use a clay roller to create a flat sheet. Decide on the size and shape of your beads. You can make them round, oval, or any other shape you desire. Use your cutting tools to cut out the shapes, ensuring they’re uniform in size for a balanced bracelet.
Create Bead Holes
Before baking, it’s crucial to create holes in your beads for threading later. Using a bamboo skewer or toothpick, gently pierce each bead where you want the hole to be. Rotate the skewer to widen the hole slightly, being careful not to crack the bead. The hole should be slightly larger than your stringing material to allow for easy threading.
Bake the Beads
Place your beads on a parchment paper or silicone mat-lined baking tray. Follow the baking instructions provided with your specific brand of polymer clay. Typically, this involves baking at around 275°F (135°C) for 15-30 minutes per 1/4 inch (6mm) thickness. Keep an eye on them to avoid over-baking, which can cause discoloration or cracking.
Finishing Touches
Once cooled, gently sand the edges of your beads with sandpaper or a nail file to smooth any rough spots or sharp edges. Wipe away any dust with a soft cloth.Lay out your beads in the desired pattern on a bead board or simply arrange them.
Thread your chosen cord or elastic through the beads, starting with a bead tip or knot to secure the end. If using elastic, make sure the bracelet fits comfortably around your wrist before tying off the ends securely. For a more professional finish, you can use crimp beads and a jewelry clasp.
Assemble Your Bracelet
Decide on the pattern or layout of your beads. If using elastic, measure your wrist and cut a length of elastic about 1-1.5 inches (2.5-3.8 cm) longer to allow for tying. Thread the beads onto the elastic in your chosen order, adding any additional beads or charms for accents. If using wire or string, thread the beads and attach a clasp and jump rings using jewelry pliers.
To further personalize your bracelet, incorporate additional beads, charms, or pendants at strategic points along the bracelet. These can be attached using jump rings or directly onto the cord or elastic.
Secure the Bracelet
For elastic bracelets, tie the ends tightly in a double knot, trim excess elastic, and apply a drop of clear glue to the knot for added security. For wired or strung bracelets, finish by attaching the clasp with jump rings using pliers.
Enjoy Your Creation
Admire your handiwork! You’ve just crafted a one-of-a-kind clay bead bracelet that’s not only beautiful but also holds the charm of being personally made.
Trim any excess cord or elastic and hide the knots or clasps neatly under a bead. Give your bracelet a gentle tug to ensure everything is secure, and voila! Your DIY clay bead bracelet is ready to wear or gift.
Tips and Tricks
- Experiment with different clay techniques like marbling or layering to create unique patterns and effects.
- Don’t be afraid to mix clay colors to create custom shades.
- Keep a small bowl of water nearby while working with clay to keep your hands moist, which prevents sticking.
- If you’re new to polymer clay, start with simple shapes and gradually work your way up to more complex designs.
- Remember to clean your tools with soap and water after use to prevent clay buildup.

Step-by-Step Guide
Measure Your Wrist
- Wrap a piece of string or measuring tape around your wrist where you want the bracelet to sit. Add about 1 inch (2.5 cm) to this measurement to ensure a comfortable fit, especially if you’re using elastic cord.
Prepare the Beads
- Lay out your clay beads in the pattern or design you desire. This step helps visualize the final look and ensures you have enough beads.
String the Beads
- Cut a length of elastic cord or beading thread slightly longer than your wrist measurement plus extra for knotting or attaching clasps.
- Start threading the beads onto the cord, following your designed pattern. Make sure to leave a few inches at the beginning before adding the first bead to allow for tying or attaching clasps later.
Check the Fit
- Once all beads are strung, loosely tie the ends of the cord around your wrist to check the fit. Adjust by adding or removing beads as needed.
Tie or Attach Clasp
For Elastic Cord:
- After confirming the fit, tie the two ends of the cord together in a tight double knot. To reinforce the knot, you can tie another knot right next to the first one.
- Apply a drop of clear glue to the knots and let it dry completely. This will prevent the knot from coming undone during wear.
- Trim any excess cord close to the knot, being careful not to cut into the knot itself.
For Thread or Wire with Clasps:
- Pass both ends of the cord through a crimp bead, then through the loop of your chosen clasp. Bring the ends back through the crimp bead, creating a loop.
- Use pliers to flatten the crimp bead securely against the cord. Trim any excess cord.
- Repeat the process on the other end with the other part of the clasp (e.g., the jump ring for a lobster claw).
Finishing Touches
- Give your bracelet a gentle tug to ensure the knots or clasps are secure.
- If using glue, allow it to dry completely before wearing or gifting the bracelet.
Tips and Tricks
- When choosing clay beads, consider their size and weight distribution for a balanced and comfortable bracelet.
- If your bracelet tends to twist when worn, try using a larger bead or charm as a focal point to anchor the design.
- Experiment with different bead patterns and color combinations to create unique designs that reflect your personal style.
- Always handle sharp tools with care and supervise children if they’re participating in the project.

