Introduction
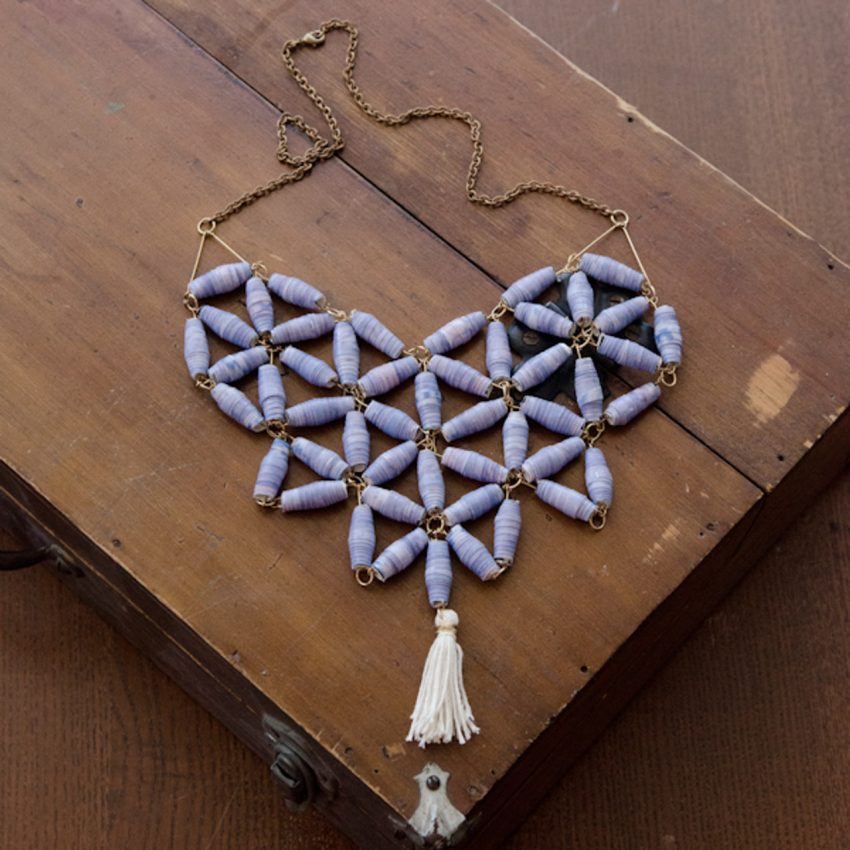
How to make a bead necklace – Designing and creating your own custom bead necklace can be a rewarding and enjoyable craft. Whether you’re new to jewelry making or just looking to refine your skills, this tutorial will guide you through the basics of creating a unique and personalized bead necklace from start to finish.

Materials and Tools
Before diving into the design process, gather the following materials and tools:
- Beads: Choose beads in various shapes, sizes, and colors according to your design preferences. Common types include glass, wooden, metal, and gemstone beads.
- Stringing Material: Select a stringing material suitable for your beads, such as nylon thread, beading wire, or elastic cord.
- Clasp: Pick a clasp that complements your design, such as a lobster clasp, toggle clasp, or magnetic clasp.
- Crimp Beads: These small metal beads are used to secure the ends of the stringing material and keep your beads in place.
- Beading Needle: A thin needle designed for threading beads, especially useful for small-hole beads.
- Jewelry Pliers: You will need needle-nose pliers and crimping pliers to help with assembling your necklace.
- Scissors: For cutting your stringing material.
- Bead Design Board (Optional): This helps you plan and visualize your necklace design before you start stringing.
Step-by-Step Instructions
1. Plan Your Design:
- Start by sketching your design or laying out your beads on a bead design board. Consider the arrangement of colors and patterns. Decide if you want a symmetrical design or something more random.
- Measure the desired length of your necklace to ensure you have enough beads and stringing material.
2. Prepare Your Stringing Material:
- Cut a length of stringing material that is about 6-8 inches longer than the length of your necklace. This extra length allows for attaching the clasp later.
- If using beading wire, thread it through a bead stopper or small piece of tape to prevent beads from slipping off while working.
3. String the Beads:
- Thread the beads onto your stringing material according to your design plan. If you’re using a beading needle, thread it through the beads and then onto the stringing material.
- Ensure the beads are placed in the correct order and spacing. Adjust as necessary before proceeding to the next step.
4. Attach the Clasp:
- Once you’ve strung all your beads, it’s time to attach the clasp. Slide a crimp bead onto each end of the stringing material.
- Thread the end of the stringing material back through the crimp bead, creating a loop. This loop will hold the clasp.
- Use crimping pliers to flatten the crimp bead, securing the stringing material in place.
- Attach one half of the clasp to one end of the necklace and the other half to the opposite end. Ensure that the clasp is securely fastened and that the necklace is properly aligned.
5. Finish and Adjust:
- Trim any excess stringing material close to the crimp beads using scissors.
- Check the necklace to make sure it hangs correctly and that all beads are secure. Make any necessary adjustments.
6. Final Touches:
- Gently stretch and manipulate the necklace to ensure it maintains its shape and that the beads are evenly distributed.
- Clean your necklace with a soft cloth to remove any fingerprints or debris.
Tips for Success
- Bead Selection: Experiment with different bead types and sizes to achieve the desired effect. Combining various textures and colors can add visual interest.
- Stringing Material: Choose a stringing material that suits the weight and size of your beads. For heavier beads, use beading wire for extra strength.
- Practice Patience: Take your time to plan and assemble your necklace carefully. Rushing can lead to mistakes and affect the overall quality.
Gather Your Materials
Before you begin, ensure you have all the necessary supplies:
- Beads: Choose beads in various sizes, shapes, and colors that resonate with your design vision. Glass, gemstone, acrylic, or wooden beads are popular choices.
- Stringing Material: Options include nylon-coated beading wire, elastic cord for stretchy bracelets, or silk/cotton thread for a more traditional look. The choice depends on the style and weight of your beads.
- Clasp: If not using elastic cord, you’ll need a clasp (like a lobster claw or toggle) to secure your necklace.
- Crimp Beads/Crimping Pliers: For securing the wire ends if using beading wire.
- Bead Stopper/Scissors: To prevent beads from sliding off while working and for cutting materials.
- Optional: Spacer beads, charms, or pendants to add variety and interest.
Plan Your Design
Take a moment to sketch out your necklace design or lay out your beads on a flat surface. Consider symmetry, color combinations, and any patterns you wish to create. This planning stage helps ensure a balanced and aesthetically pleasing final product.
Measure and Cut Your Stringing Material
- For Beading Wire: Measure the desired length of your necklace plus an extra 6 inches for attaching the clasp. Use scissors to cut the wire.
- For Elastic Cord: Measure the circumference of your neck plus about 1-2 inches for knotting.
- For Thread: Double the necklace length plus additional inches for tying knots.
String Your Beads
Starting from one end of your stringing material, begin adding your beads according to your design plan. If using a bead stopper, attach it to the other end to prevent beads from falling off.
- Tip: If your design includes a pendant, thread it onto the wire before adding any beads, positioning it where desired.
Attach the Clasp (for Non-Elastic Necklaces)
- For Beading Wire: After stringing all your beads, thread one end through a crimp bead, then through the loop of your clasp. Pass the wire back through the crimp bead, creating a loop. Using crimping pliers, flatten the crimp bead to secure it in place. Trim excess wire close to the crimp.
- For Thread: Tie a secure knot (such as a surgeon’s knot) around the loop of the clasp. Repeat for added security and trim the excess thread.
Finish the Other End
Repeat the above step to attach the other half of the clasp to the opposite end of your necklace.
Test and Adjust
Try on your necklace to check the fit and adjust if necessary. Ensure the clasp is secure and comfortable.
Finishing Touches
Inspect your work for any loose beads or unevenness. Make any final adjustments before declaring your creation complete!
Gather Materials and Tools
Before diving into your project, ensure you have all the necessary materials and tools:
- Beads: Choose beads in various sizes, shapes, and colors to create visual interest. Consider using glass, crystal, stone, or wooden beads, depending on your design preference.
- Stringing Material: Options include beading wire (like Accu-Flex or Soft Flex), nylon thread, or silk cord. The choice depends on the weight of your beads and desired drape.
- Clasp: A lobster claw, toggle, or magnetic clasp to secure your necklace.
- Jump Rings: Used to attach the clasp to the necklace.
- Crimp Beads or Tubes: Required if using beading wire to secure the ends.
- Bead Stopper or Tape: To prevent beads from sliding off while working.
- Wire Cutters, Chain Nose Pliers, and Round Nose Pliers: Essential for cutting wire, opening and closing jump rings, and crimping.
Conclusion
Creating a custom bead necklace is an excellent way to express your creativity and make a unique piece of jewelry. By following this beginner’s tutorial, you’ll be able to craft a necklace that reflects your personal style and design preferences. Enjoy the process, and don’t be afraid to experiment with different designs and materials to perfect your beading skills.