Introduction
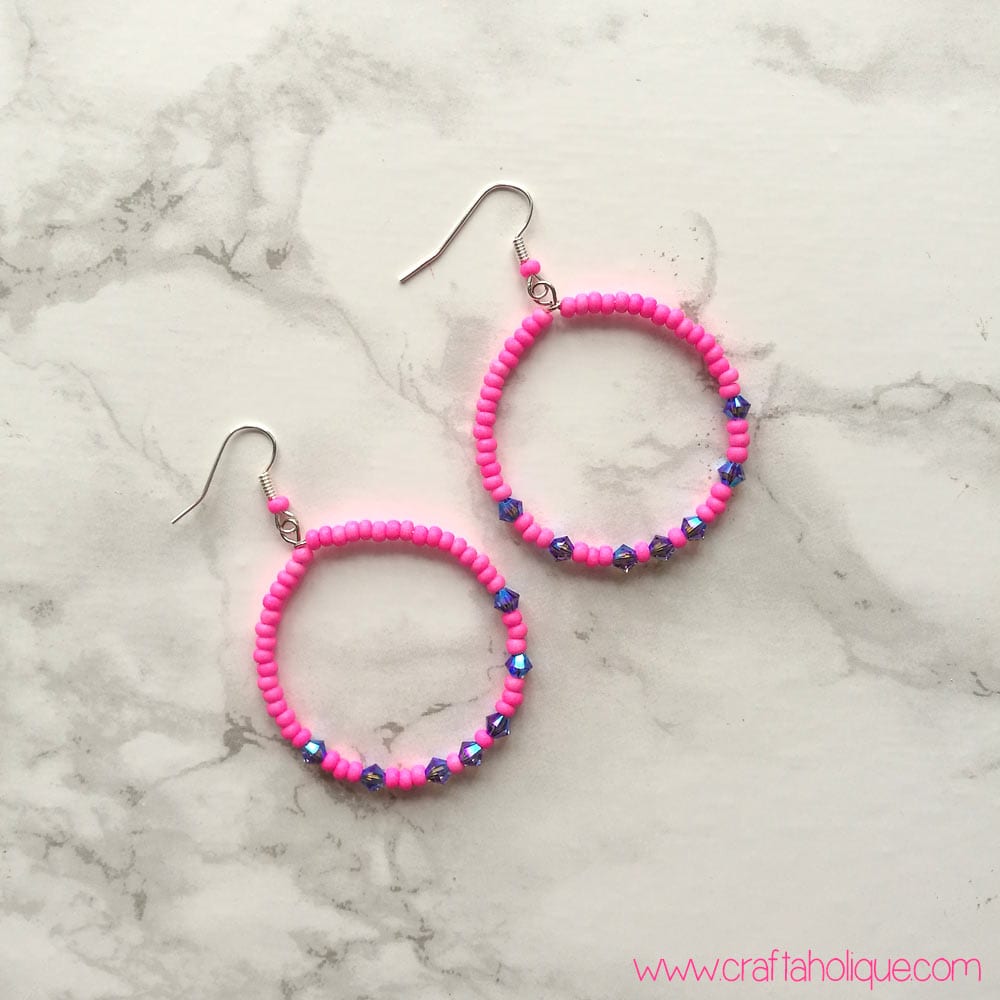
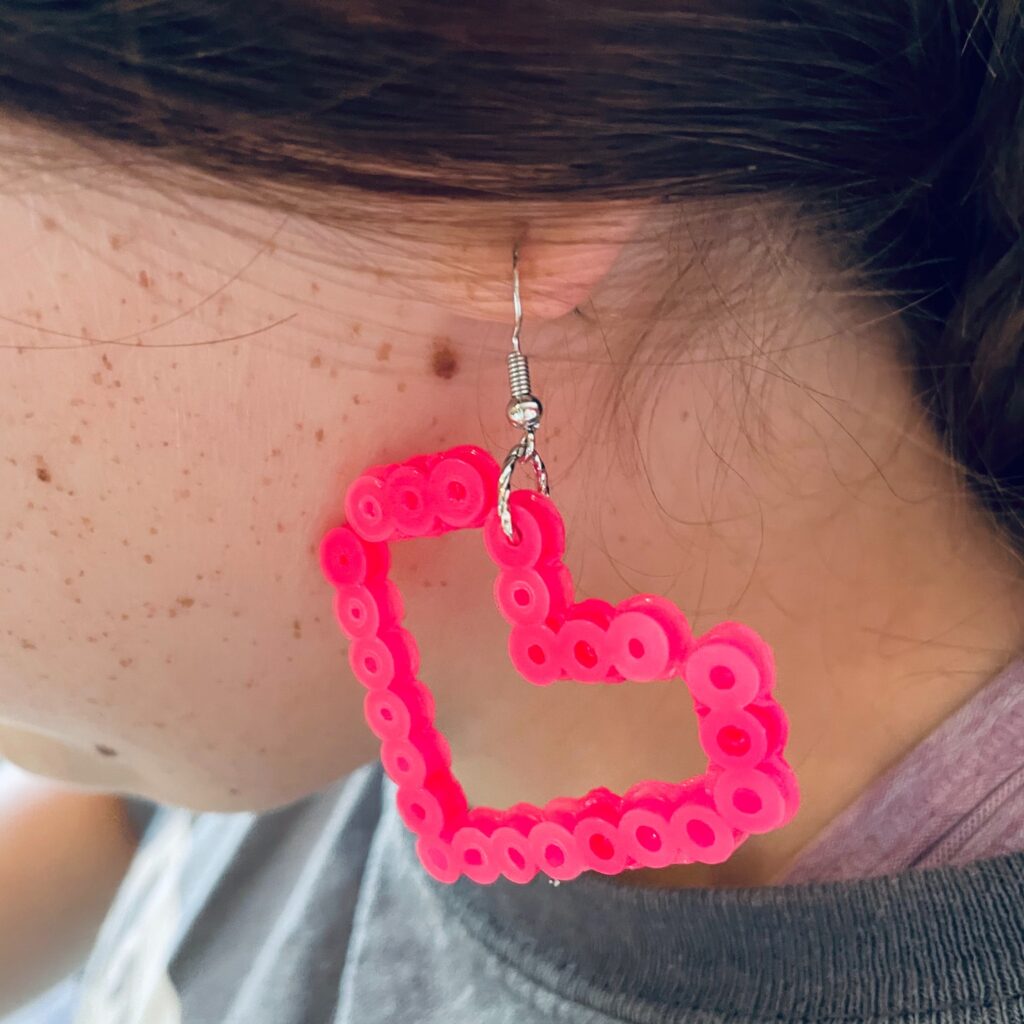
Bead earrings diy – Elevating your personal style doesn’t always mean breaking the bank or chasing the latest fashion trends. Sometimes, it’s about infusing your wardrobe with unique, handmade pieces that reflect your individuality. One creative and budget-friendly way to do this is by crafting your own custom bead earrings. Not only does this activity allow you to explore your artistic side, but it also results in a collection of accessories as unique as you are. In this guide, we’ll share easy DIY tips to help you create stunning bead earrings that will elevate any outfit.

Gather Your Materials
Before diving into the creative process, ensure you have all the necessary materials within reach. Here’s a basic list to get started:
- Beads: Choose a variety of beads in different colors, shapes, sizes, and materials (glass, wood, metal, etc.) to add depth and interest to your earrings.
- Earring Hooks: These come in various metals like gold, silver, or rose gold to match your style preference.
- Jewelry Wire: Look for flexible beading wire or headpins to string and secure the beads.
- Jewelry Pliers: Round-nose pliers, chain-nose pliers, and wire cutters are essential tools for bending wires and making loops.
- Jump Rings: These small metal rings help attach the beads to the earring hooks.
- Clasps or Earring Backs: Optional, but useful for added security if your design requires it.
Plan Your Design
Take a moment to sketch out or visualize your earring design. Consider factors such as color coordination, symmetry (or intentional asymmetry), and the overall weight and balance of the earrings. You might want to create a statement piece with large, bold beads or opt for dainty, minimalist designs using seed beads.
Stringing Techniques
Simple Dangle Earrings
- Start with a Headpin: Thread your chosen beads onto a headpin in your desired order.
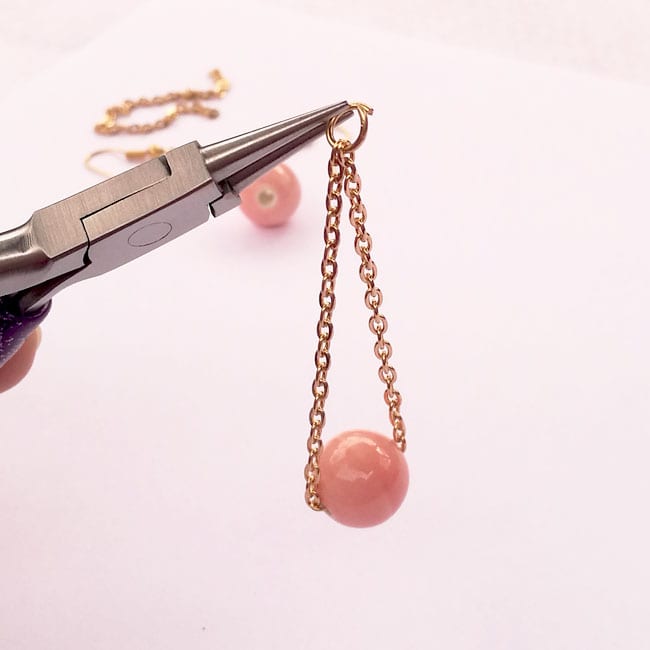
- Create a Loop: Using round-nose pliers, grasp the wire just above the last bead and bend it at a 90-degree angle. Then, wrap the wire around the pliers to form a loop. Trim any excess wire with wire cutters.
- Attach to Earring Hook: Open a jump ring using two pliers (one to hold each end), slide the loop of your beaded headpin and the earring hook onto it, then close the jump ring securely.
Wrapped Loop Technique
For a more professional and secure finish:
- Follow steps 1-2 from the simple dangle method.
- Instead of simply bending the wire into a loop, wrap the remaining wire around the stem below the loop several times, trimming and tucking in the end.
Experiment with Patterns and Combinations
Don’t be afraid to mix and match different types of beads to create unique patterns and textures. You can try:
- Ombre Effect: Gradually transition from light to dark shades of the same color family.
- Contrasting Colors: Pair complementary hues for a vibrant pop.
- Texture Play: Combine smooth glass beads with rustic wooden or textured metal beads.
- Themed Designs: Create earrings inspired by seasons, holidays, or personal interests.
Finishing Touches
- Add Charms or Pendants: For extra charm, incorporate small pendants or charms into your design.
- Layering Beads: Experiment with layering multiple beads on a single earring to create a tiered or clustered effect.
- Asymmetrical Designs: Make a statement by intentionally creating earrings that don’t match exactly, yet still complement one another.
Showcase Your Creations
Once your custom bead earrings are complete, wear them proudly! They’re perfect for adding a personalized touch to casual outfits, dressing up for special occasions, or even gifting to friends and family. Share your creations on social media or with your local crafting community to inspire others and perhaps even start selling your designs.
Creating custom bead earrings is not just a fun hobby; it’s a form of self-expression that allows you to accessorize with intention and flair. With these easy DIY tips, you’re well on your way to elevating your style and celebrating your unique aesthetic. So, roll up your sleeves, gather your materials, and let your creativity soar!

Materials You’ll Need:
- Beads: Choose beads of various sizes, shapes, and colors to suit your design. Beads can be made from glass, acrylic, wood, or even gemstones, depending on the look you want to achieve.
- Earring Findings: This includes ear wires, headpins, and jump rings. Opt for hypoallergenic materials like sterling silver or surgical steel for sensitive ears.
- Tools: Essential tools include round-nose pliers, wire cutters, and flat-nose pliers. These tools help you manipulate wire and attach beads securely.
- Additional Supplies: You may also need bead caps, spacer beads, seed beads, and earring backs for finishing touches and securing your earrings.
Step-by-Step Guide:
1. Design Your Earrings
- Sketch Your Design: Before starting, sketch out your earring design on paper. This helps visualize the layout of beads and ensures you have a clear plan.
- Select Beads: Pick beads that complement each other in color and texture. Experiment with combinations to achieve the desired aesthetic, whether it’s bohemian, minimalist, or bold statement pieces.
2. Prepare Your Workspace
- Clean and Organize: Set up a clean, well-lit workspace with enough room to lay out your materials. Organize beads by color and type for easy access during the crafting process.
- Gather Tools: Ensure all necessary tools are within reach. This includes pliers for bending wire, cutters for trimming excess, and any other tools specific to your design.
3. Assemble Your Earrings
- Cut Wire: Using wire cutters, cut headpins to the desired length. Headpins are essential for securing beads in place.
- Thread Beads: Slide beads onto headpins in your chosen arrangement. Experiment with bead sequence and spacing to achieve balanced and visually appealing earrings.
- Create Loops: Using round-nose pliers, create a simple loop at the end of each headpin to secure the beads. This loop will attach to your earring findings.
4. Attach Earring Findings
- Open Jump Rings: With flat-nose pliers, gently open jump rings by twisting them sideways. Attach them to the loops of your beaded headpins.
- Add Ear Wires: Use the same technique to attach ear wires to the jump rings. Ensure the ear wires are facing the correct direction for easy wearing.
5. Finishing Touches
- Secure Beads: If desired, add bead caps or spacer beads between larger beads to enhance the overall design. This also adds dimension and detail to your earrings.
- Check Durability: Double-check all connections and closures to ensure your earrings are secure and durable for long-term wear.
6. Customize and Experiment
- Personalize: Feel free to customize your bead earrings further by adding charms, tassels, or additional embellishments that reflect your personality and style.
- Experiment: Don’t be afraid to experiment with different bead sizes, shapes, and colors. Mix metals or incorporate natural elements like shells or pearls for a distinctive look.
Tips for Success:
- Practice Makes Perfect: If you’re new to jewelry making, start with simple designs and gradually advance to more complex patterns as you gain confidence.
- Quality Materials: Invest in high-quality beads and findings to ensure your earrings are not only stylish but also durable and comfortable to wear.
- Consider Comfort: Pay attention to earring weight and length to ensure they are comfortable for extended wear.

Final Thoughts
Creating custom bead earrings is a rewarding and enjoyable DIY project that allows you to express your creativity and enhance your personal style. Whether you’re making earrings for yourself or as gifts for loved ones, each pair becomes a unique reflection of your artistic vision and craftsmanship. With these easy DIY tips and a bit of practice, you’ll soon be designing and wearing beautiful bead earrings that are sure to turn heads wherever you go. Happy crafting!
